Eggbot
Here is Robot Roundup episode two, where I documunt building a robot out of a plastic Easter egg.
Here is Robot Roundup episode two, where I documunt building a robot out of a plastic Easter egg.
I started a YouTube channel for videos of my robot model builds. Here is episode one.
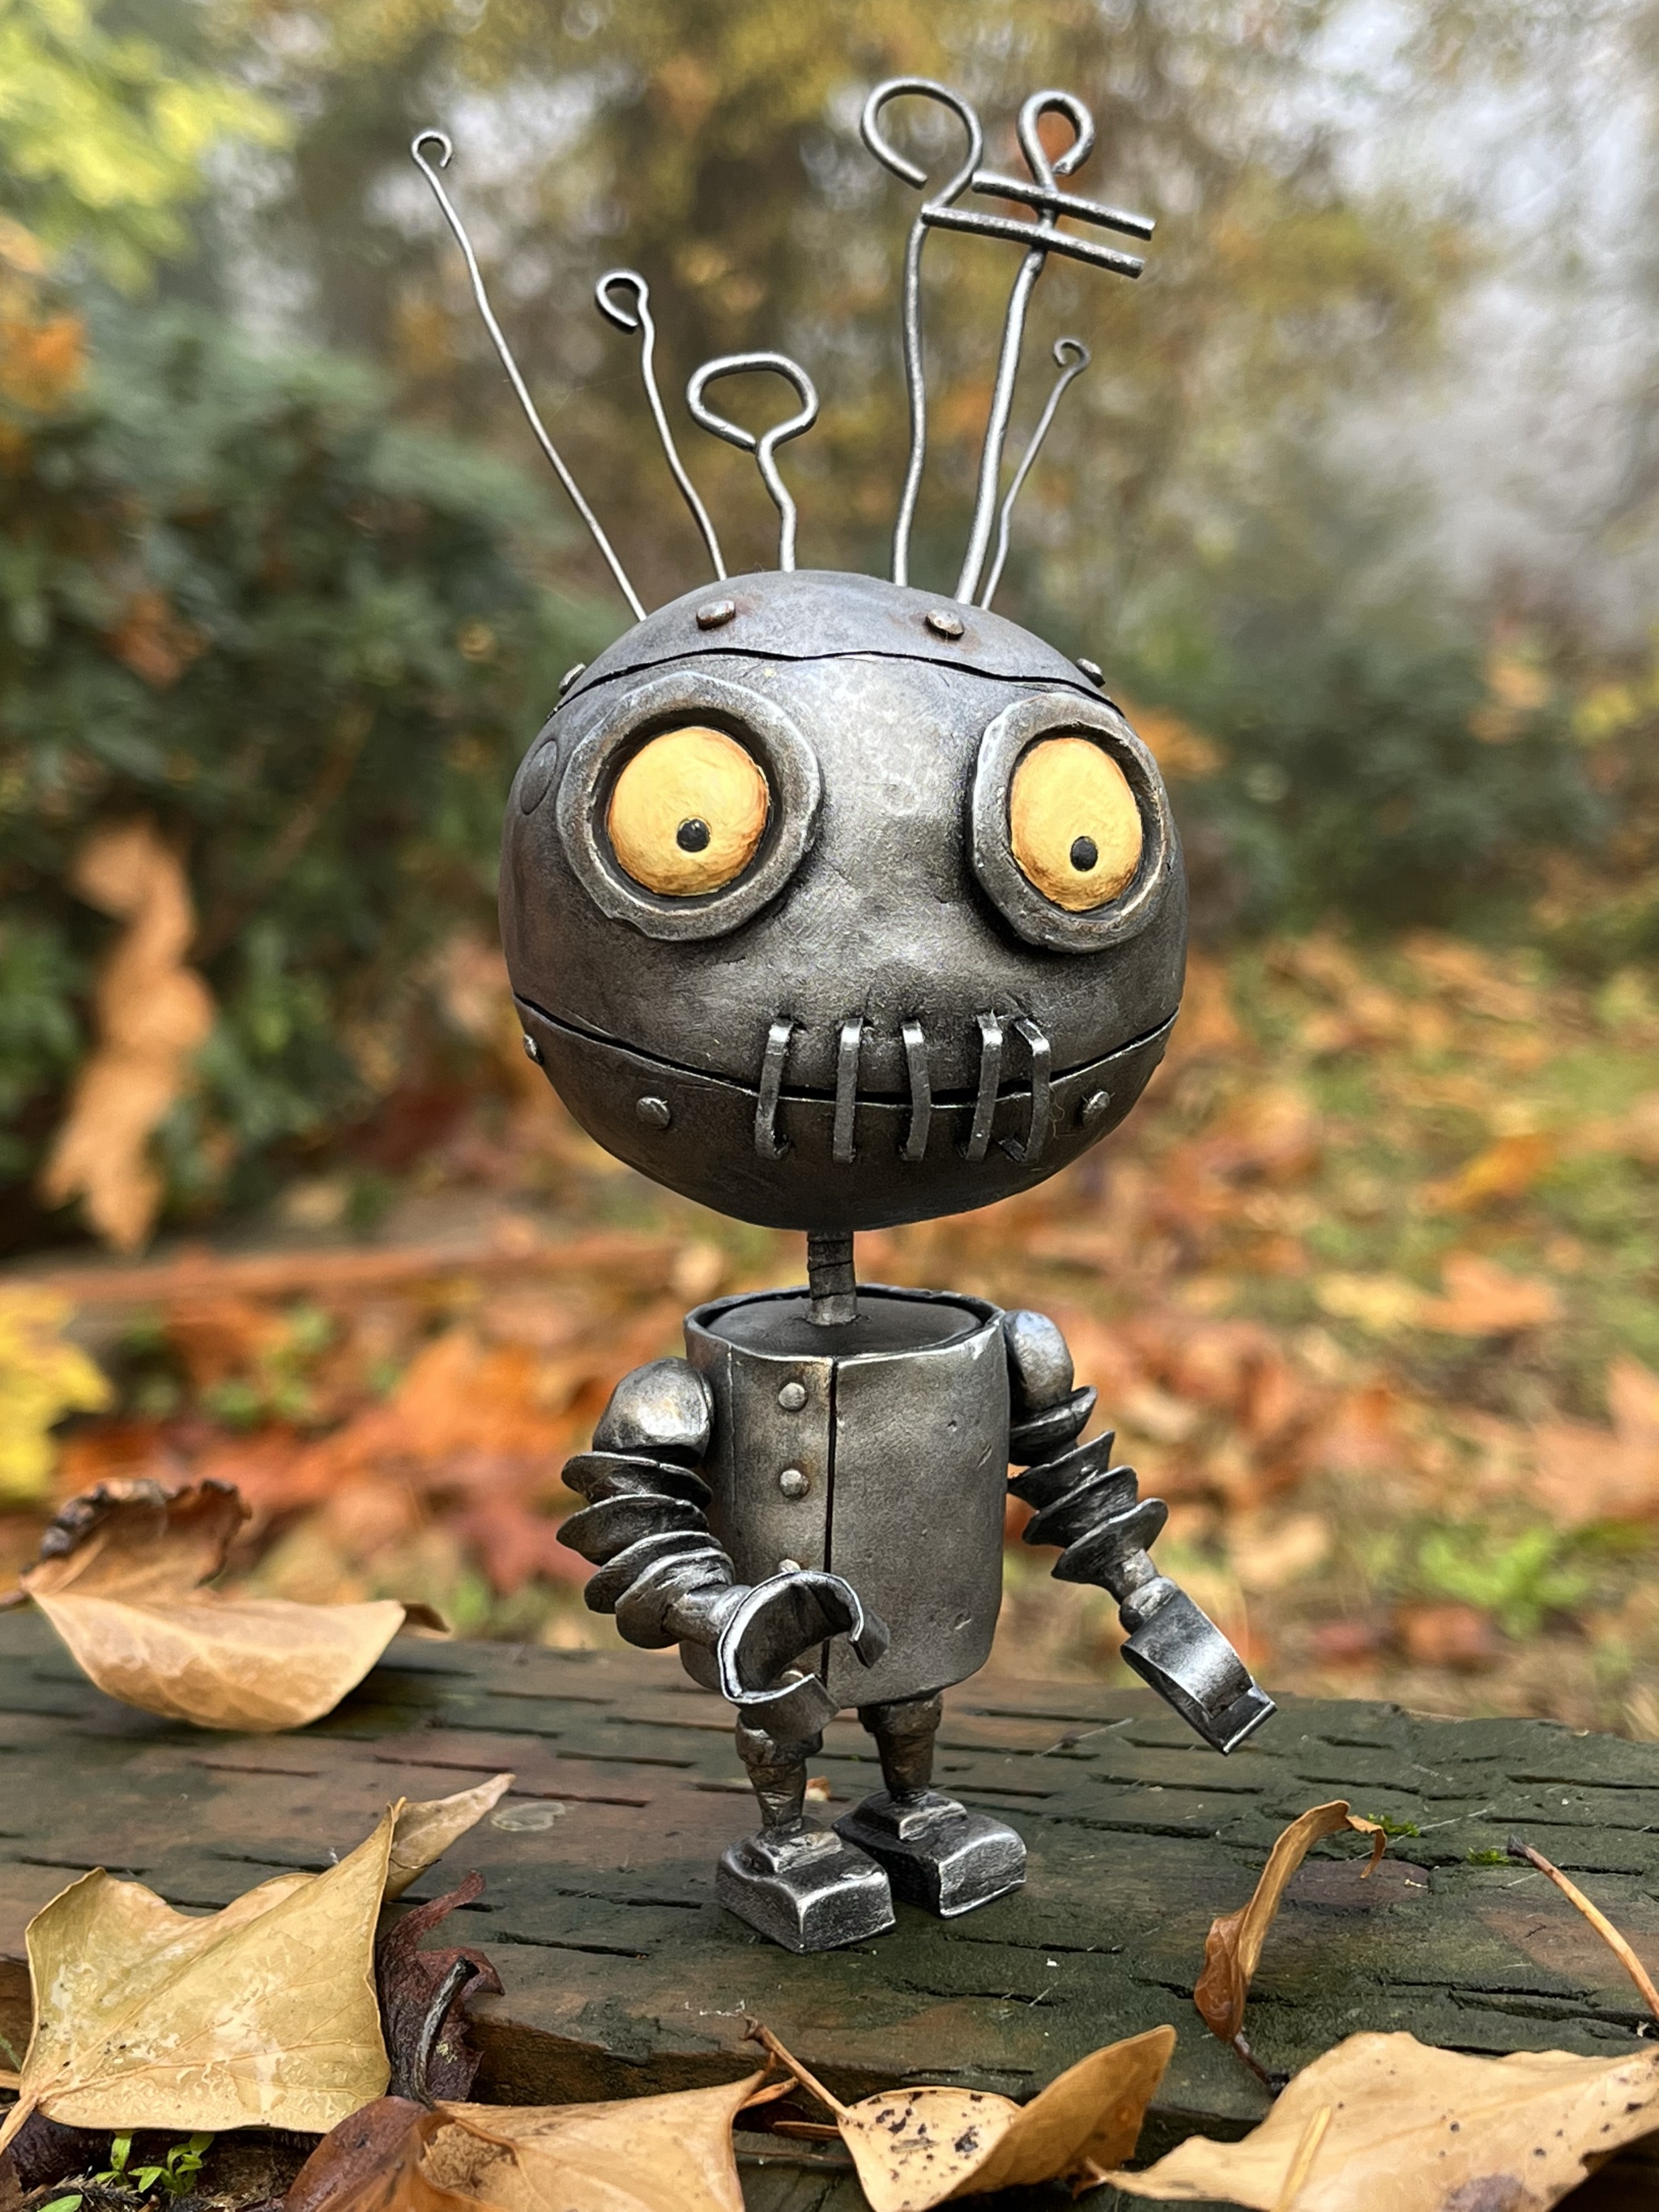
I love watching Tim Burton movies during October. The machinery in the cookie factory scenes in Edward Scissorhands made me curious to see what a Tim Burton style robot would look like. Then I found that he actually designed some robot characters. My character is largely based on those designs.
He’s made mostly out of polymer clay over an aluminum foil base. I used various types of wire for his antennae as well as thick staples for his mouth grill.
I’d like to make a Tin Woodman similar to this.
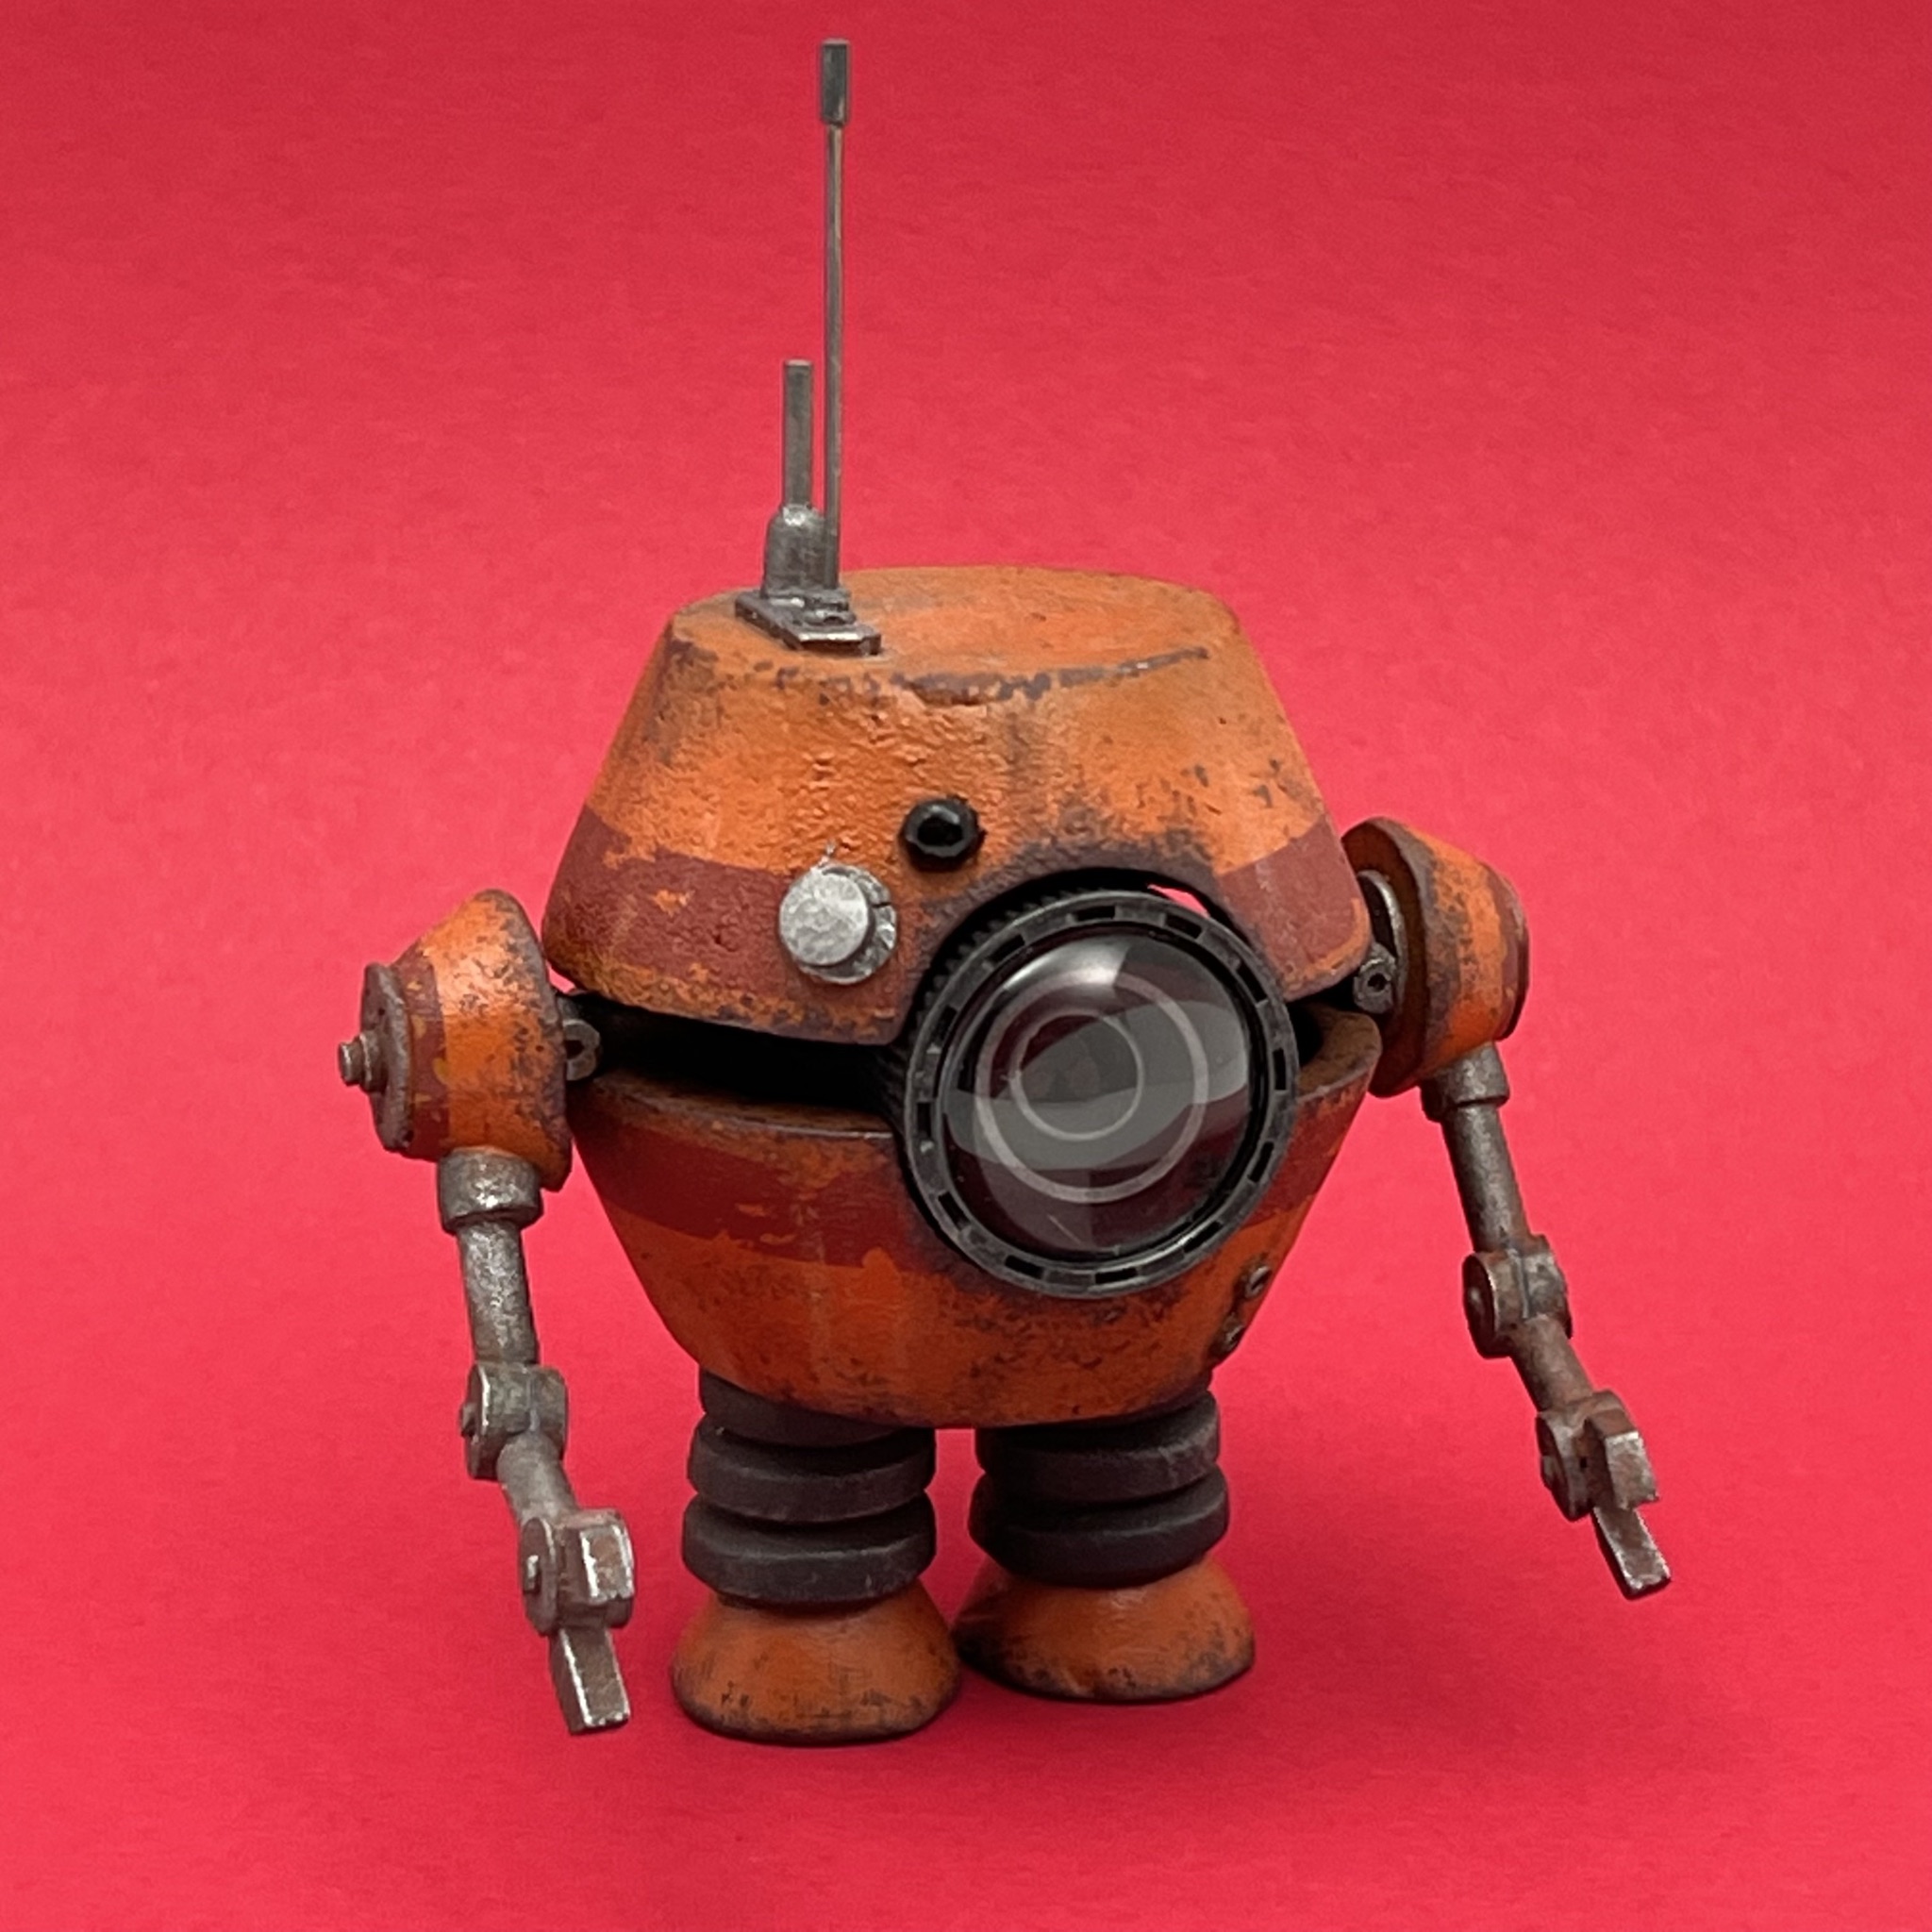
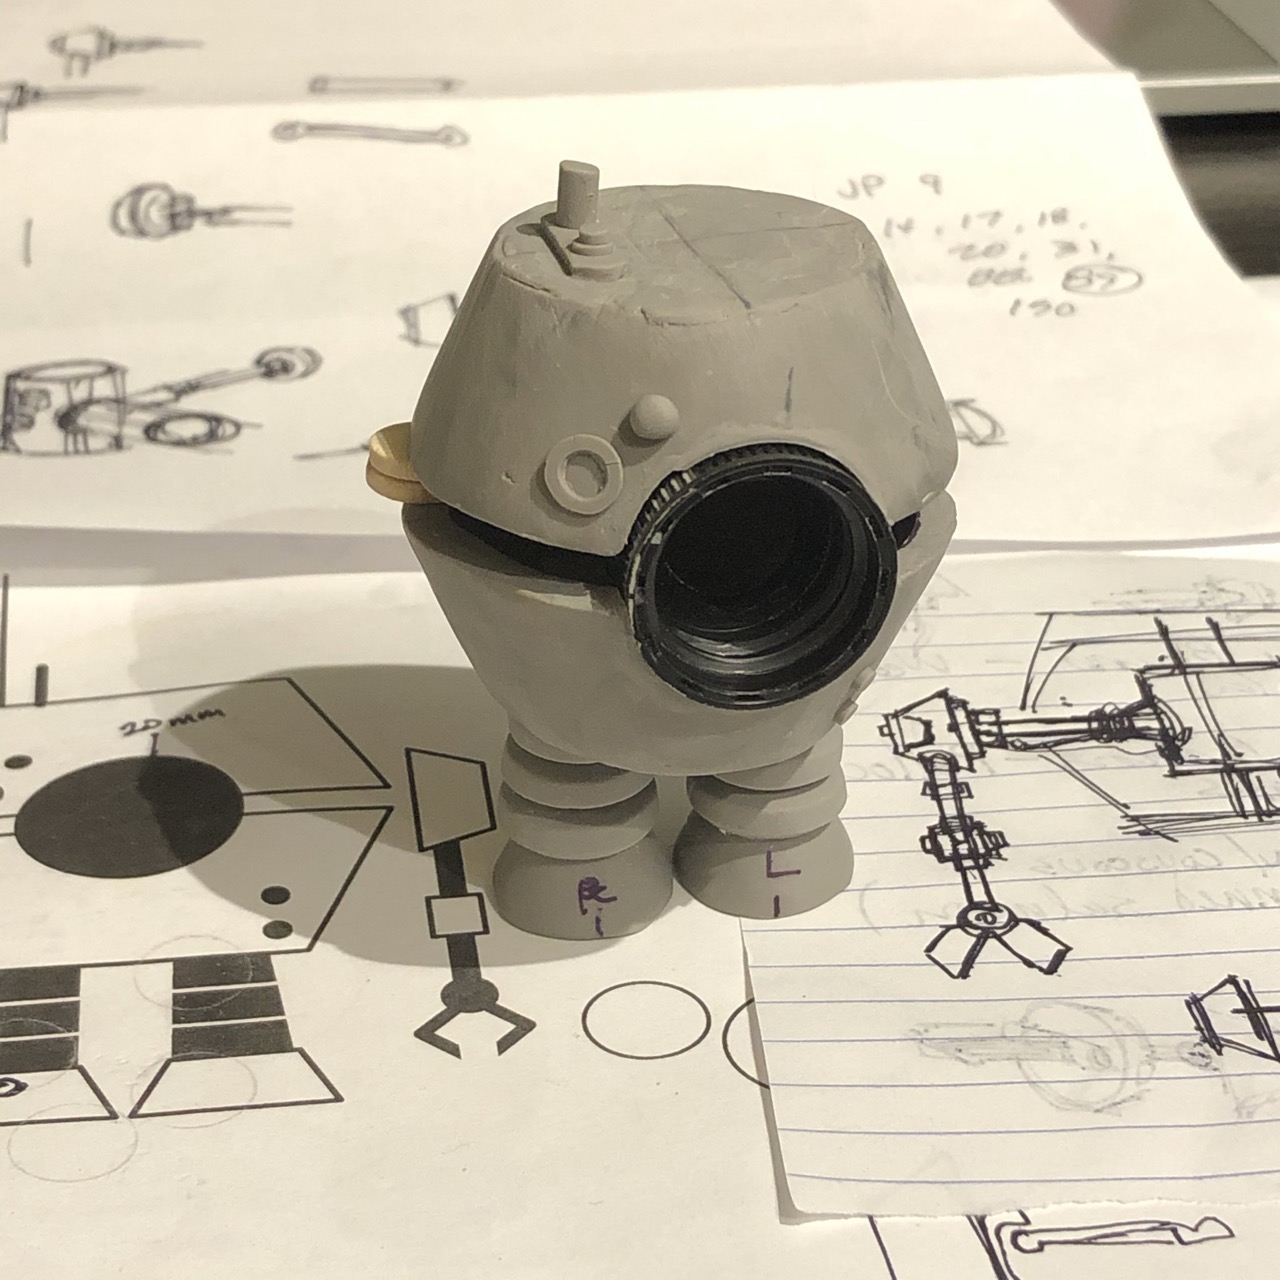
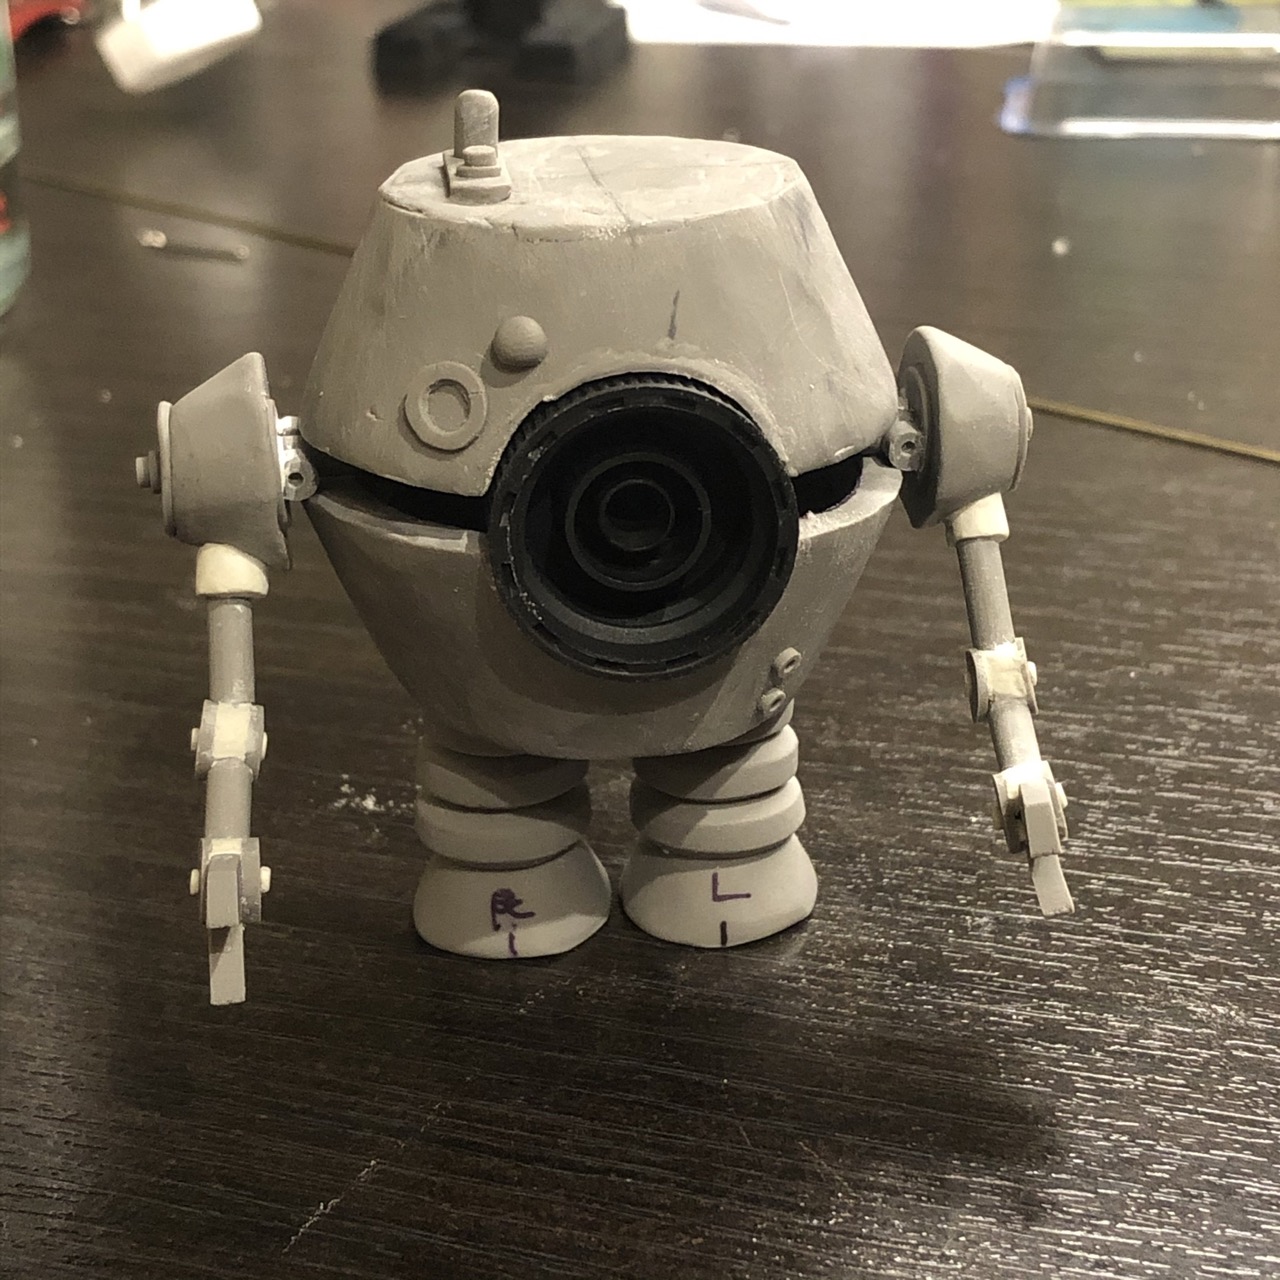
Another robot model I completed last year. I was going for more of a Star Wars aesthetic with this one, sort of inspired by Gonk droids.
Except for the eye, he’s made entirely out of Super Sculpey. I created a cardboard mold for the shape that forms the two body halves so that they would be the same. After the body halves were baked, I used a Dremel to hollow them out and carve the hole for the eye.
The eye was made with a bottle cap lid, the lens is a clear glass cabochon. I bought a pack of them in various sizes. I’m hoping to find more uses for them.
If I were to build a similar one, I wouldn’t use Sculpey for the arms as they seem a little brittle. I’m sure they would break if he were to fall over. Luckily he’s pretty stout.


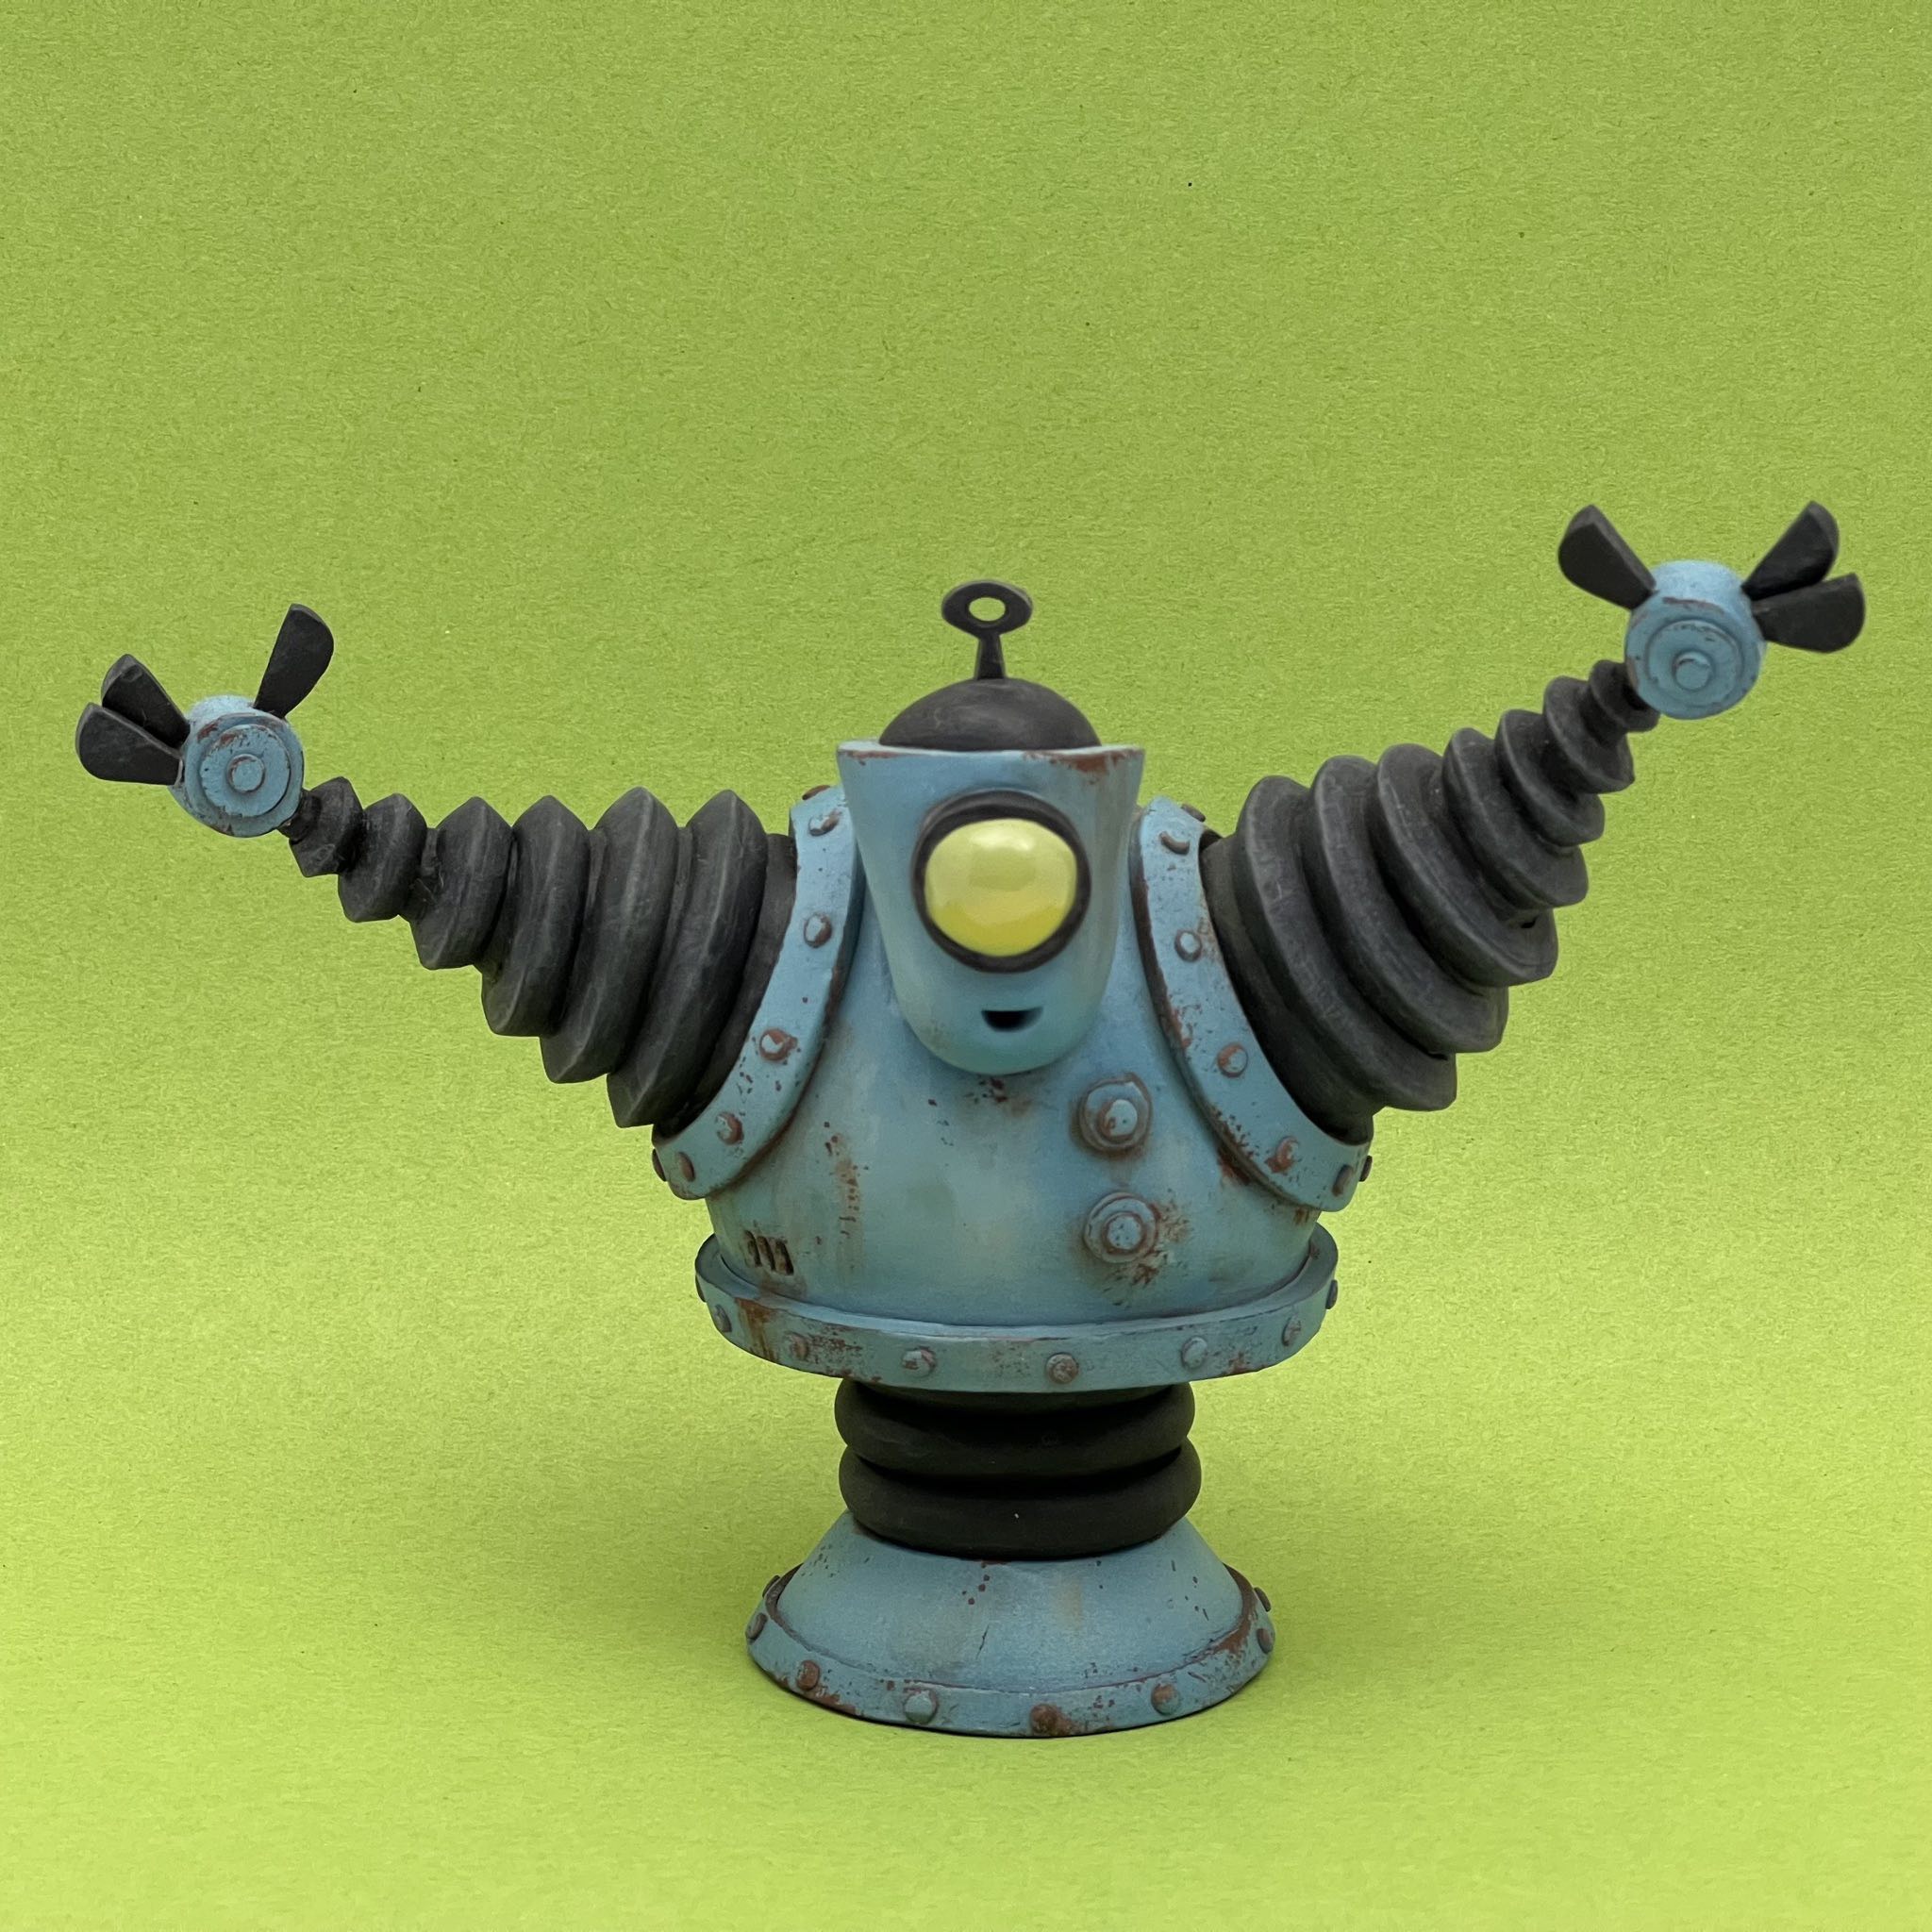
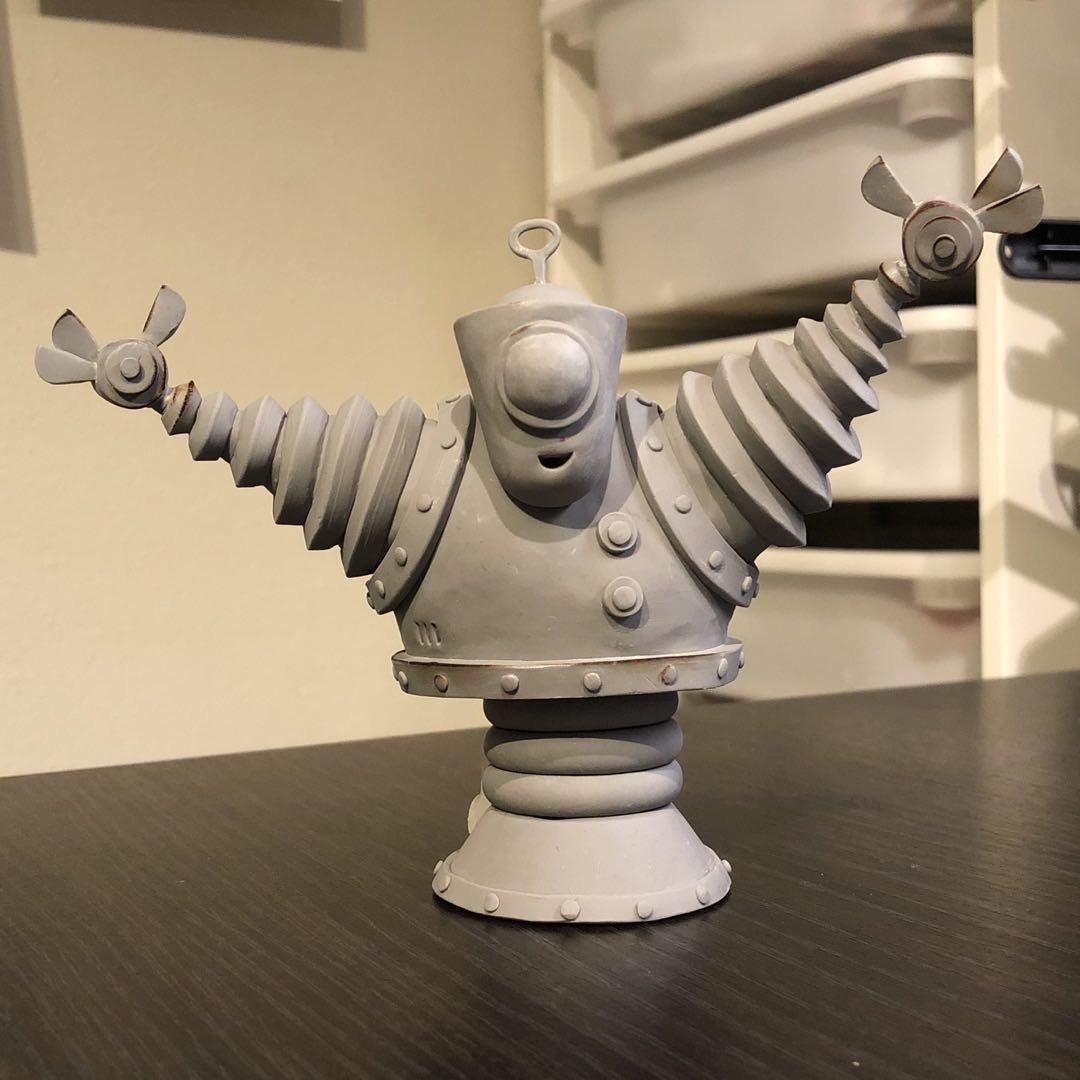
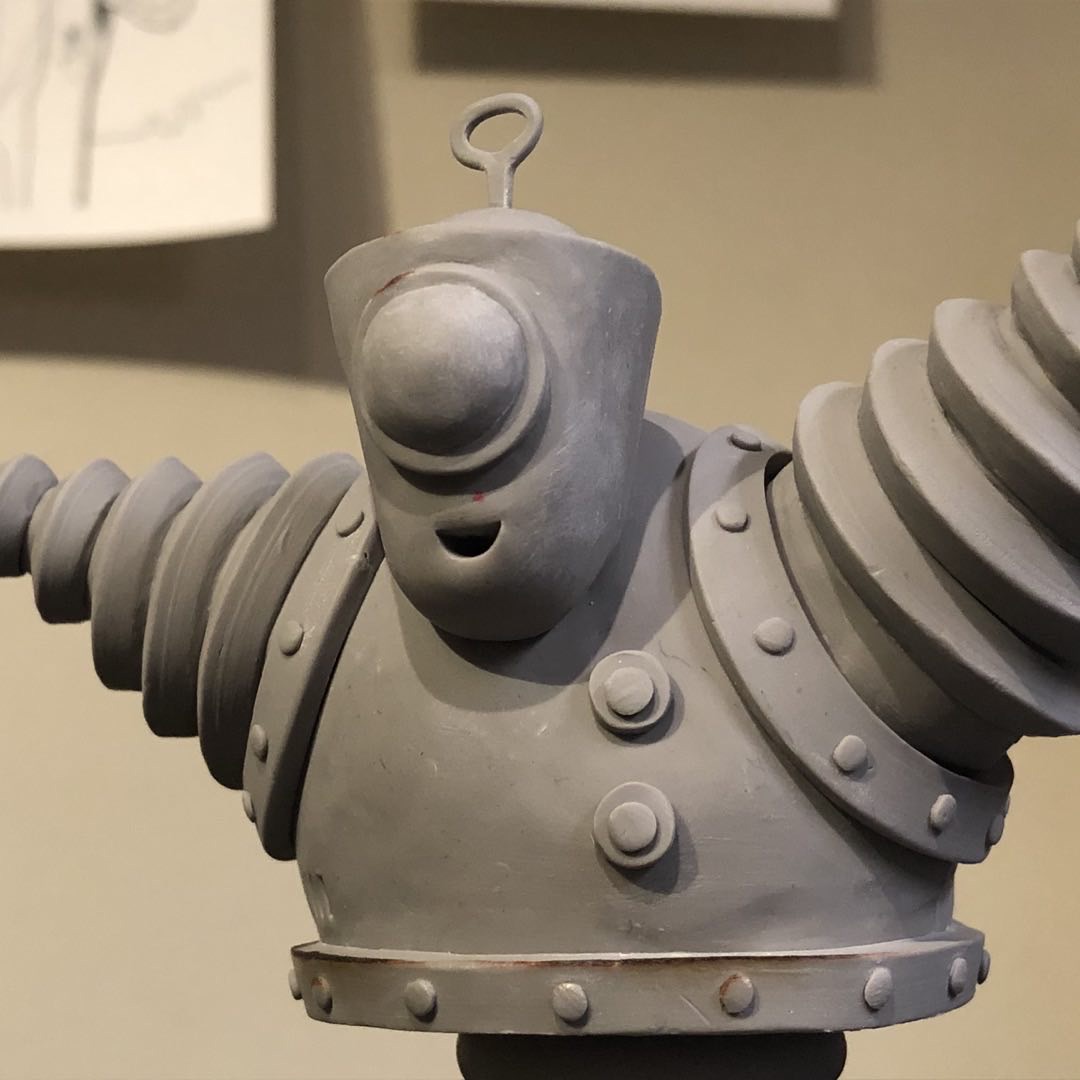
I made an art toy sculpture of Hugbot, one of my Robot Roundup characters.
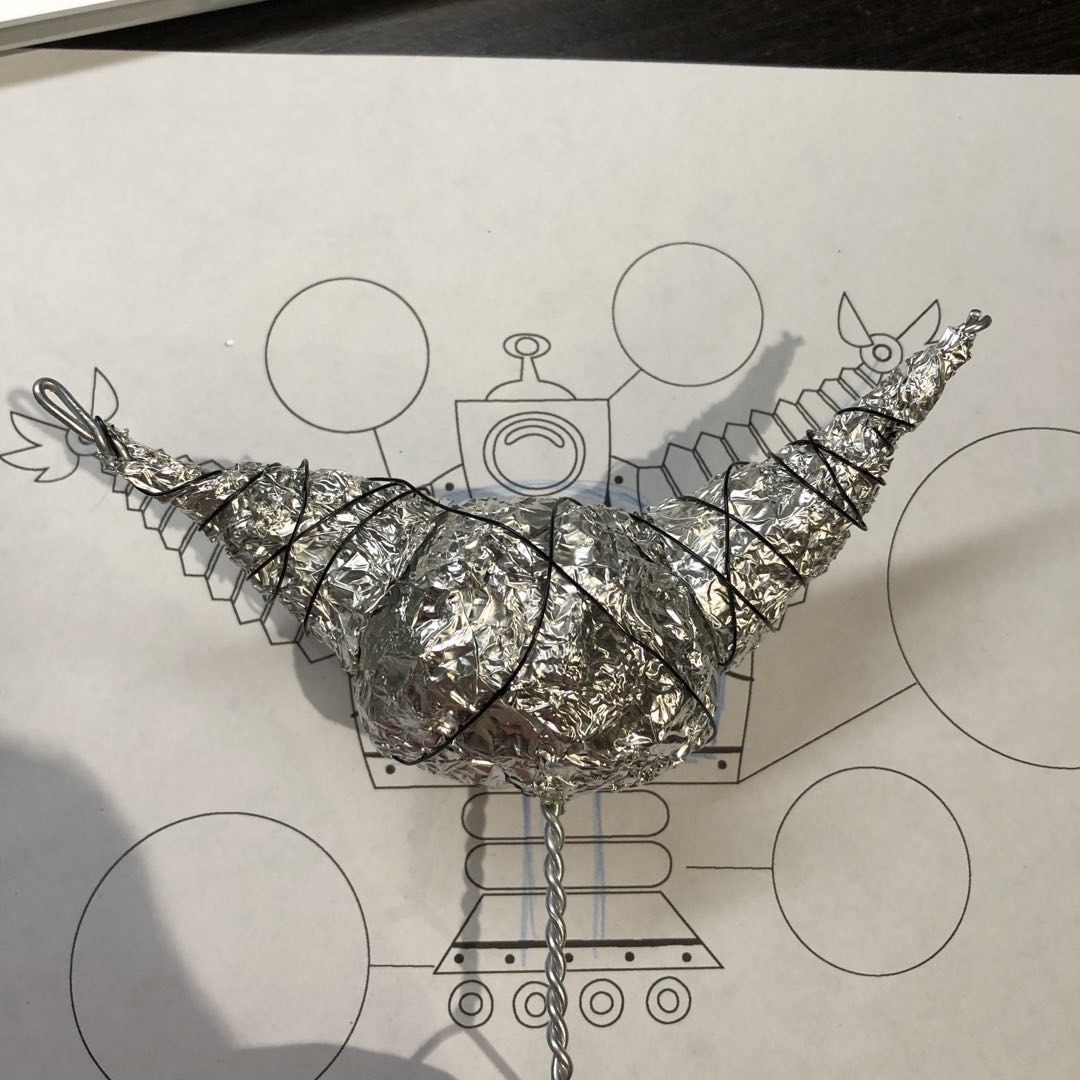
Similar to how I made Junkbot, I printed a vector drawing of the character at the size I wanted the sculpture, which I then used as a schematic.
With this blueprint, I made a simple armature with twisted wire for his arms and torso, and built it up with layers of aluminum foil.
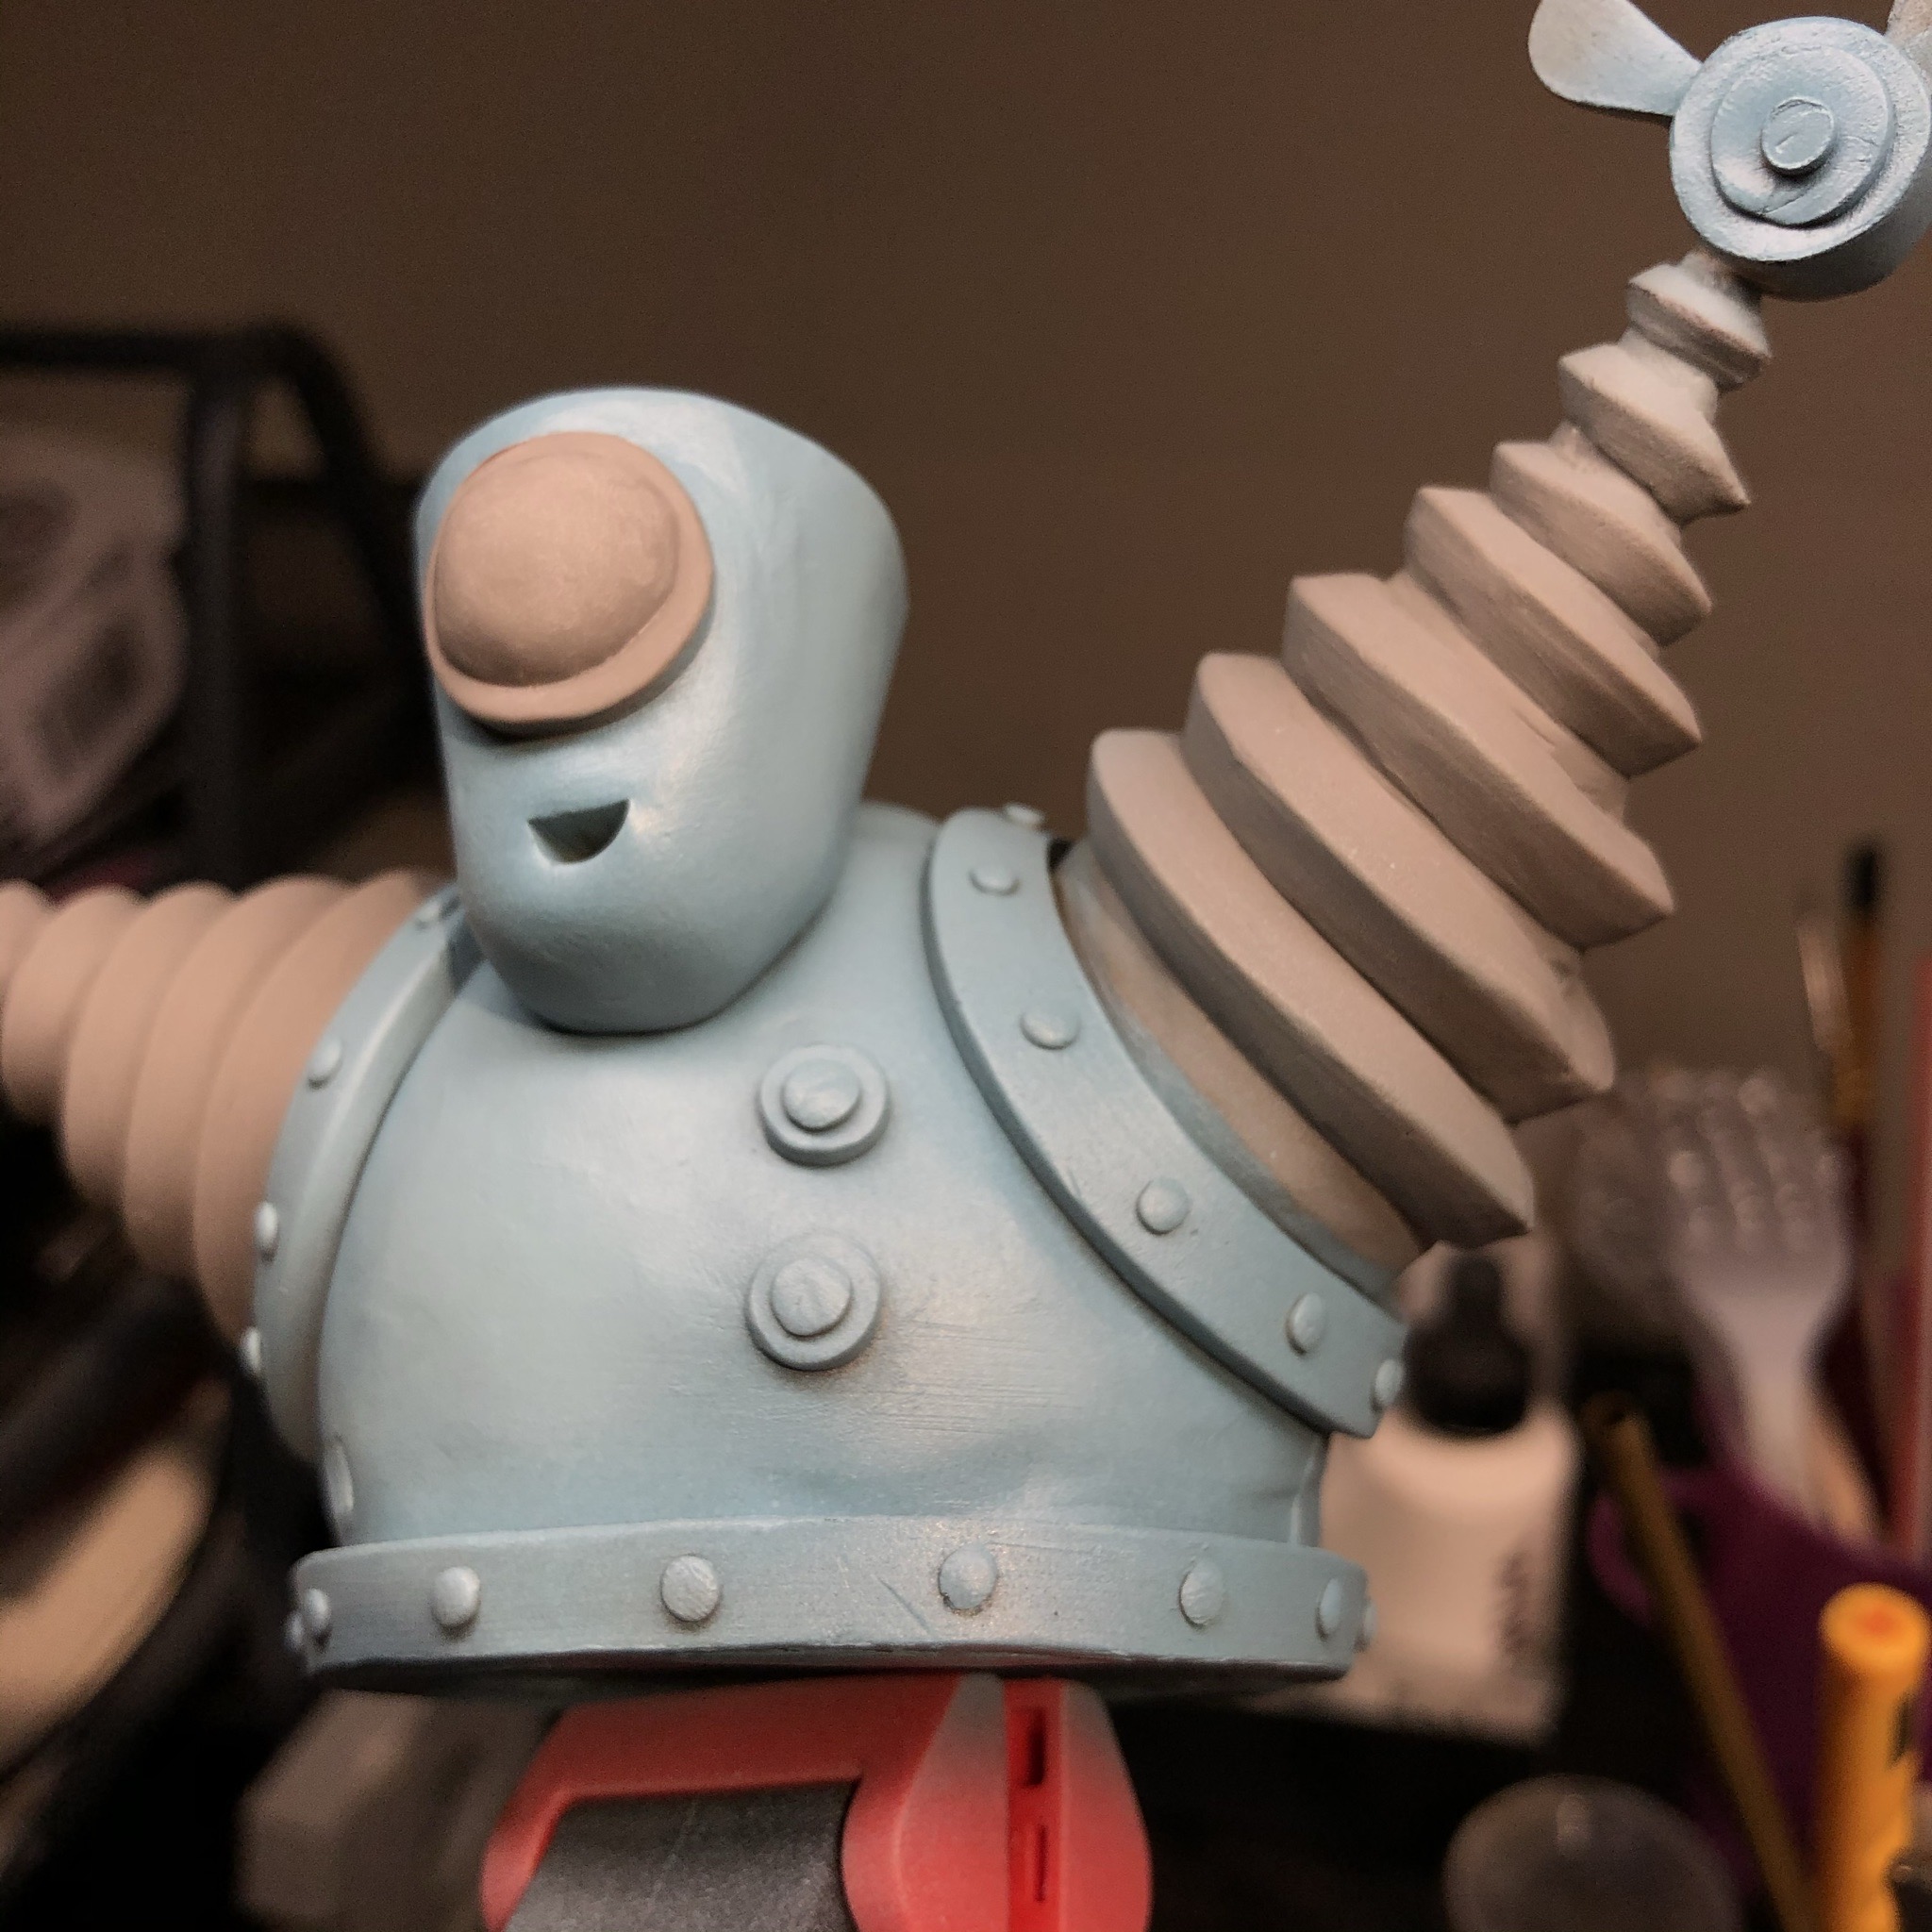
With my clay extruder, I was able to coat the armature with thin strips of Super Scupley. I also used extruded pieces for the trim around his shoulders and torso, as well as the triangular baffles around his arms. All the rivets were sliced from a thin clay noodle.
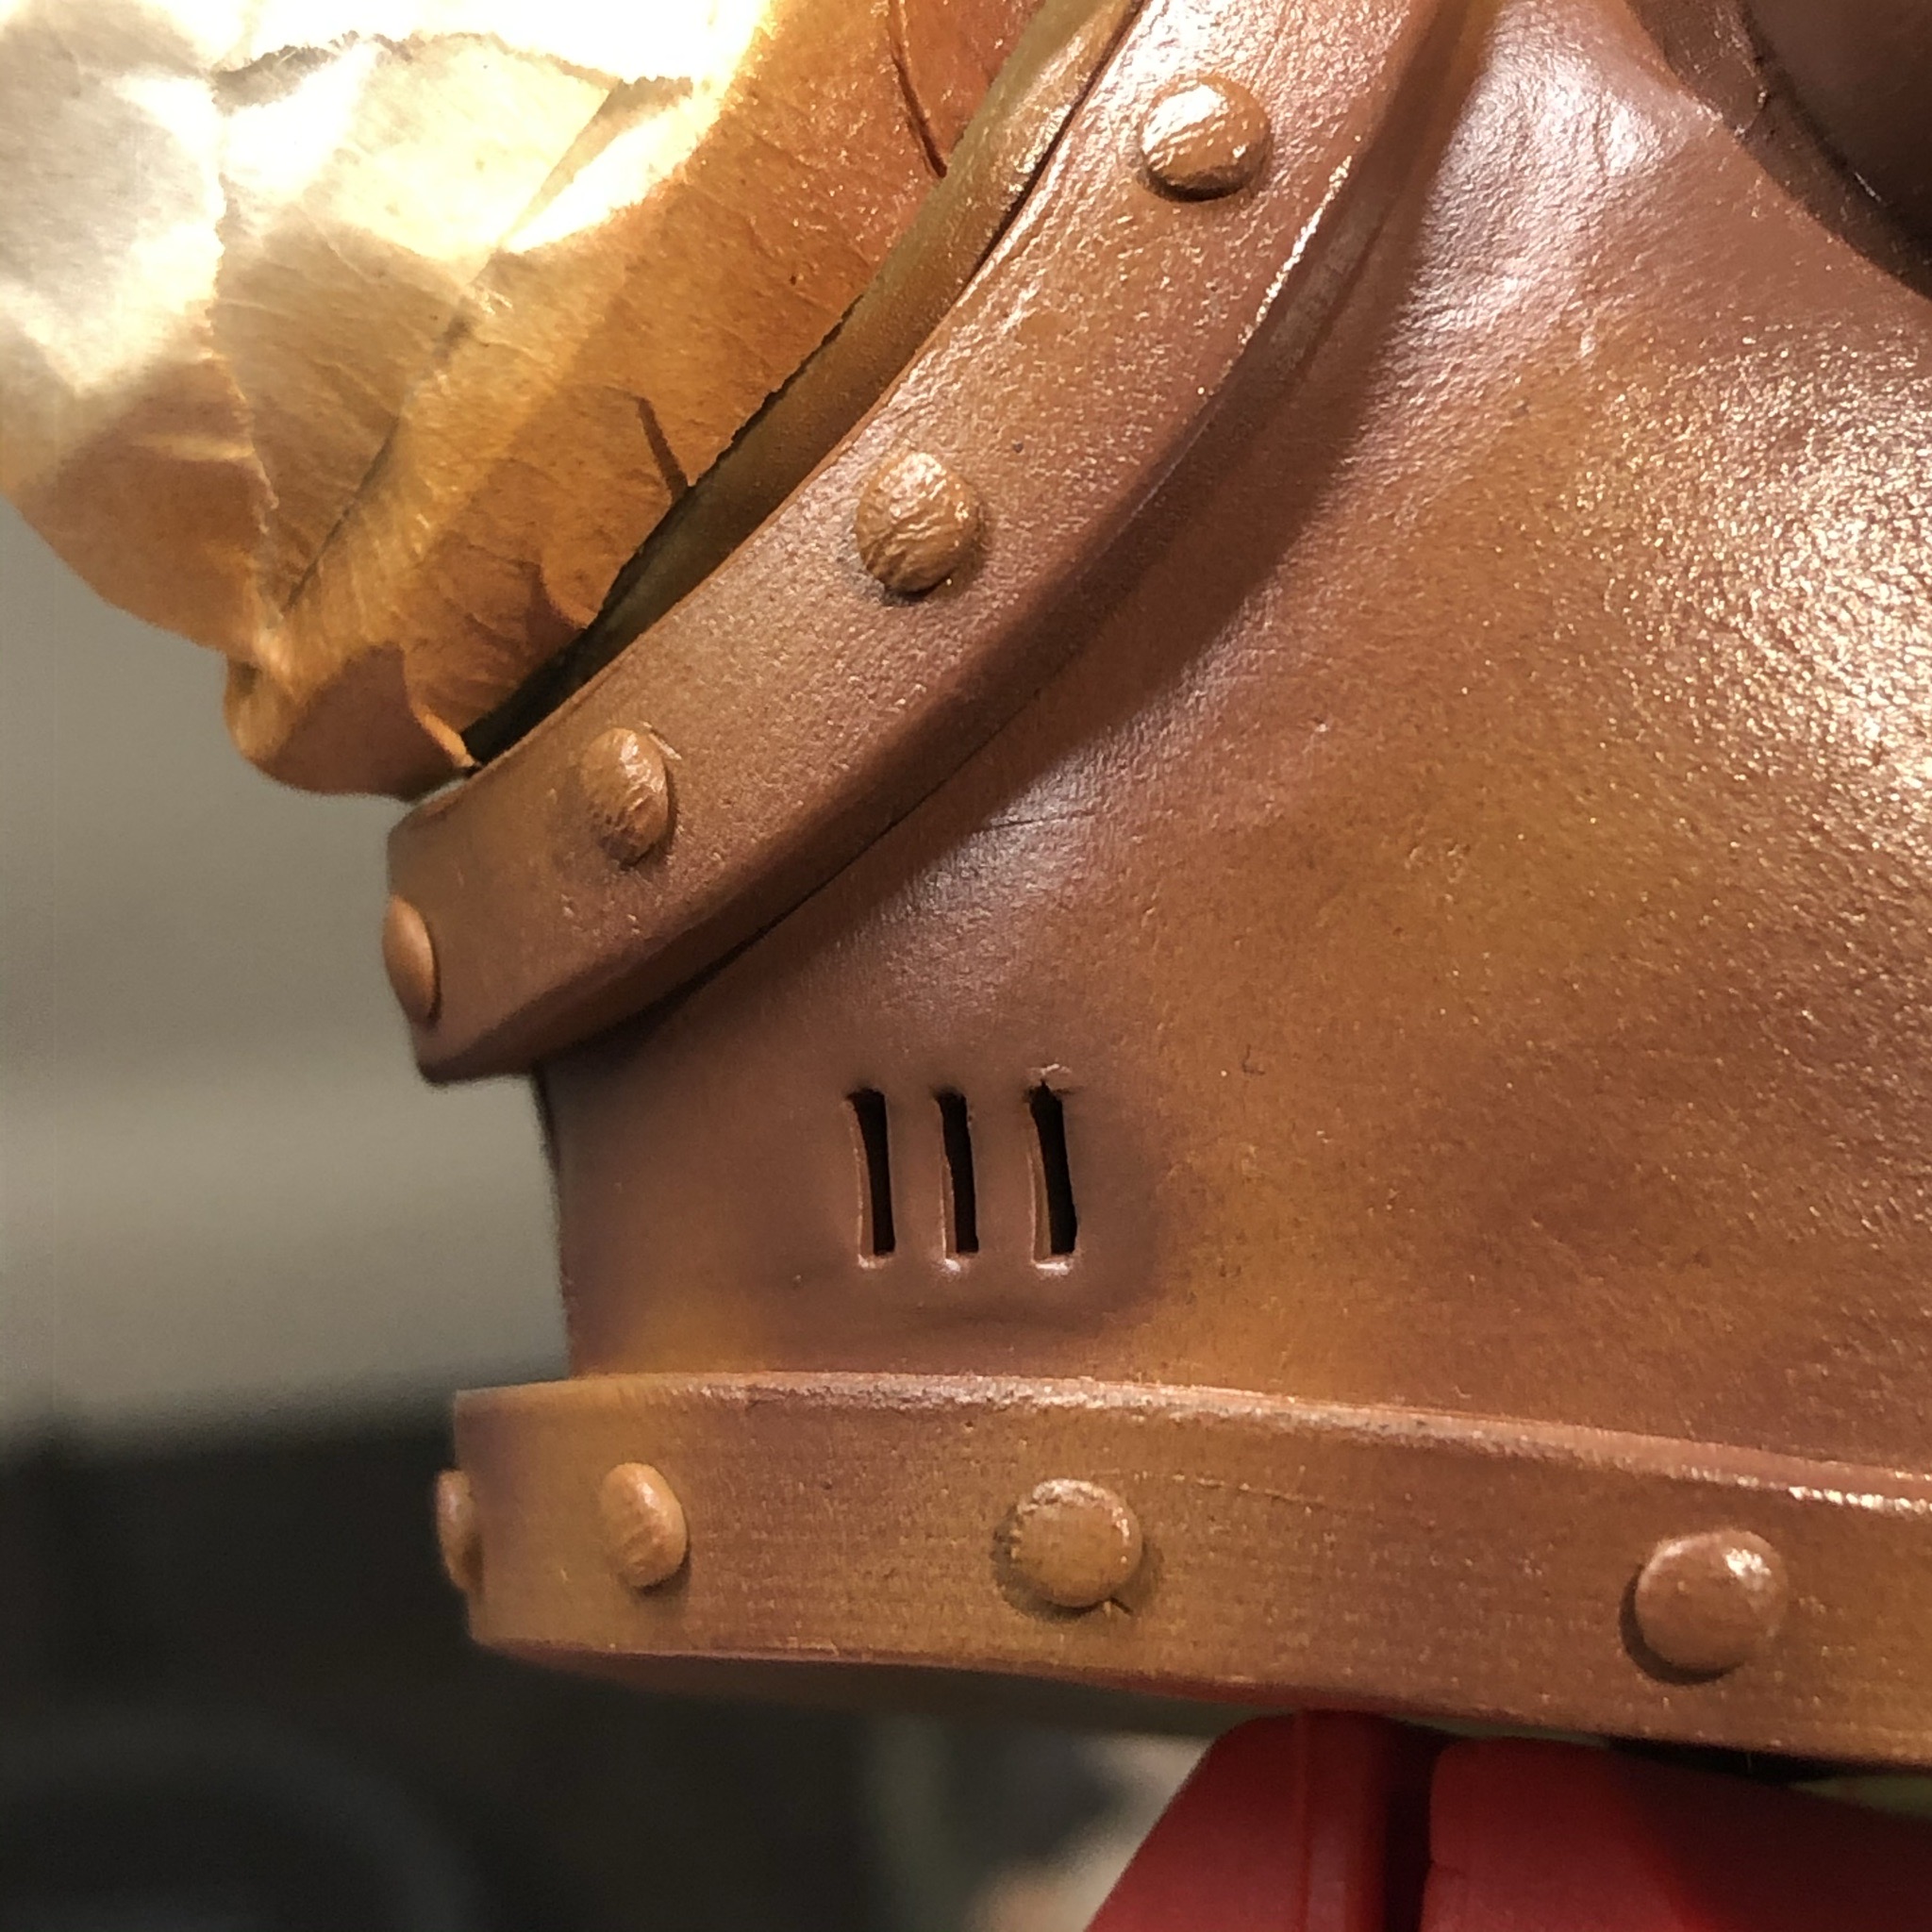
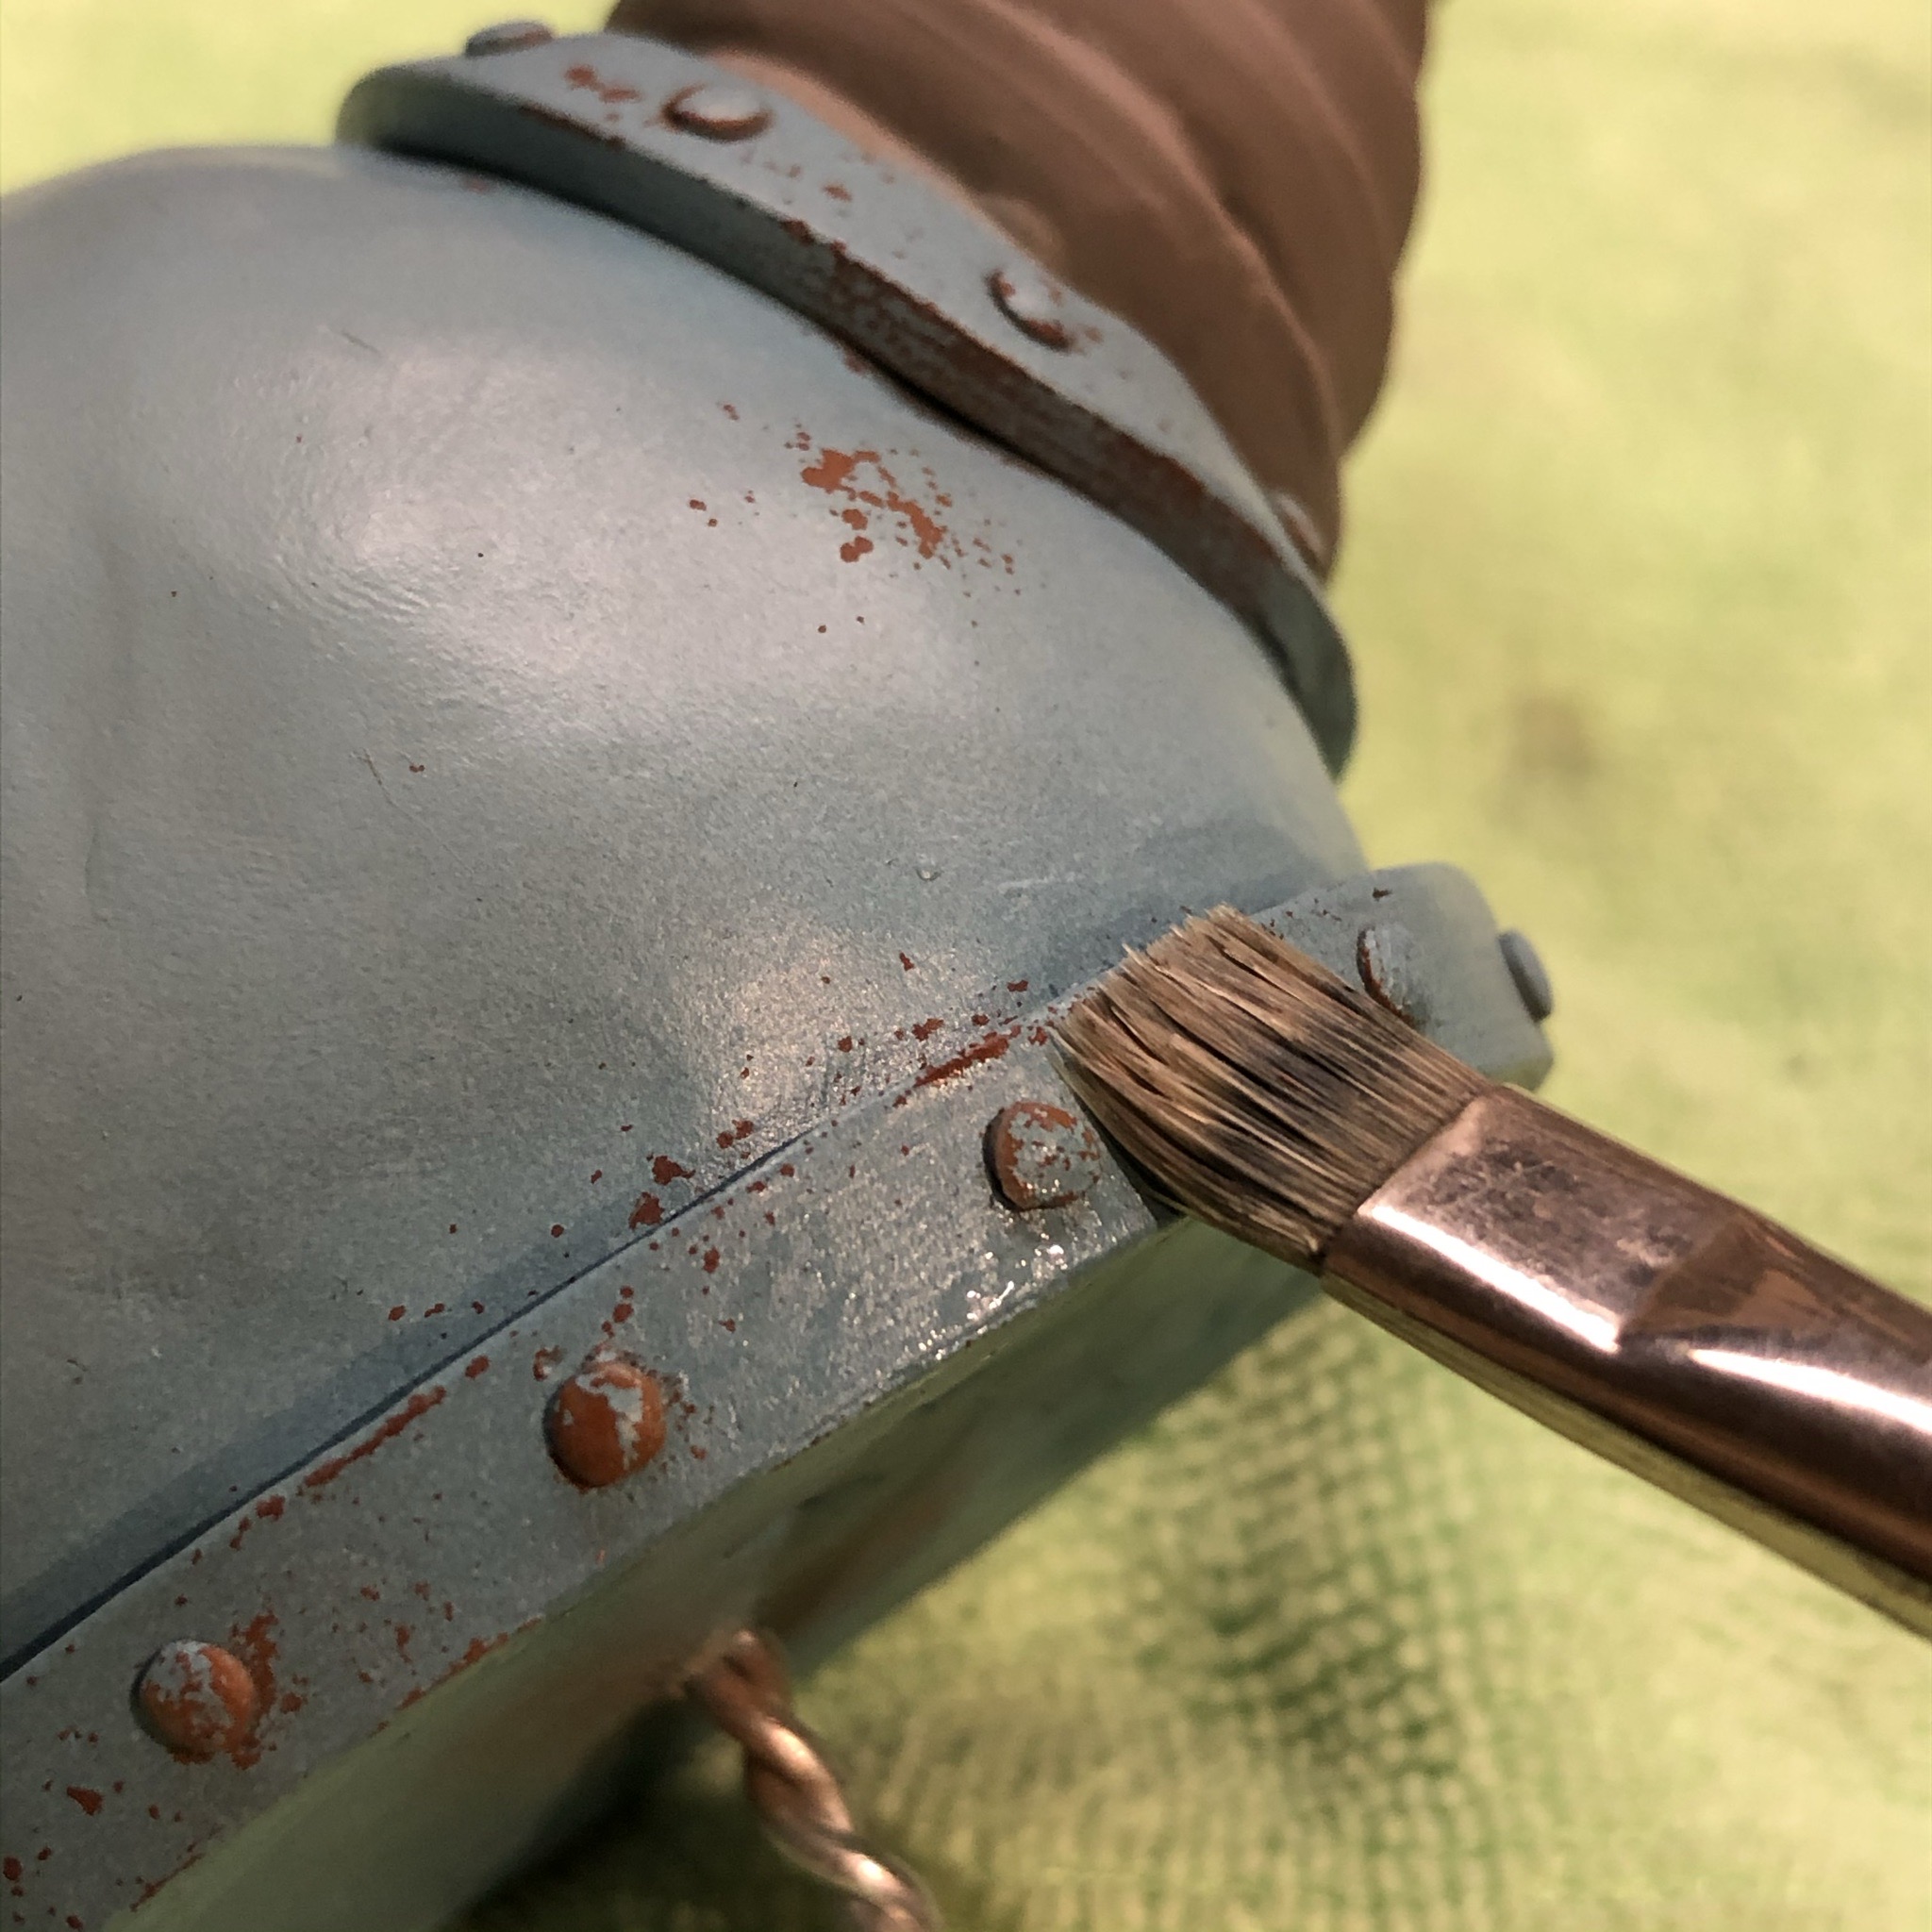
I airbrushed his body first with a rusty orange. Then I used a paint chipping technique where you then spay a layer of hairspray over the base color, followed the final body color. Using a stiff, wet brush, you then scrub around the areas where you want the base rust to show, and the hairspray, when wet, will loosen and the top paint layer will start to come off. This creates a the effect of the top layer of paint peeling off in places.
Then I used thin washes of oil paint to add grease and rust streaks.
Who’s ready for some hugs?


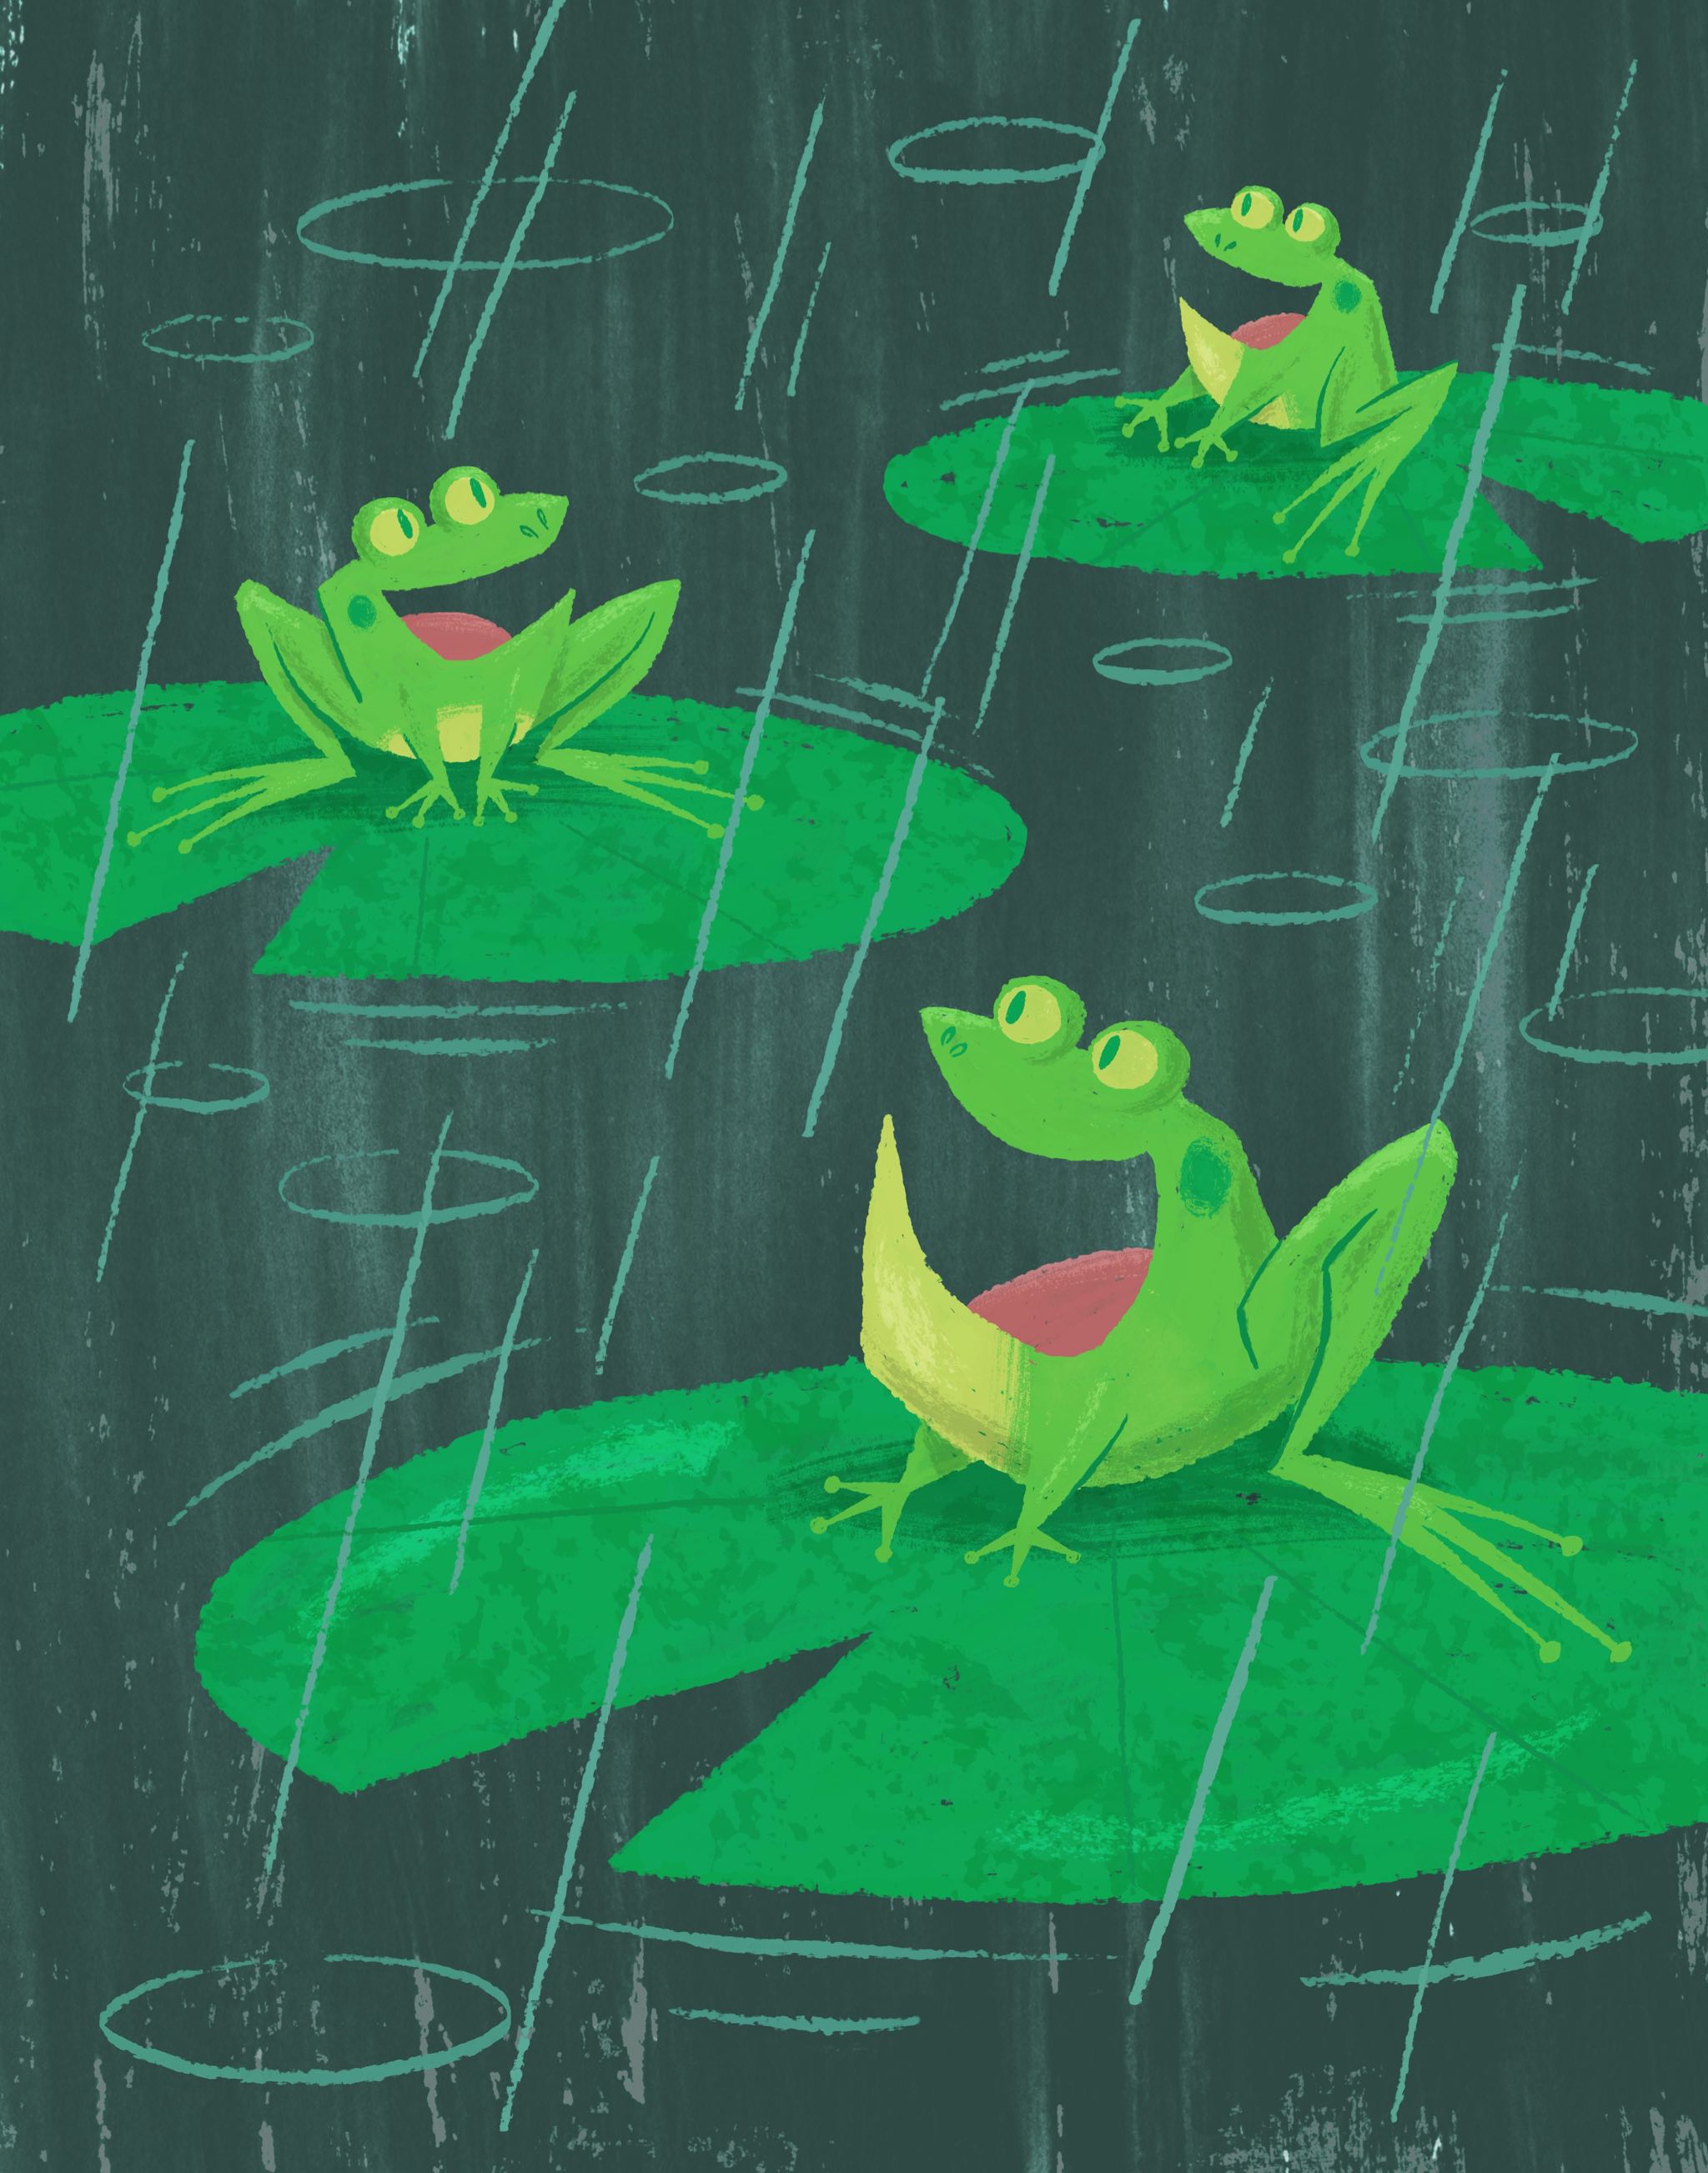
I recently reworked my illustration, “Hey Tonight”, just in time for the return of the spring frogs.
A few Christmas illustrations I’ve been working on this month. I like doing Christmas art, I just don’t ever feel like working on it when it’s not the holiday season.


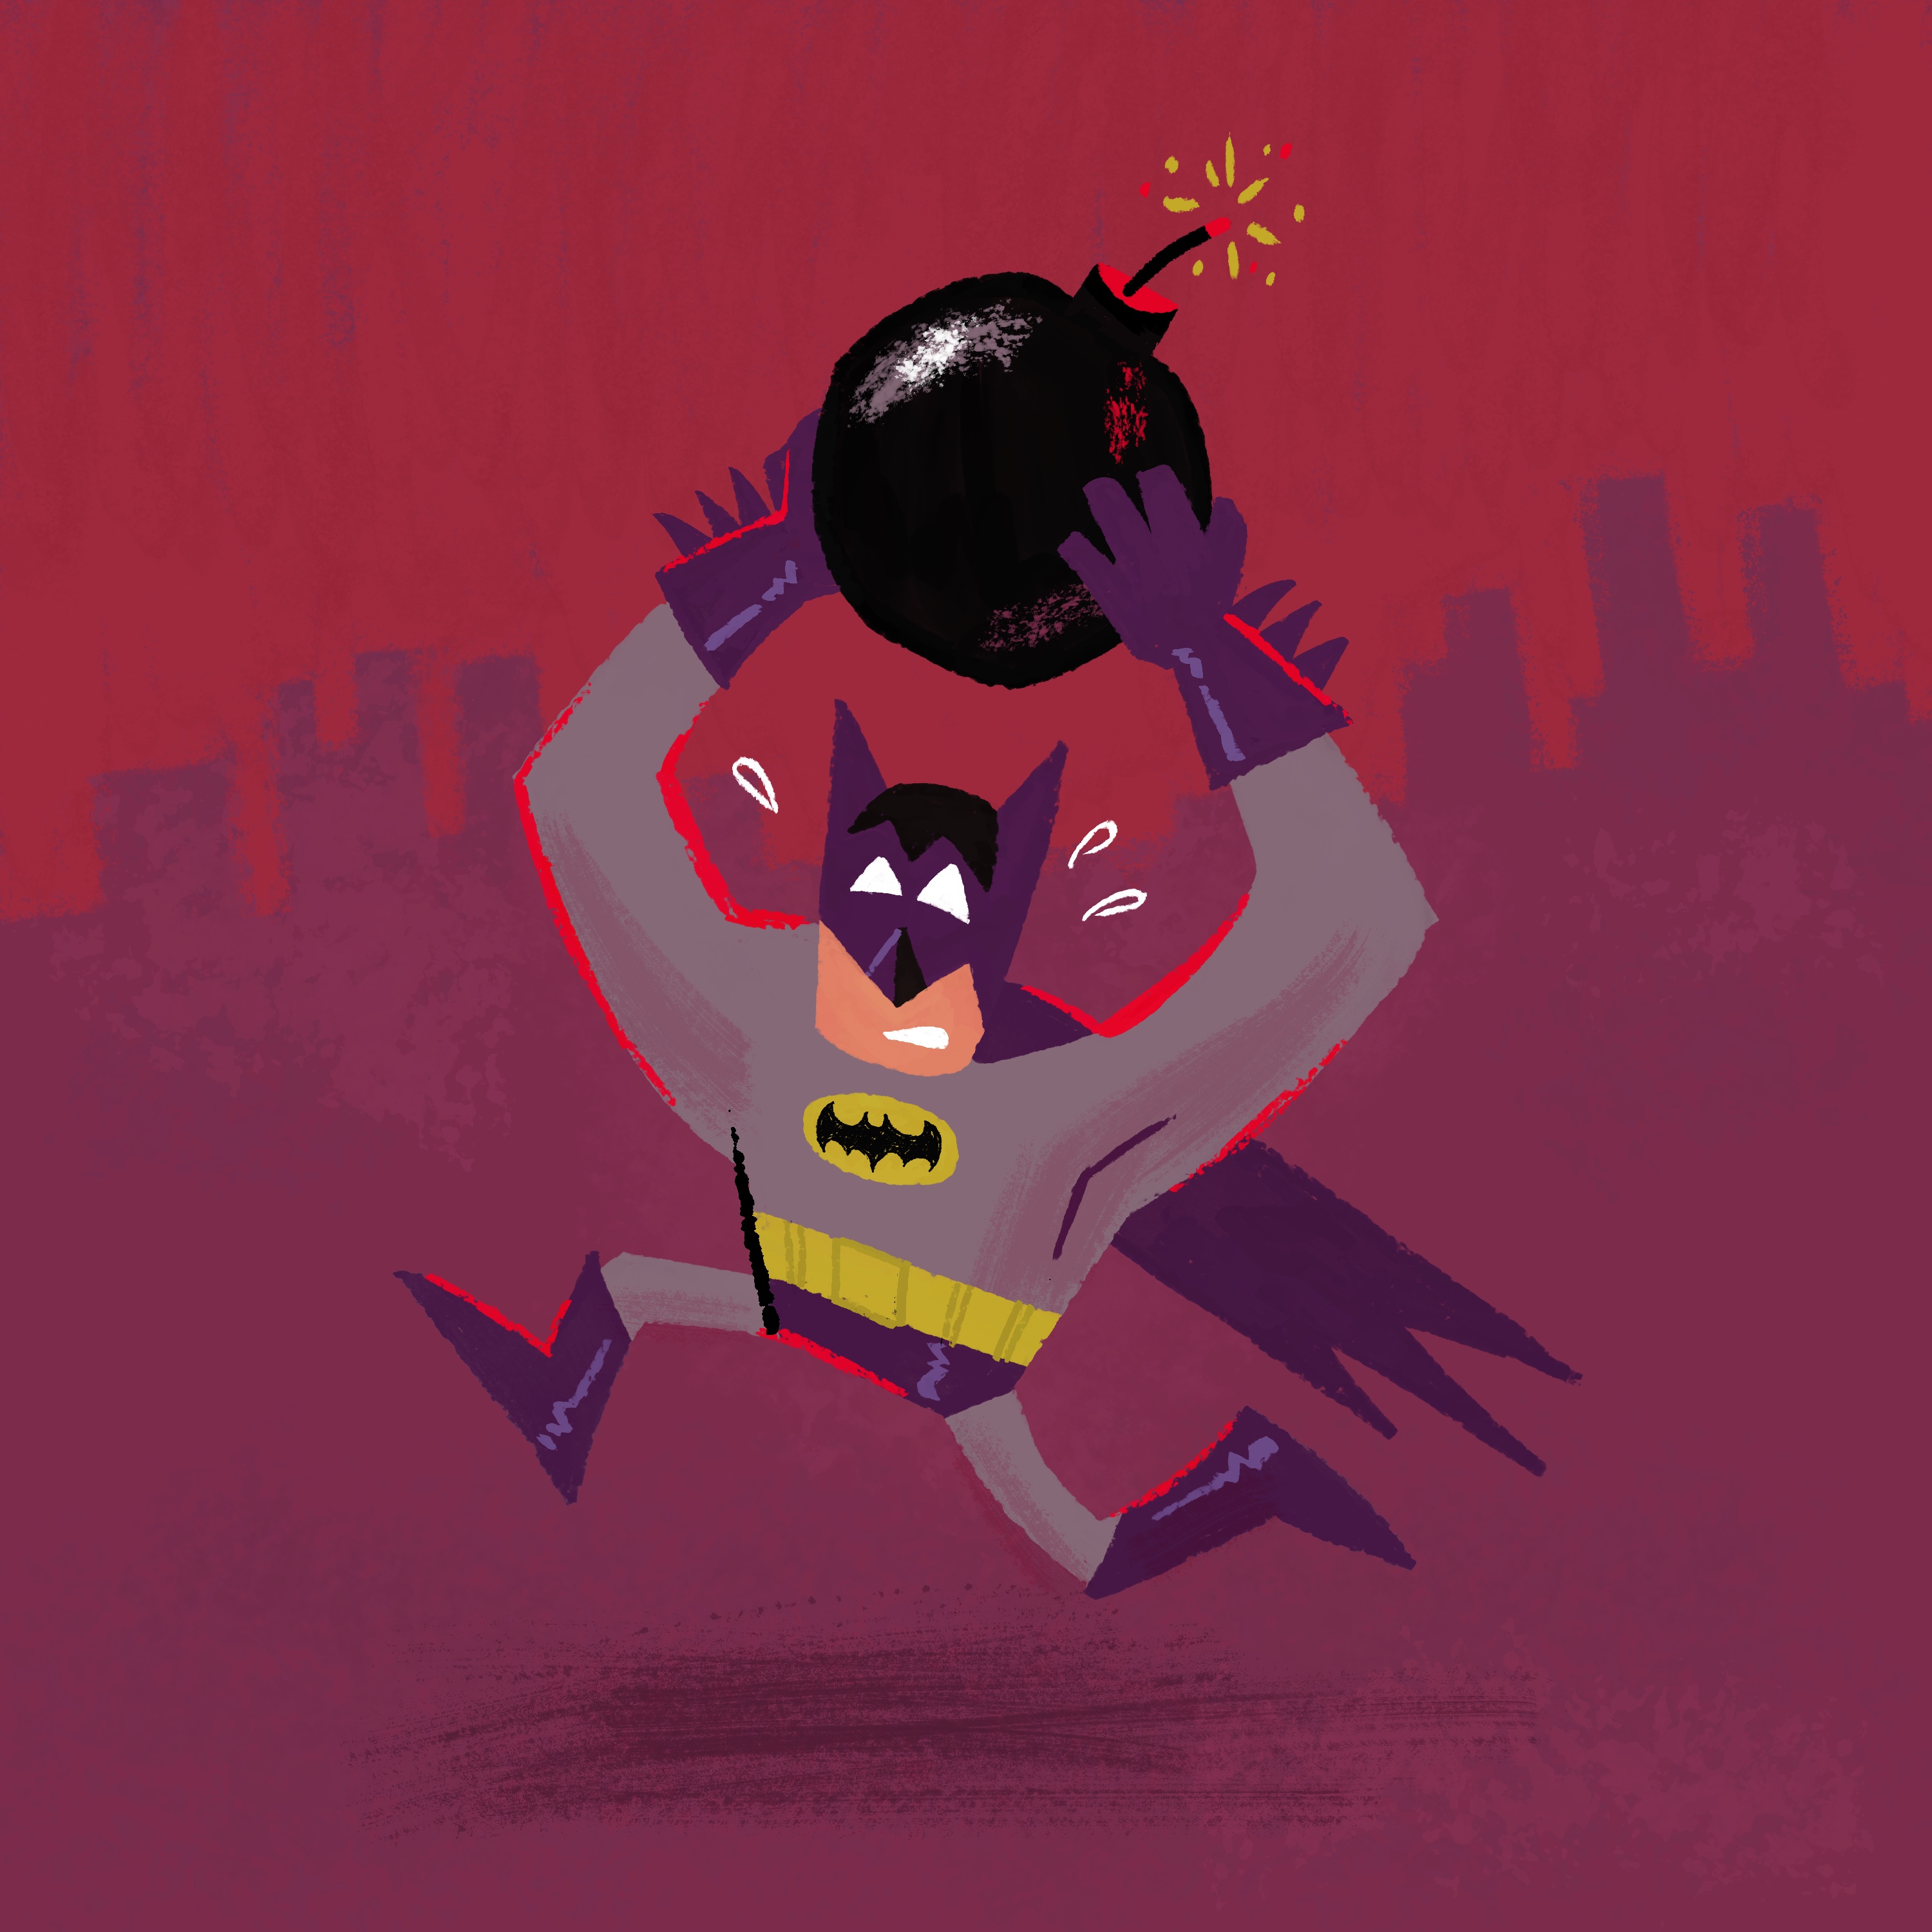
Some days, you just can’t get rid of a bomb.
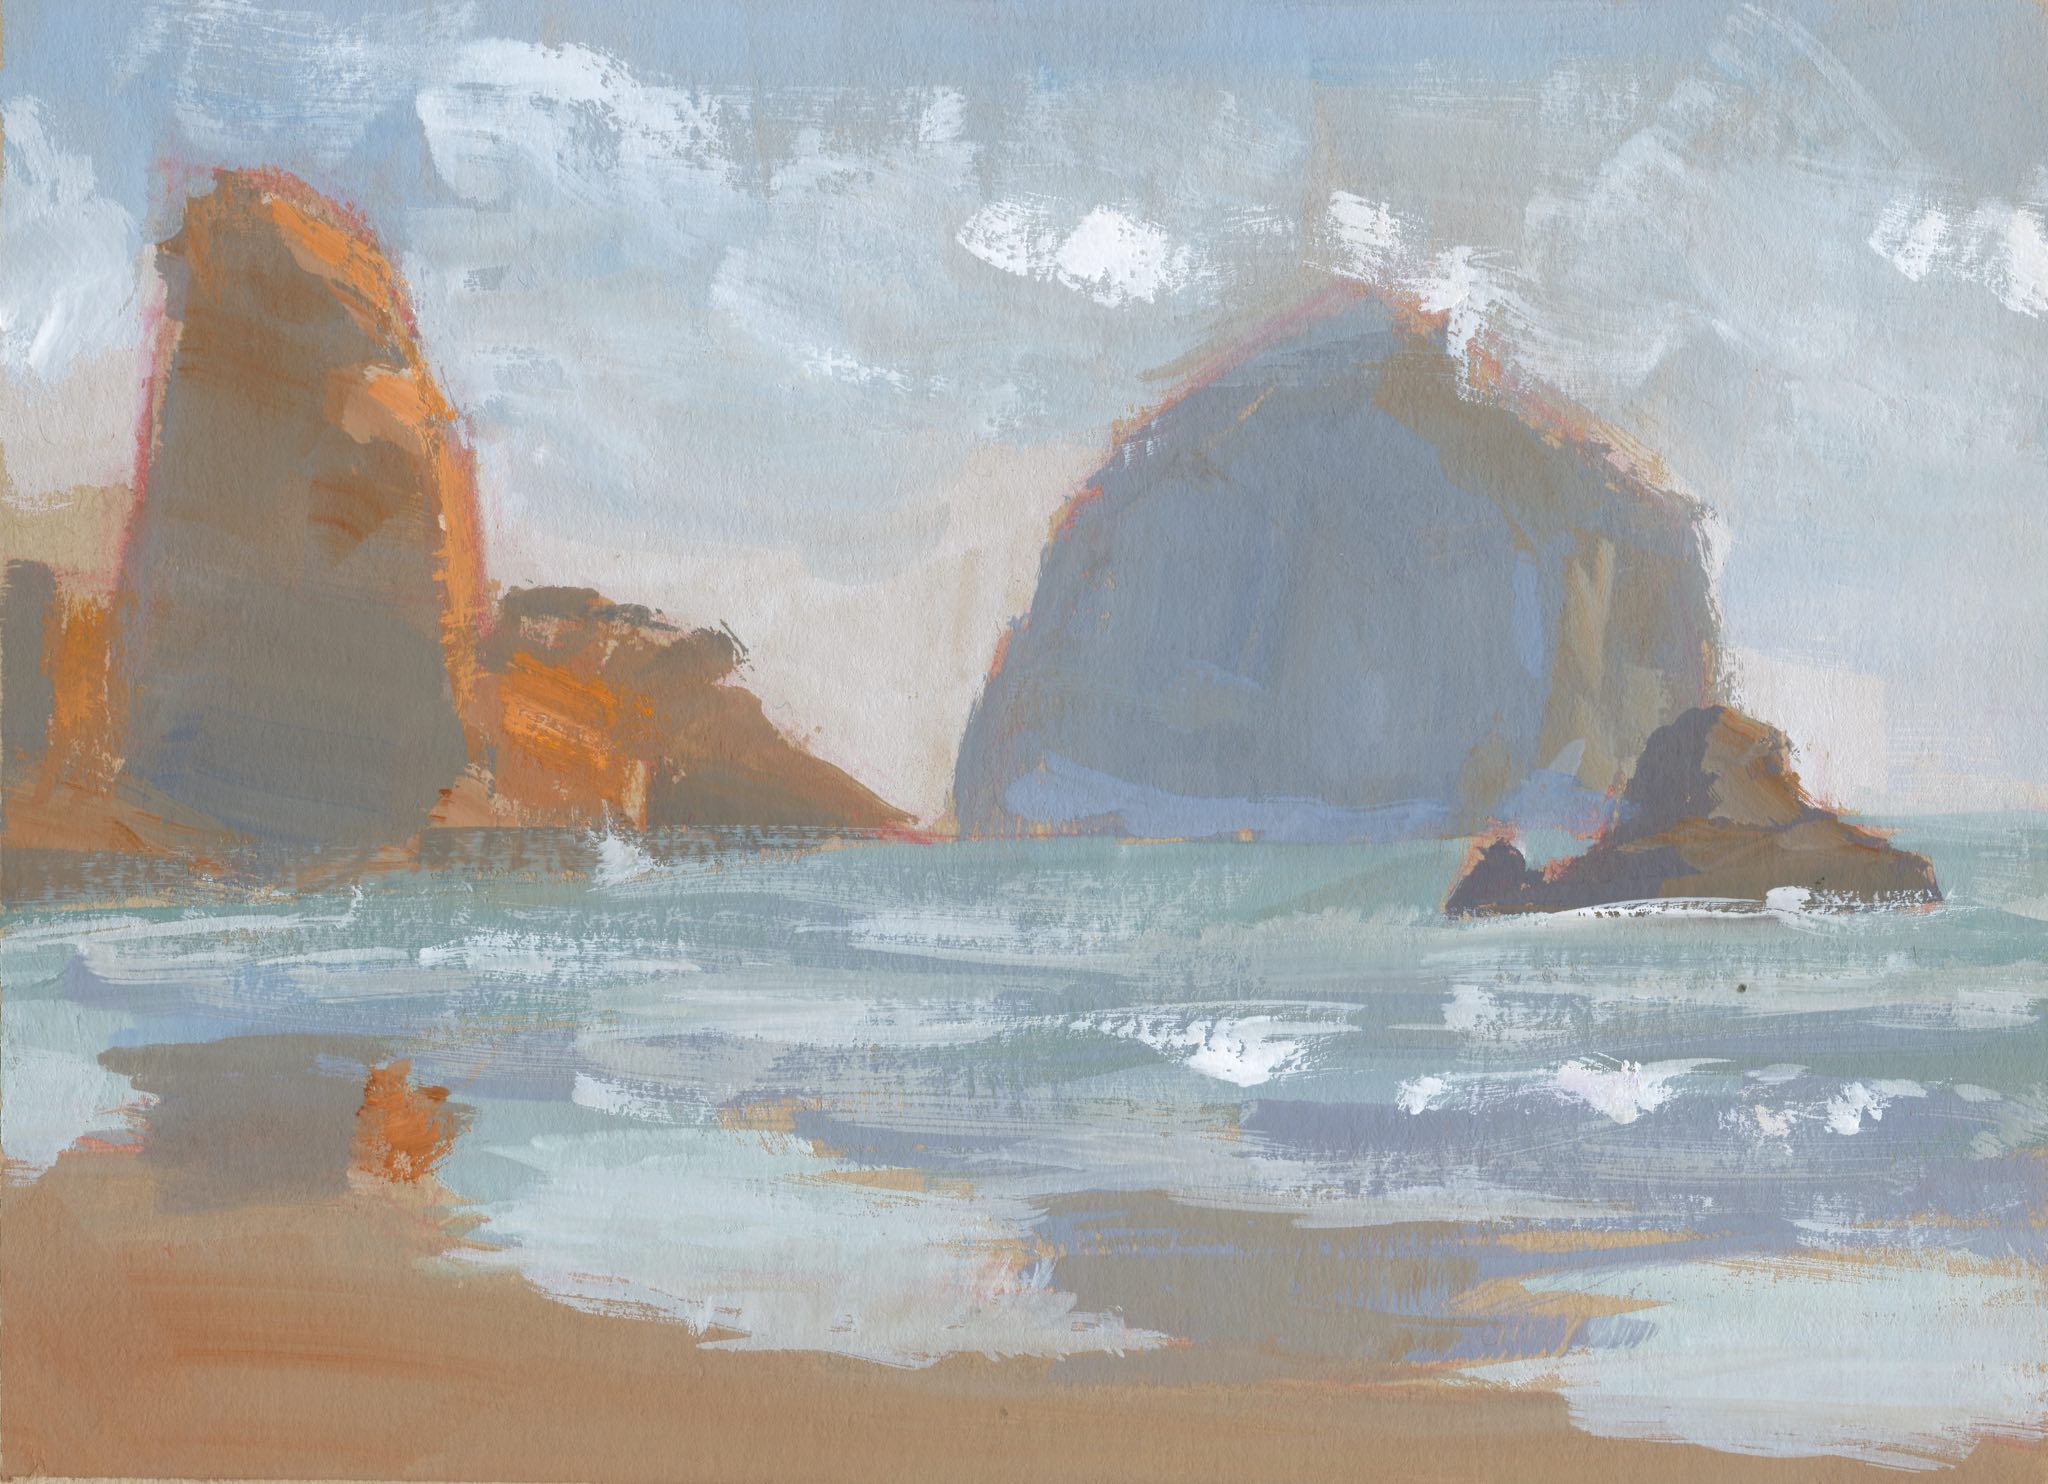
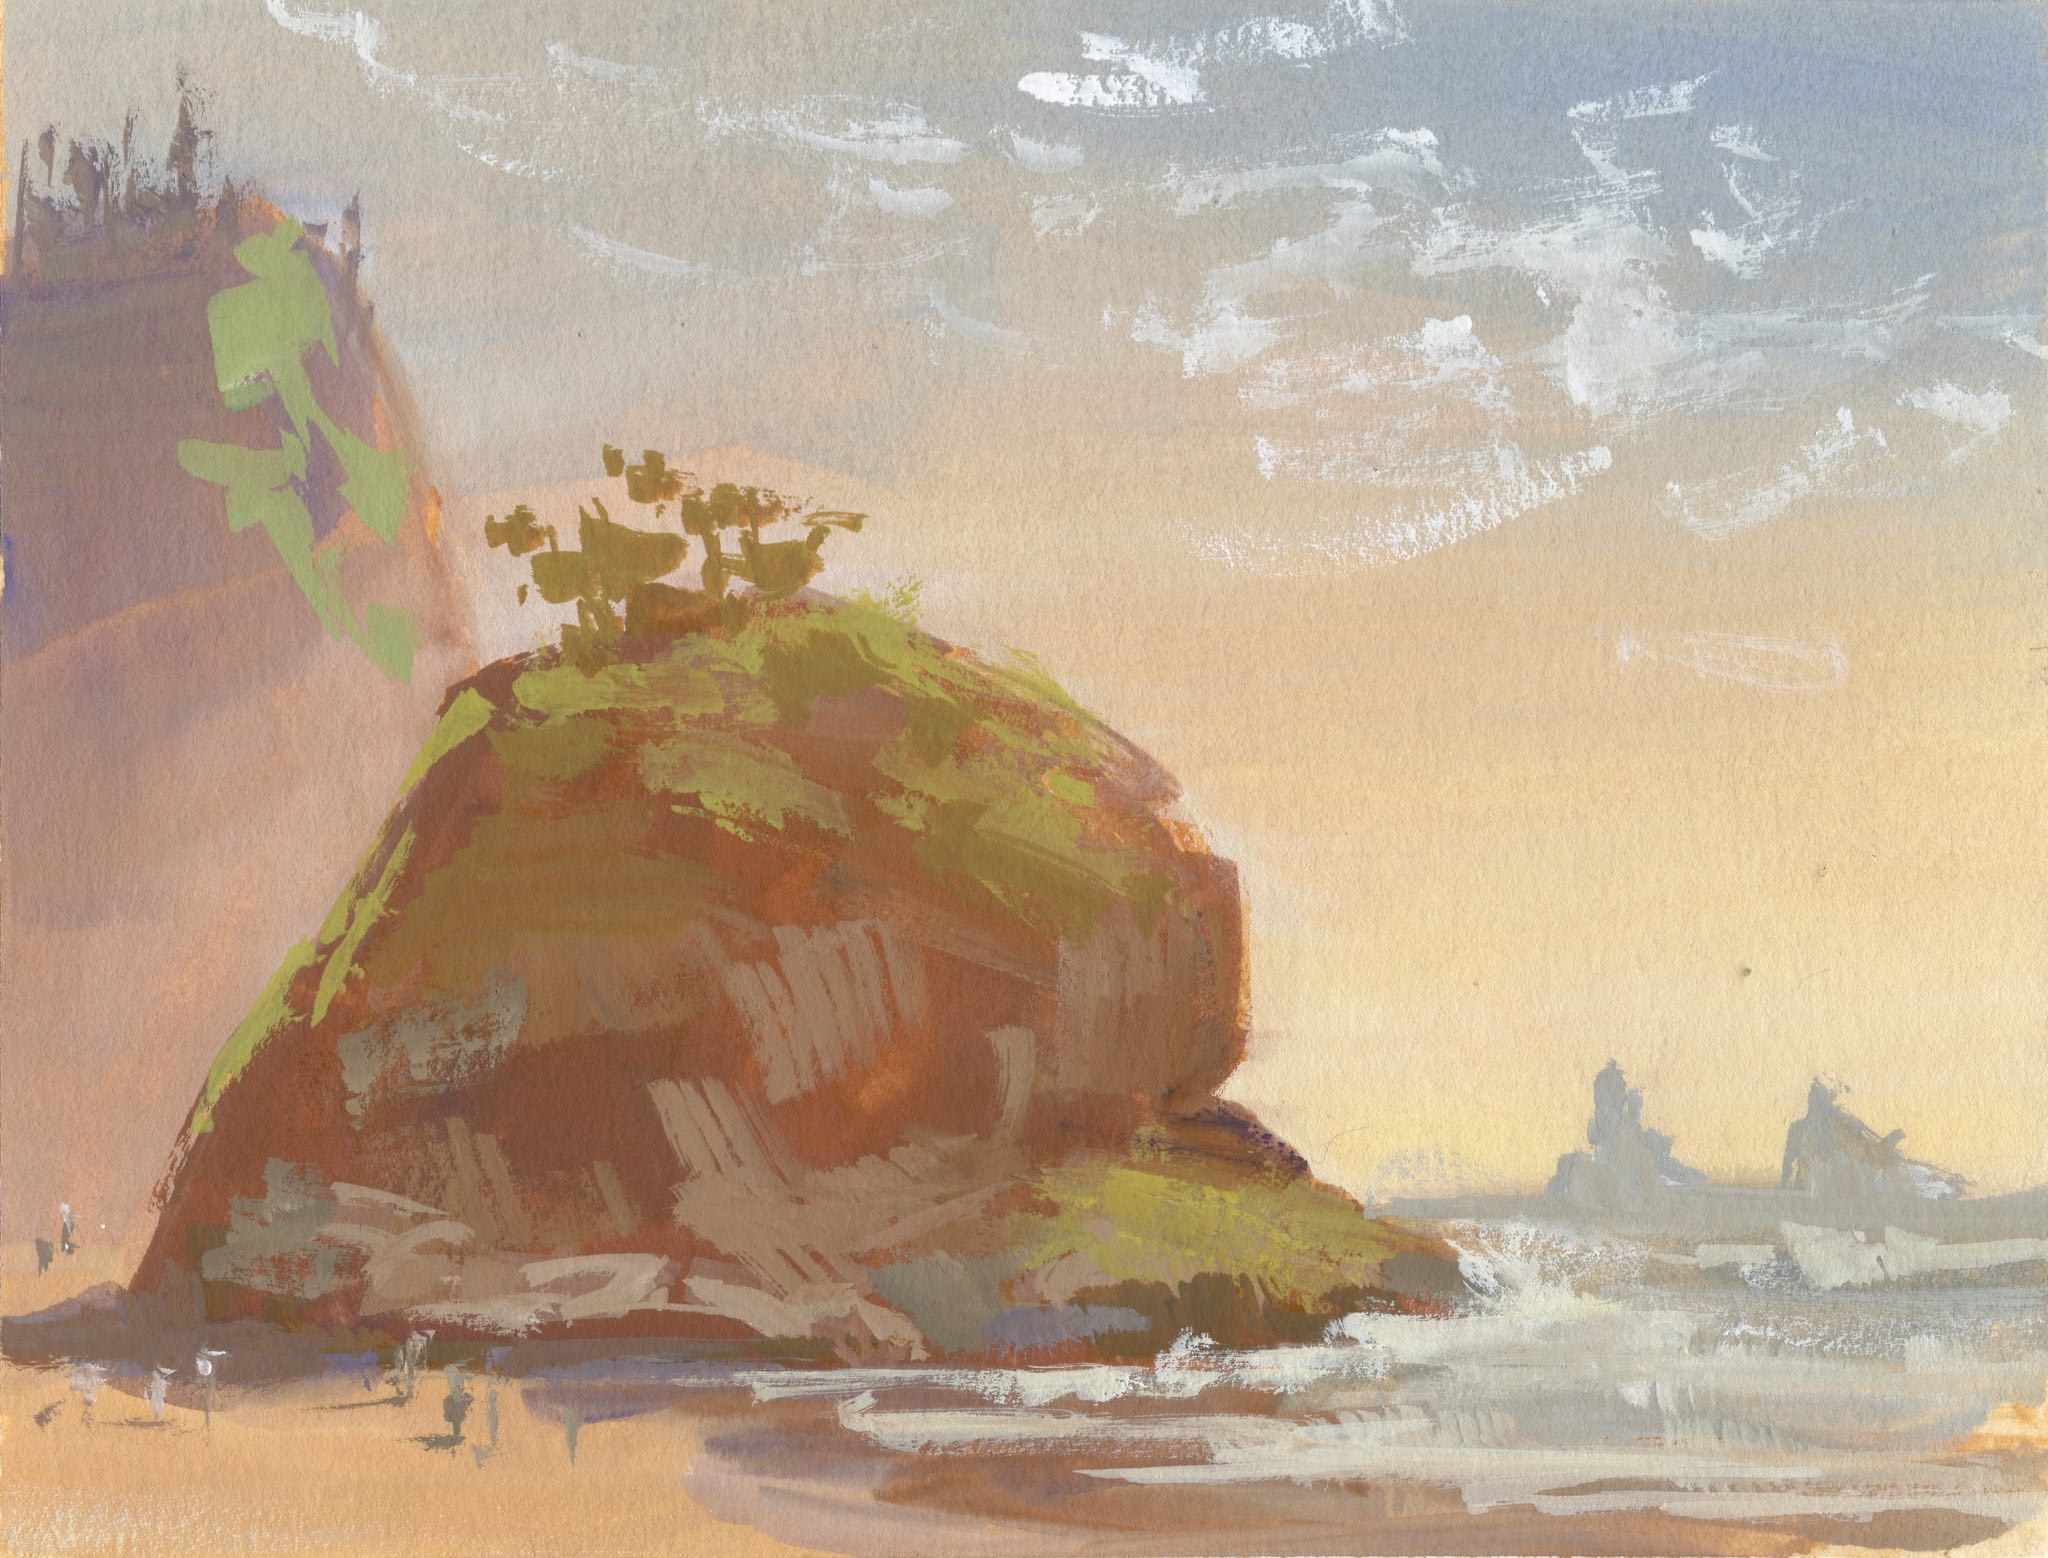
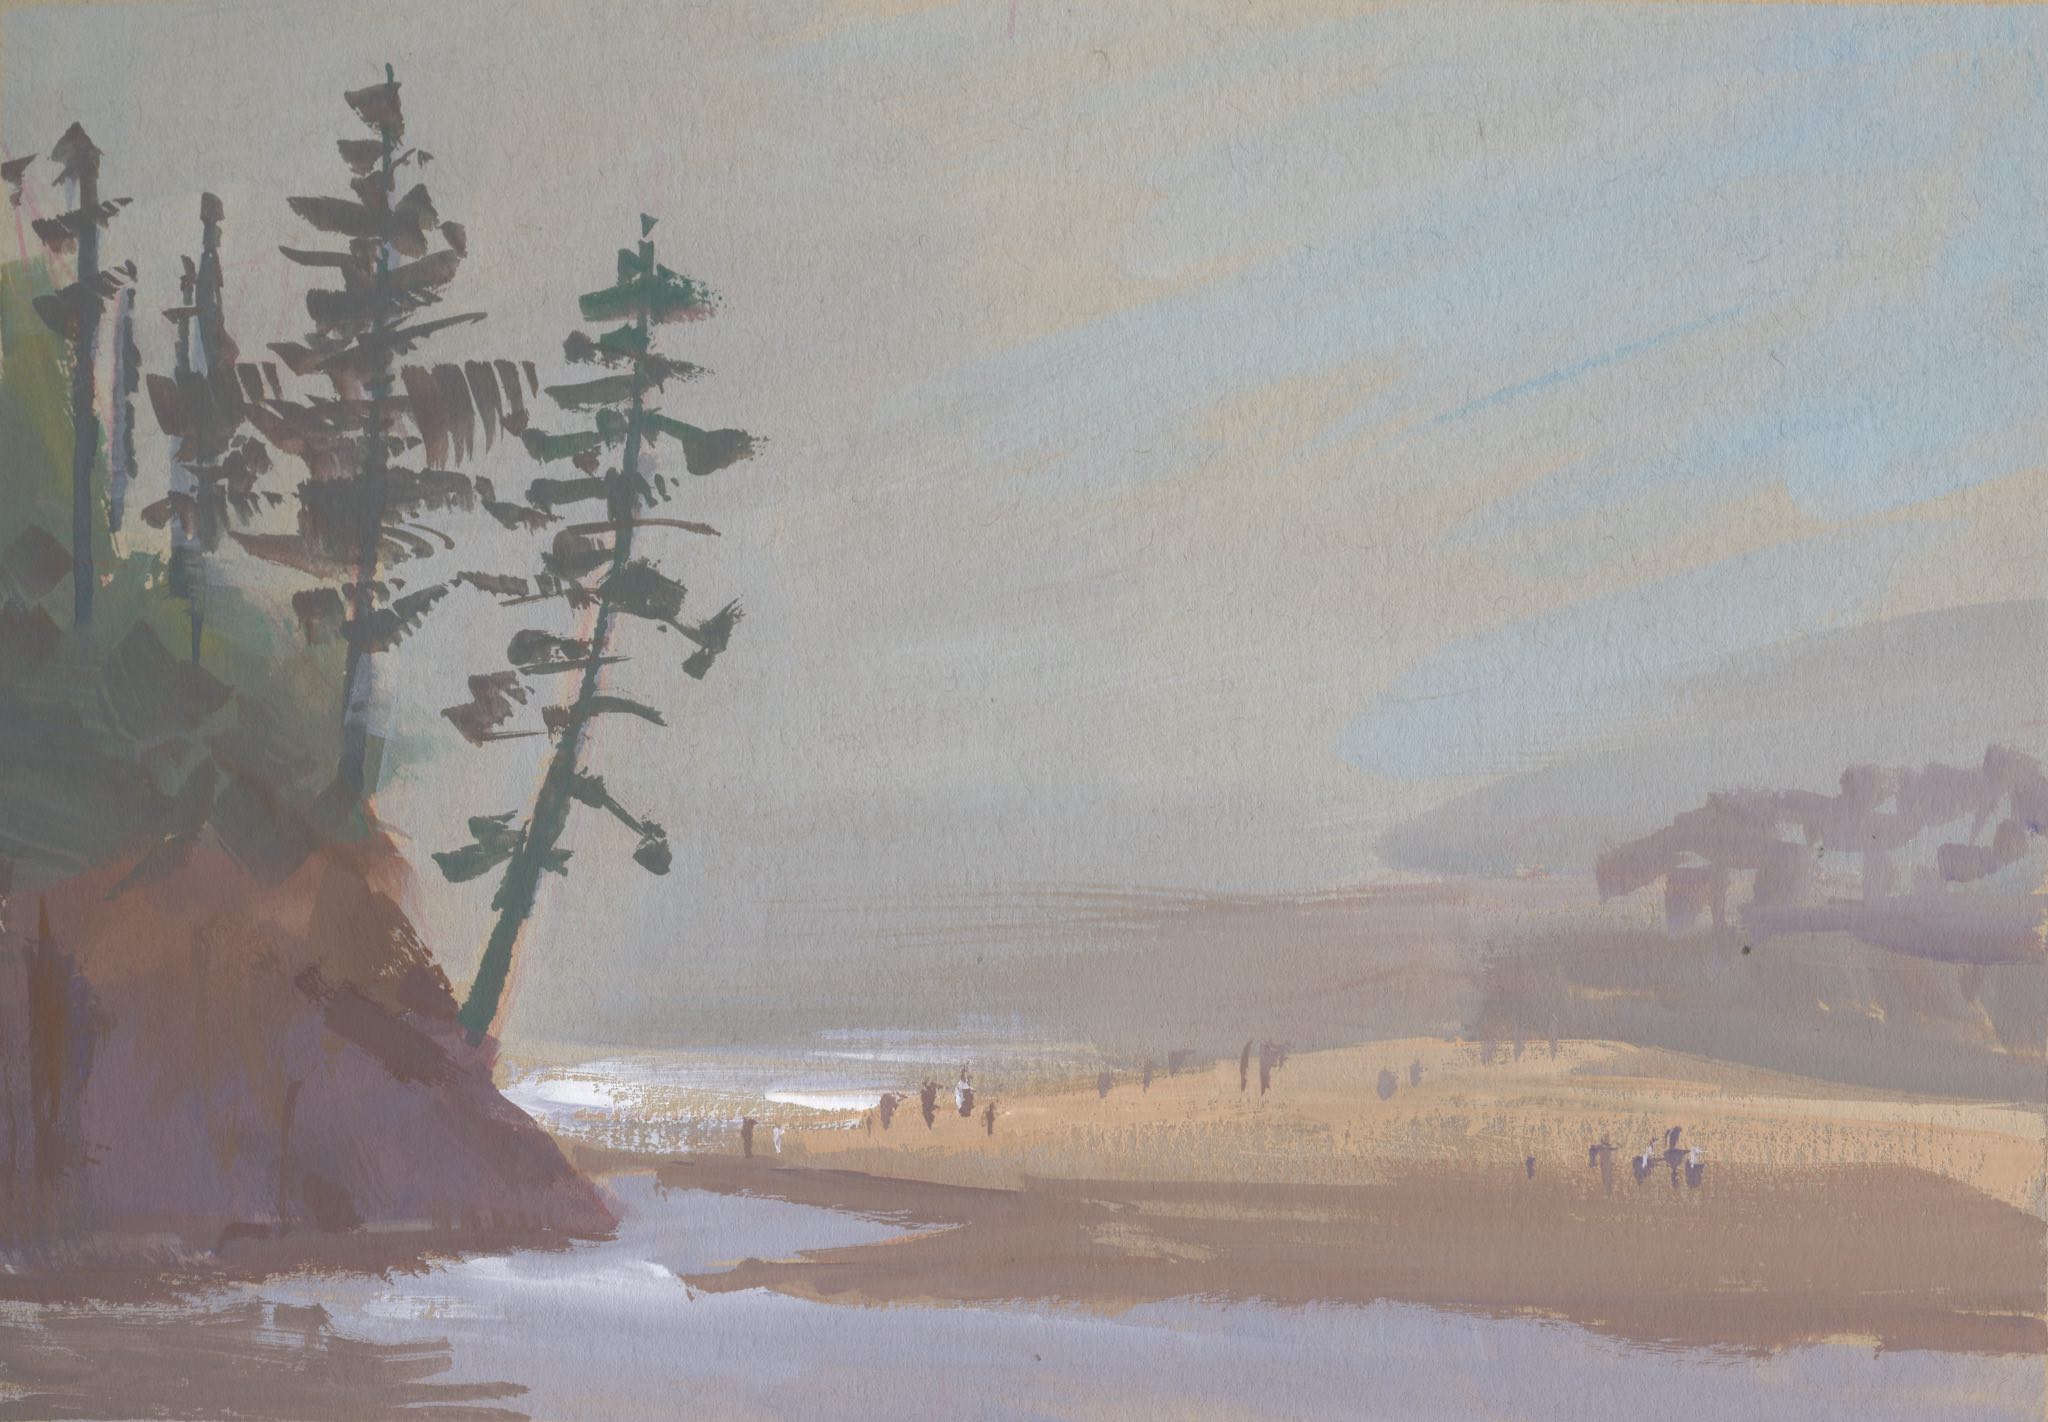
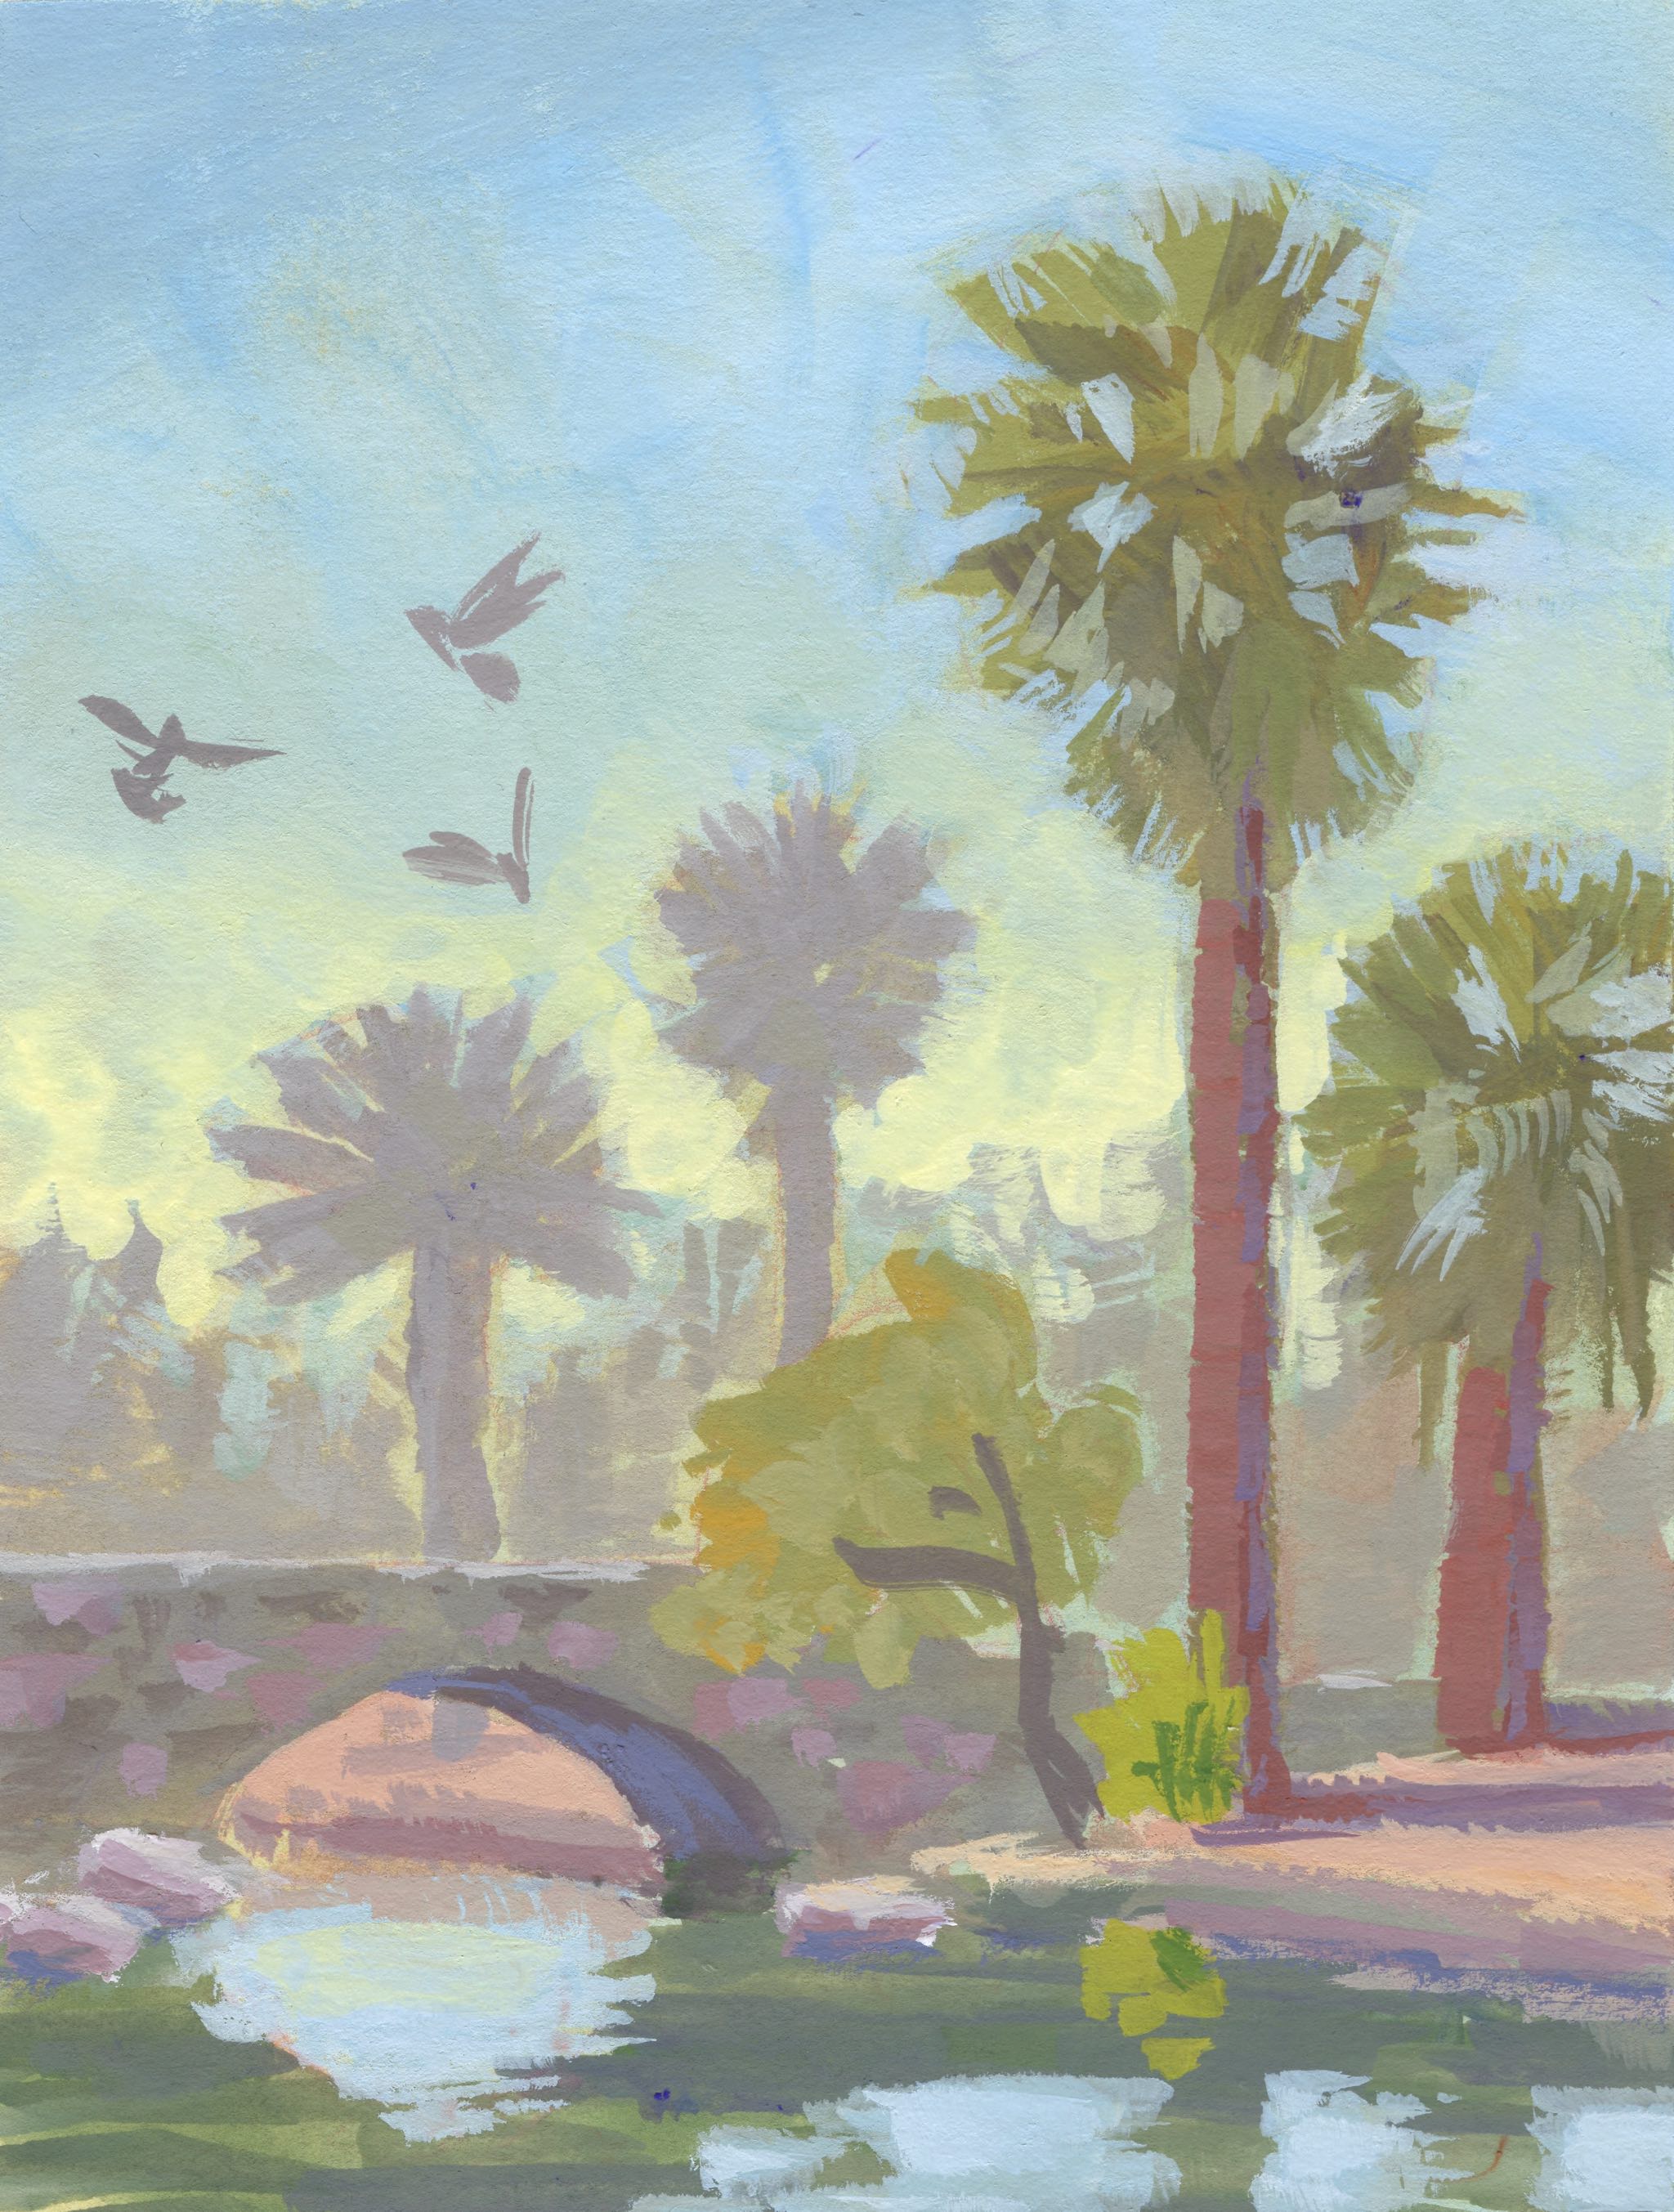
Back to where it all started. Over Labor Day weekend we vacationed down in Pacific City, Oregon. The Oregon Coast is one of my favorite places to visit. It also happens to be where I did my first plein air painting on a similar trip three years ago.
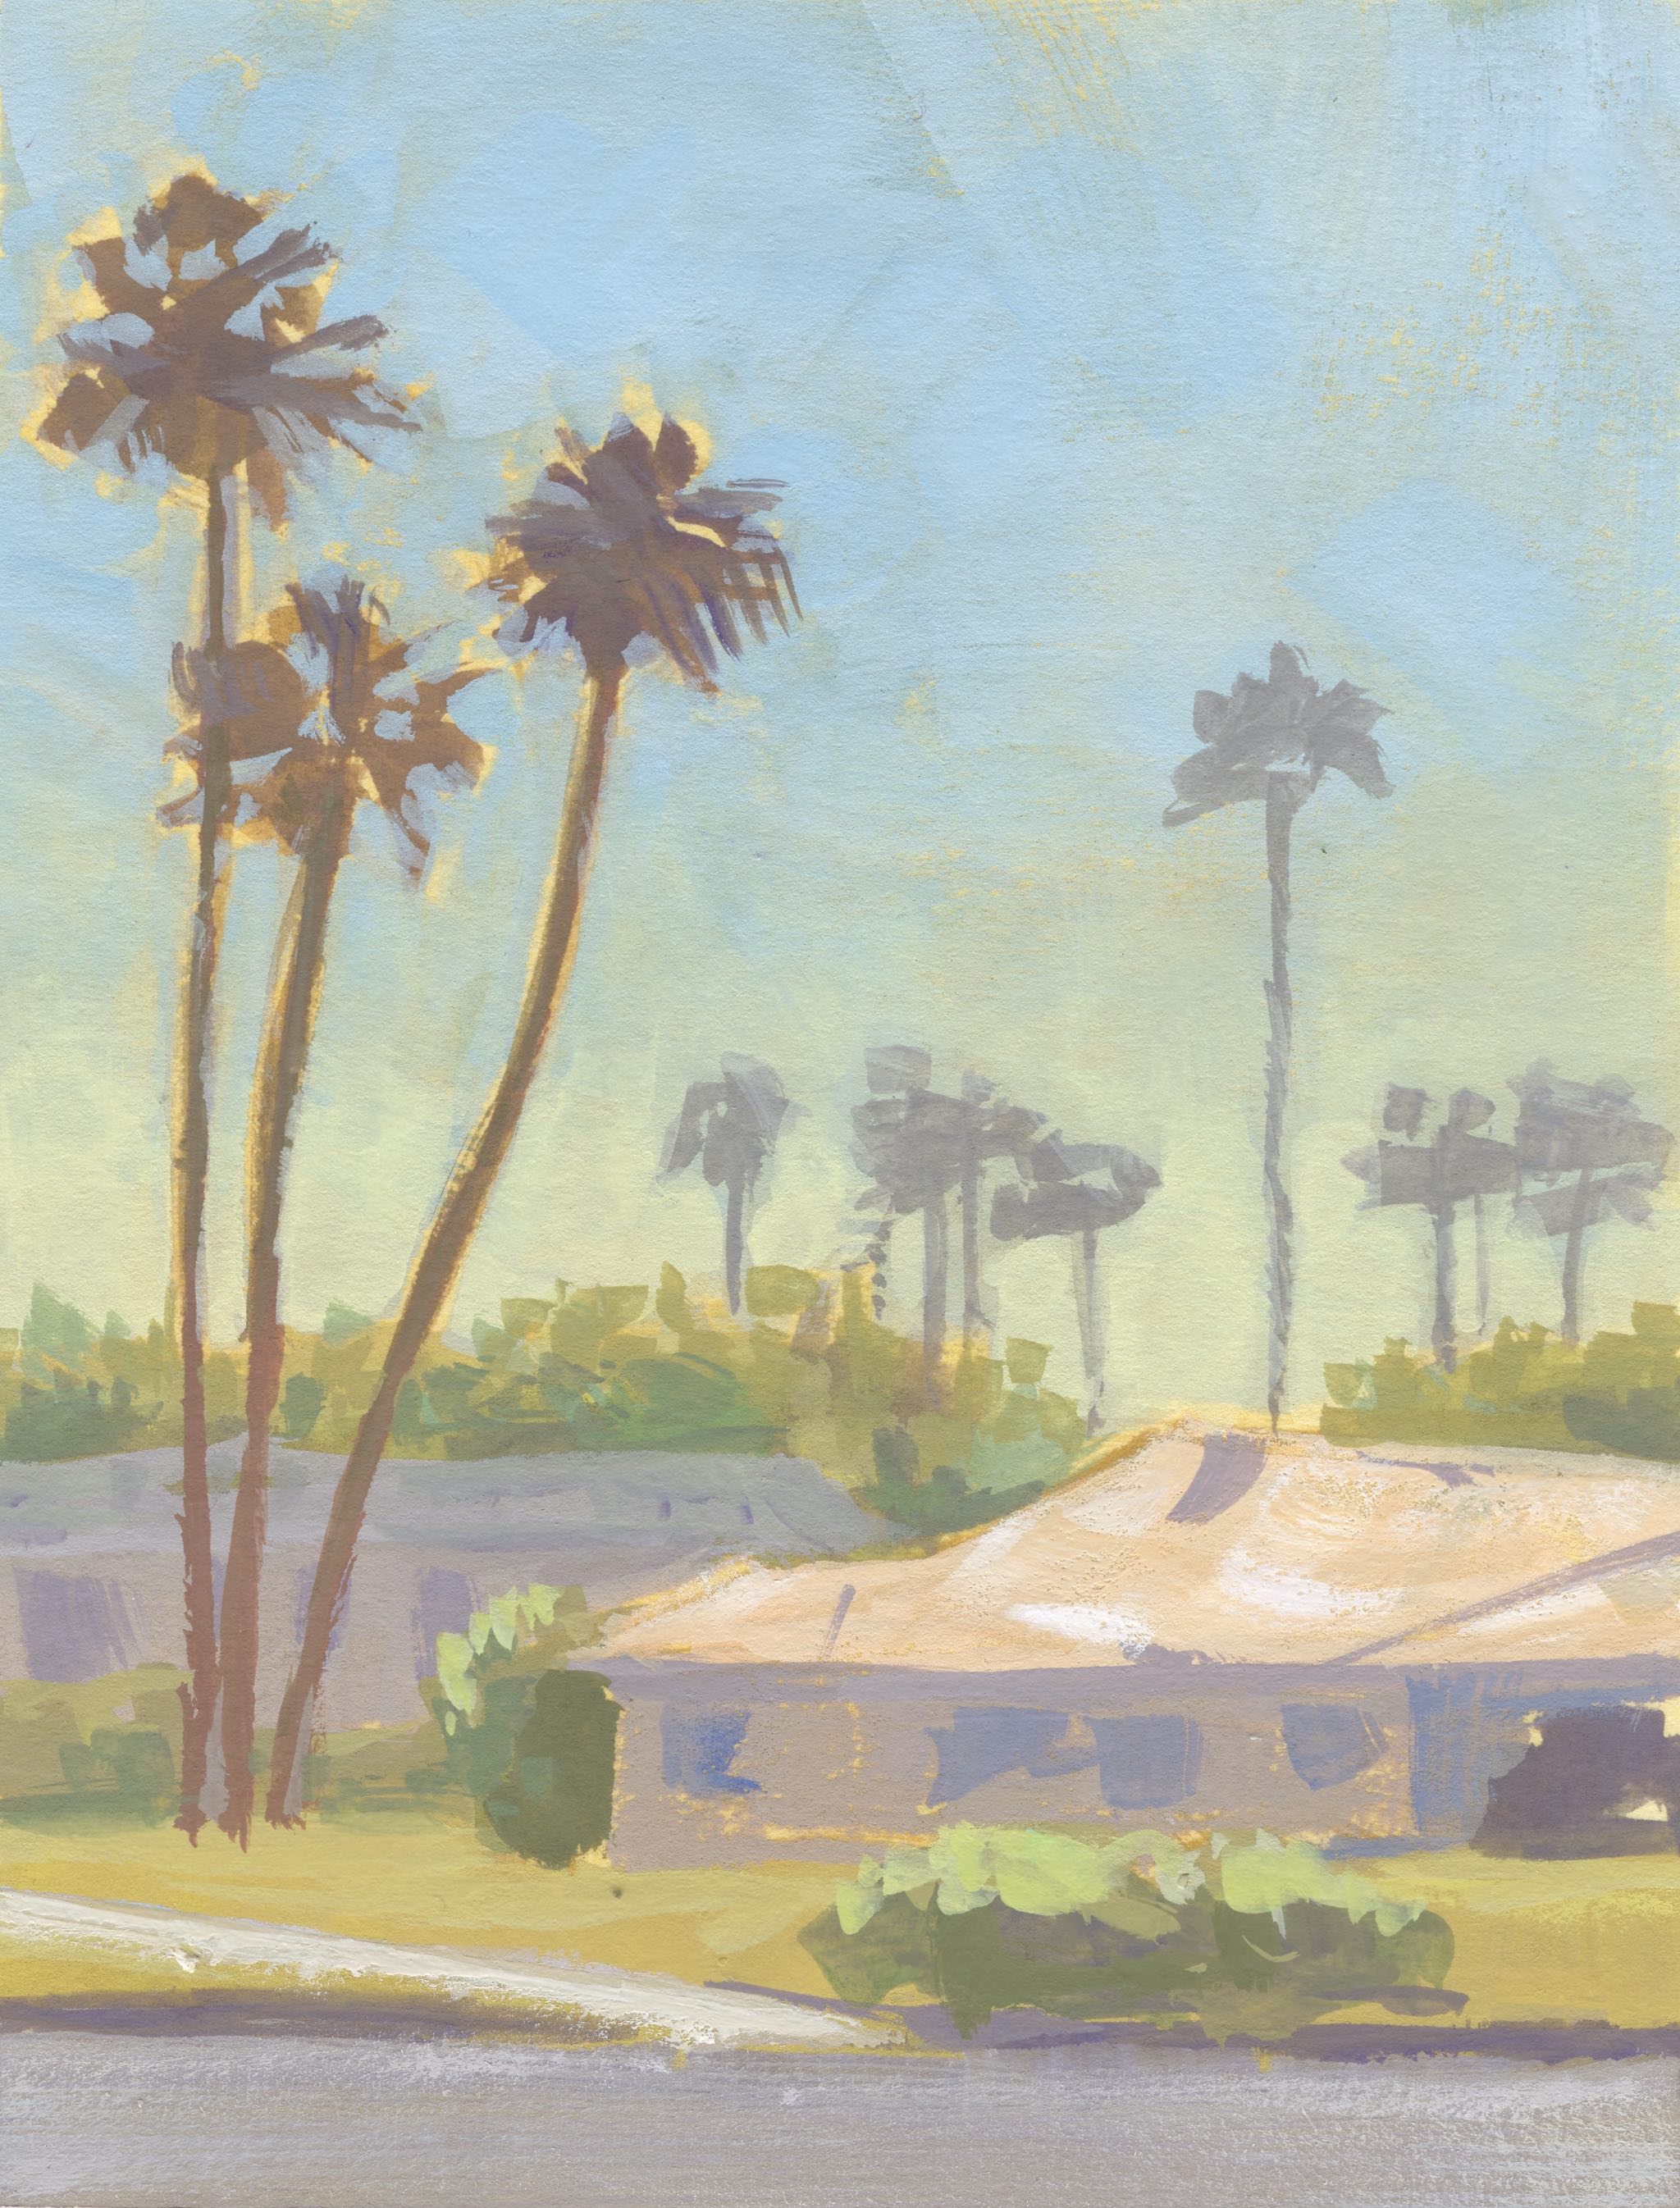
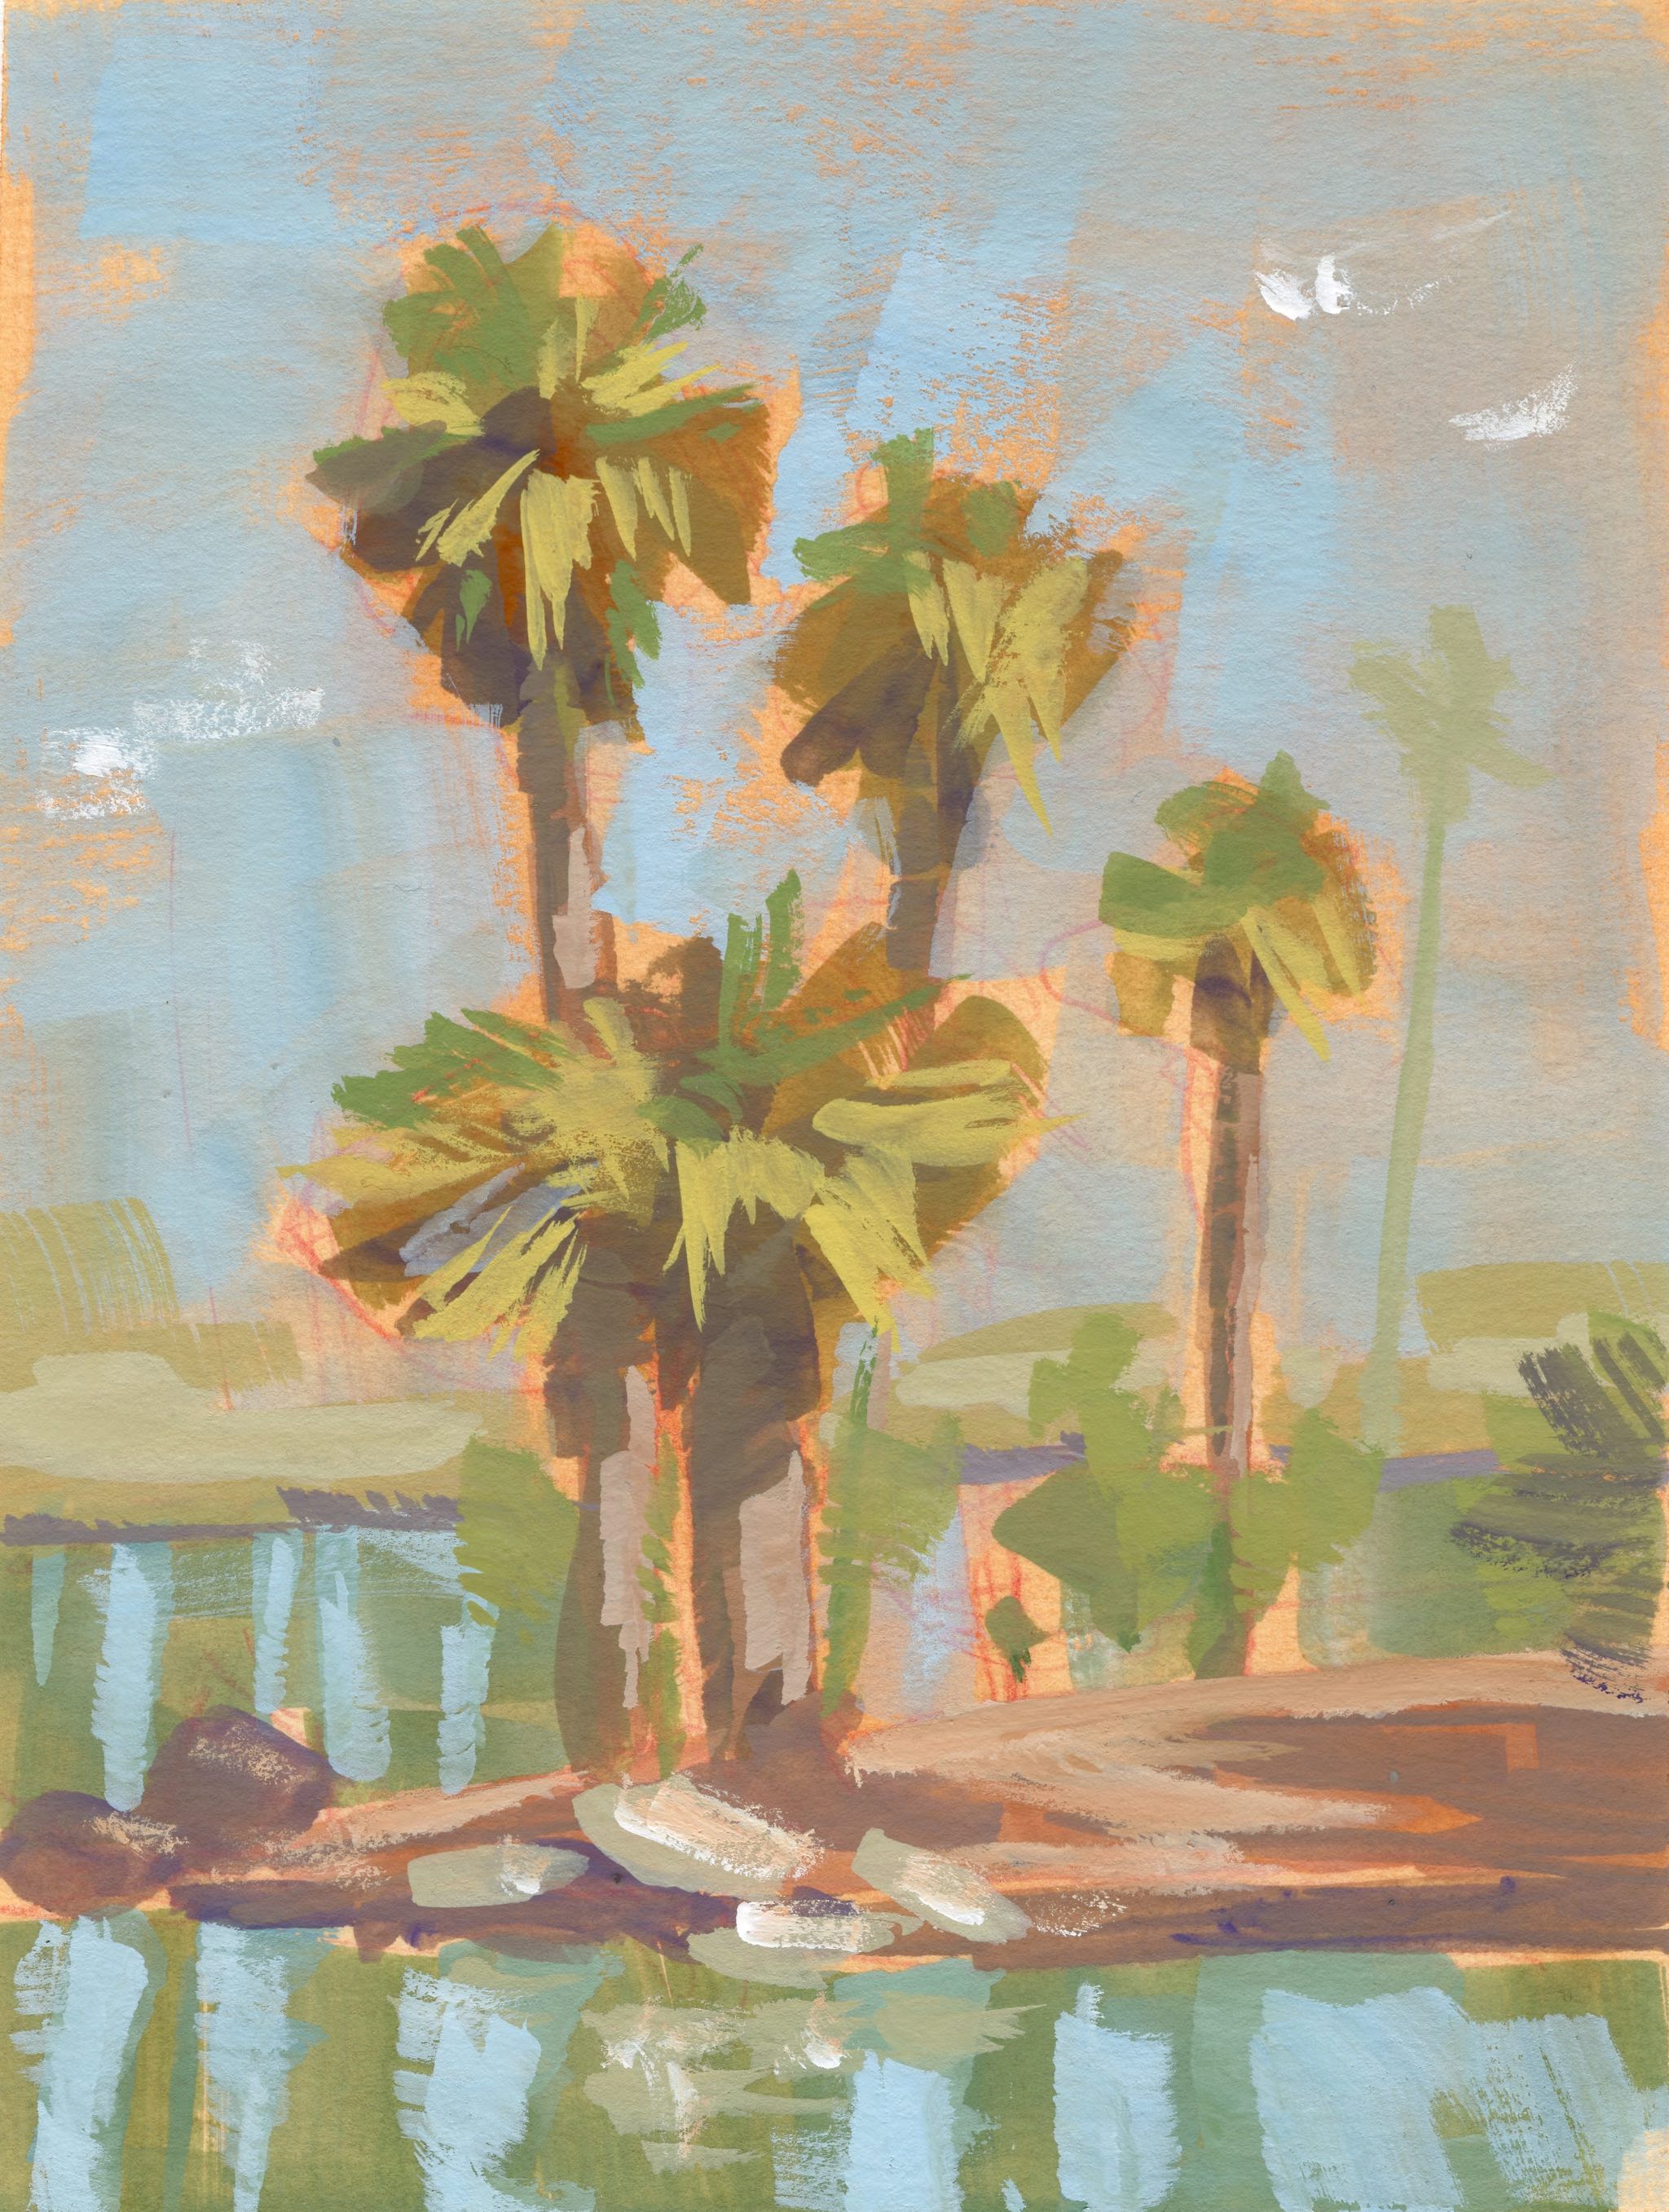
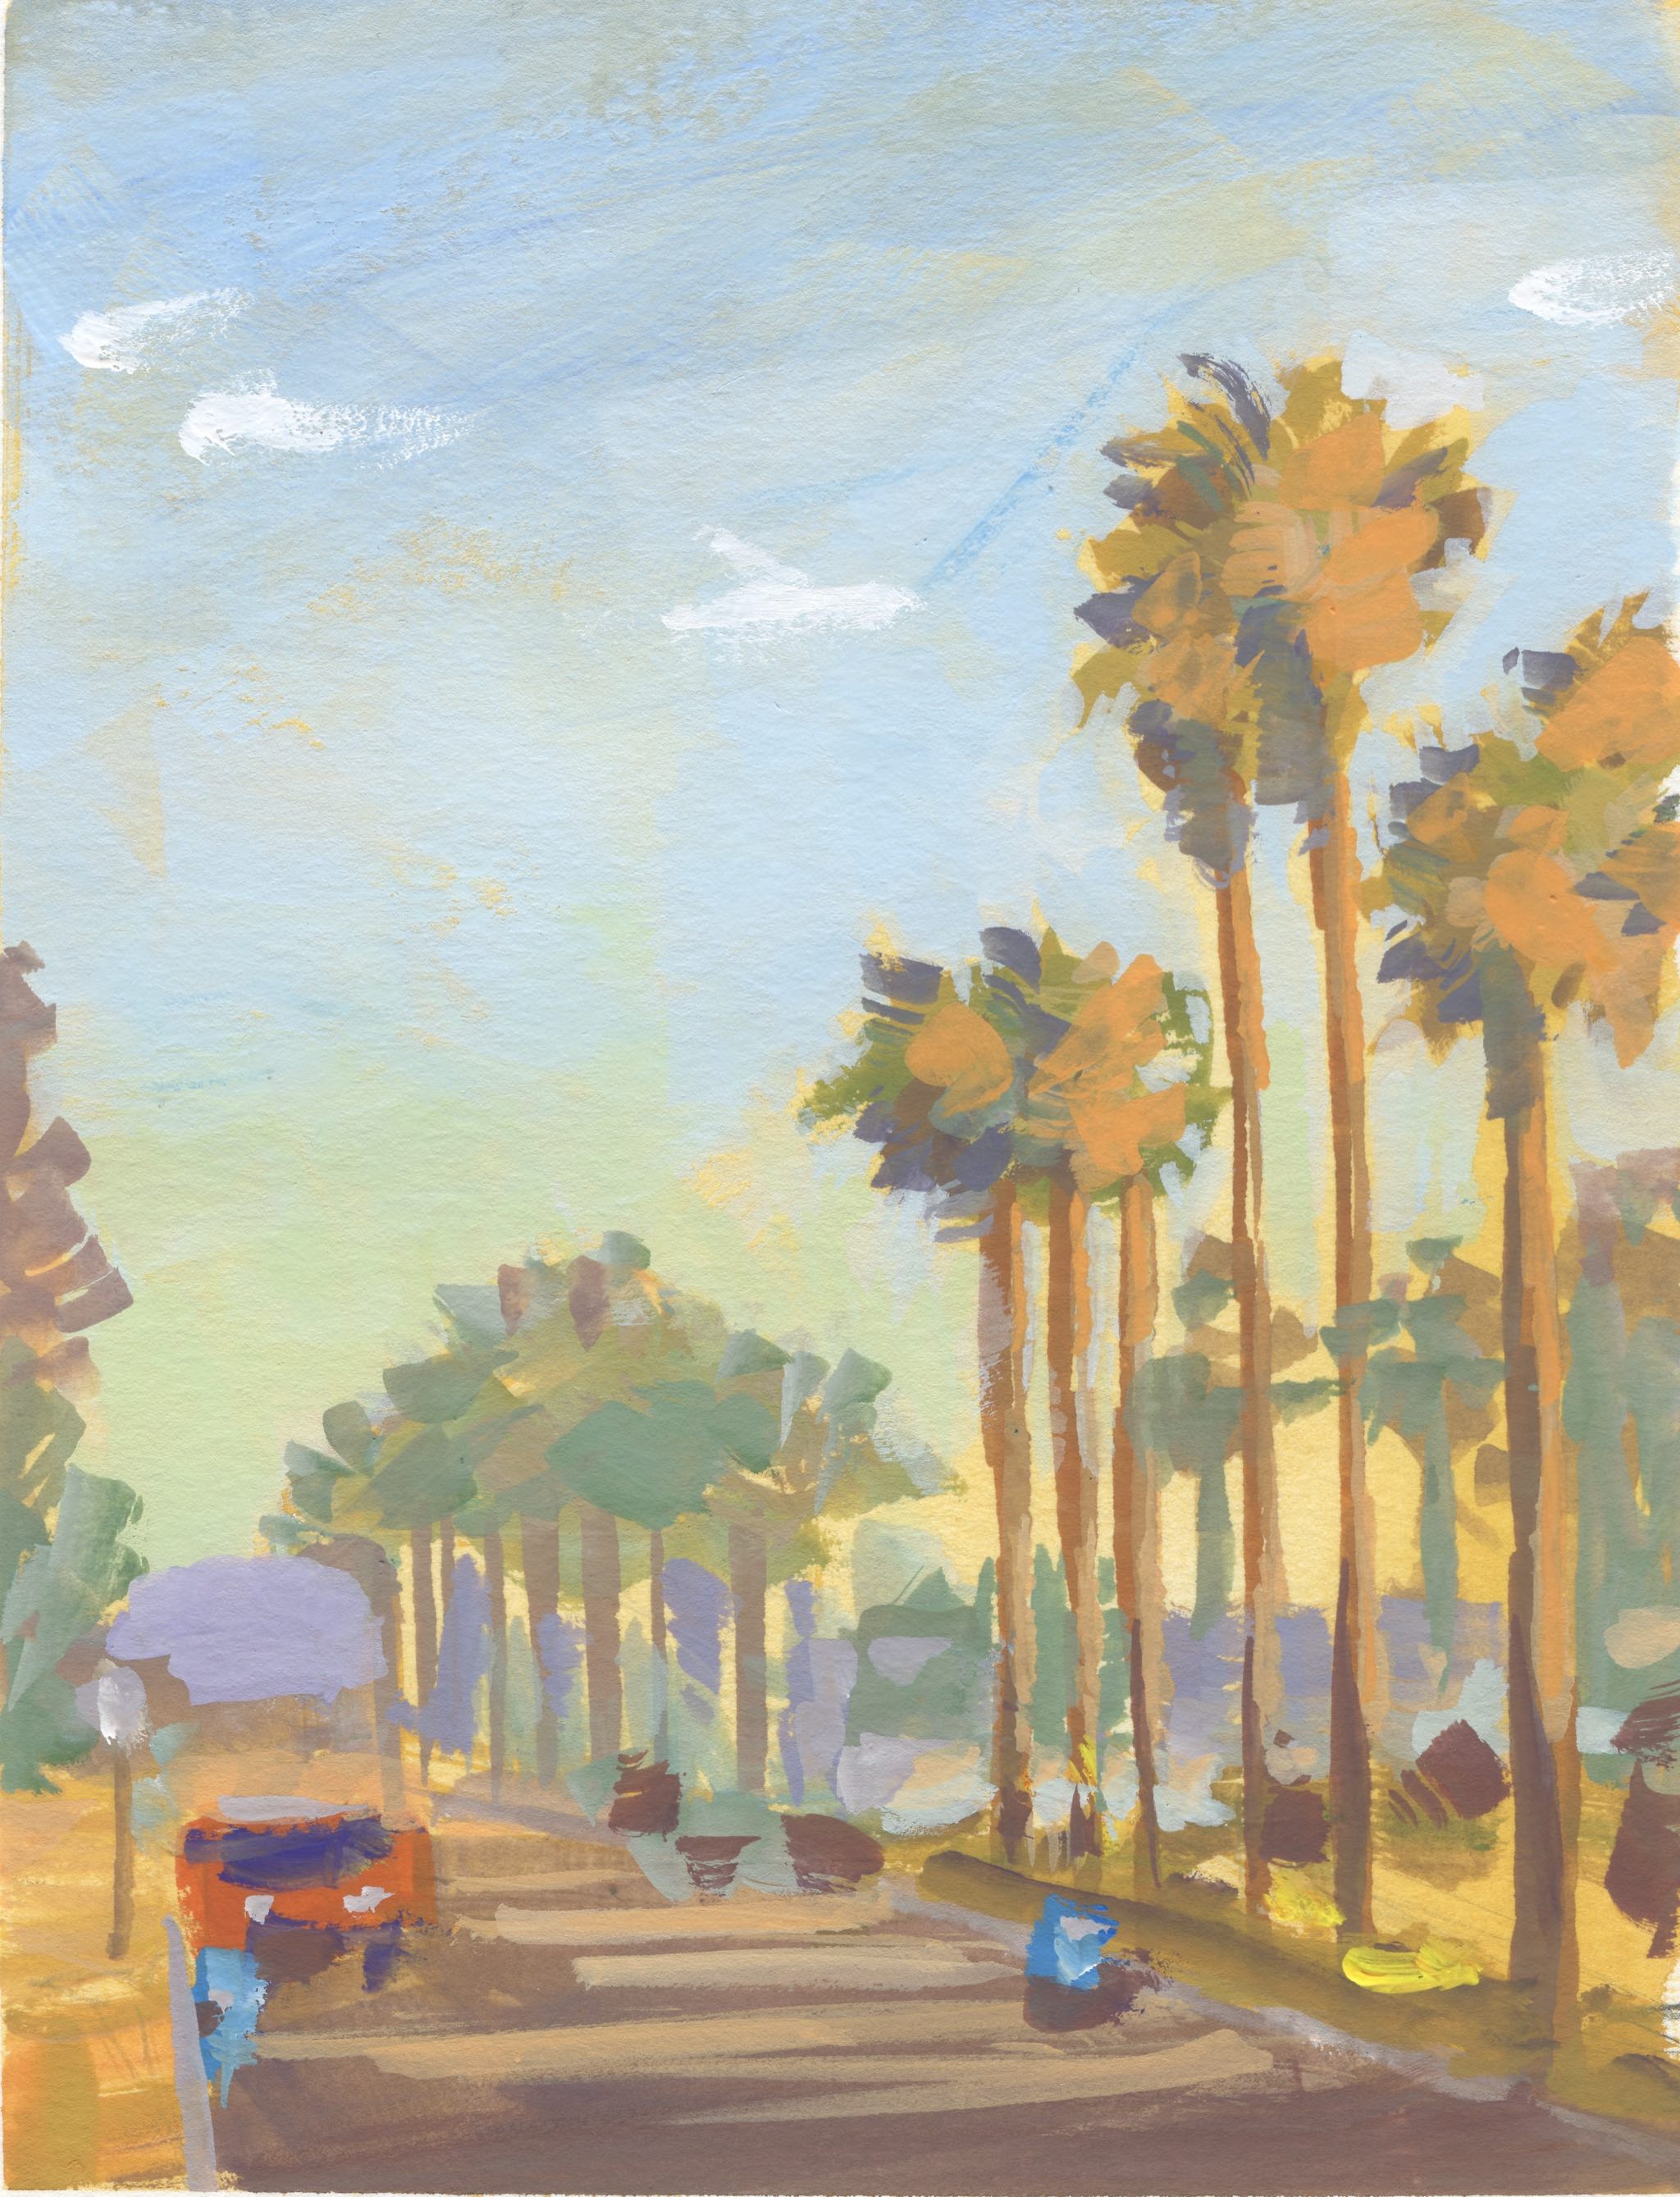
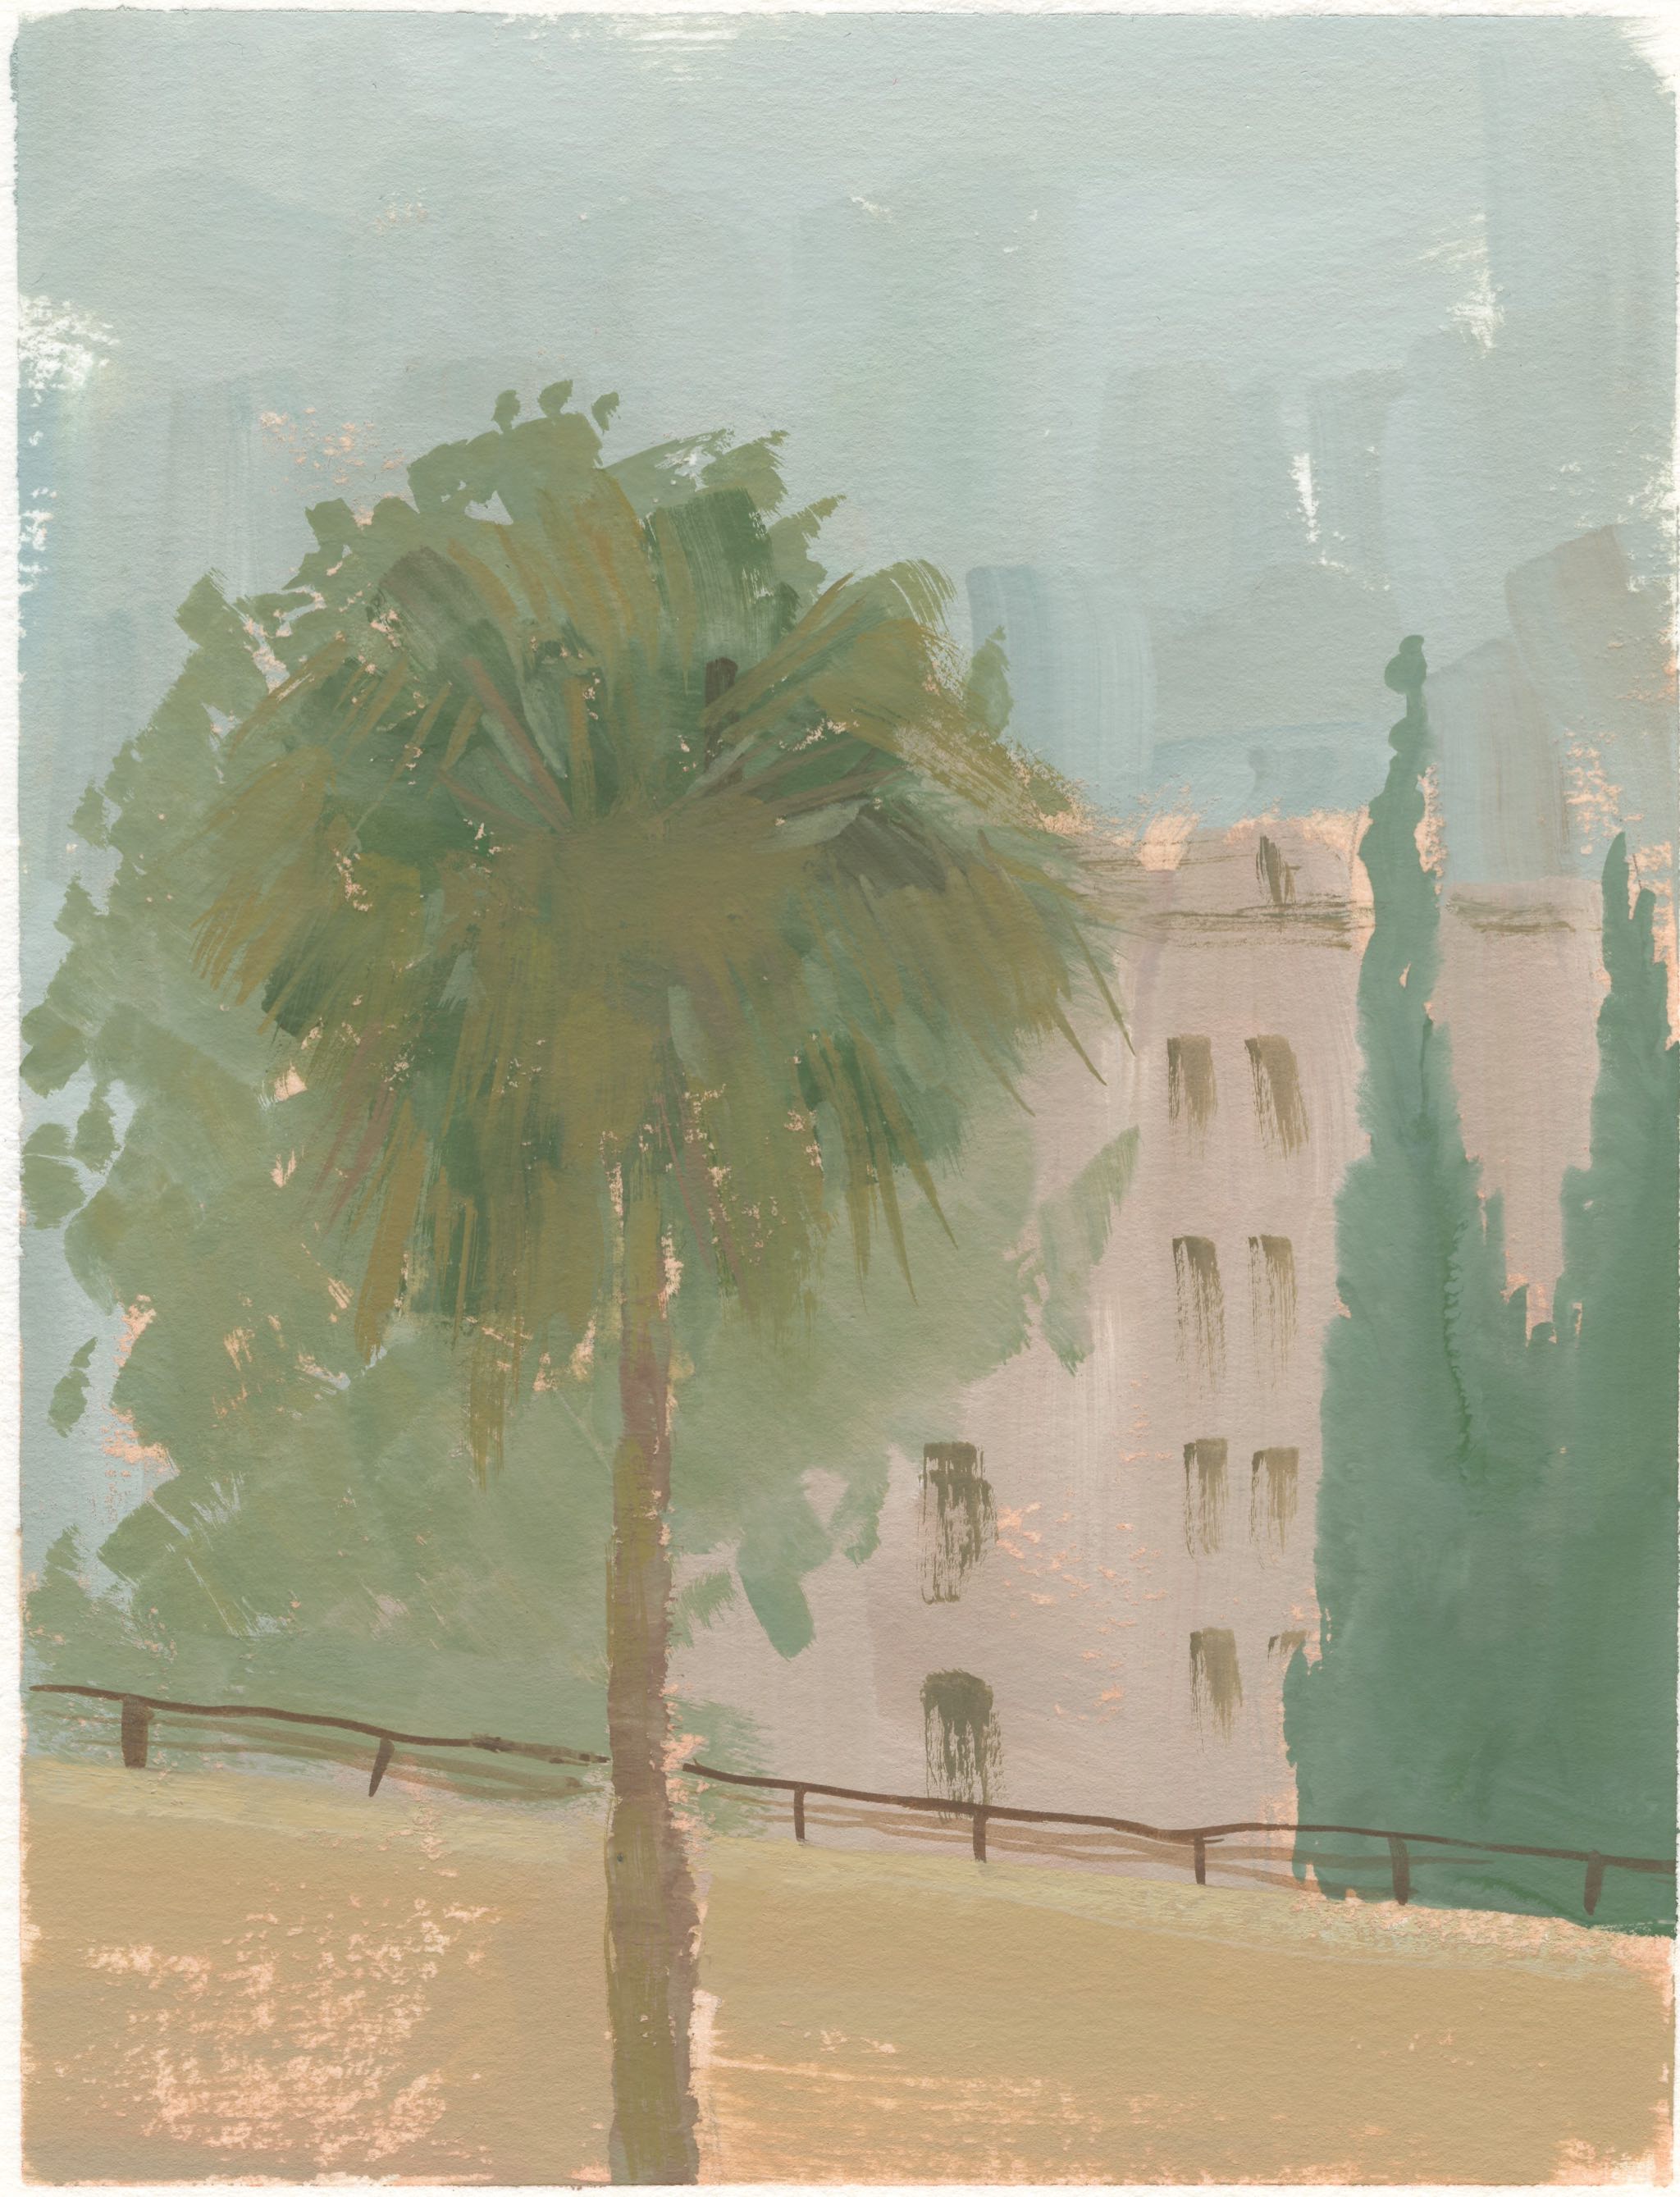
I was in Phoenix, AZ over Memorial Day weekend and was able to do a few paintings. I really like painting palm trees.
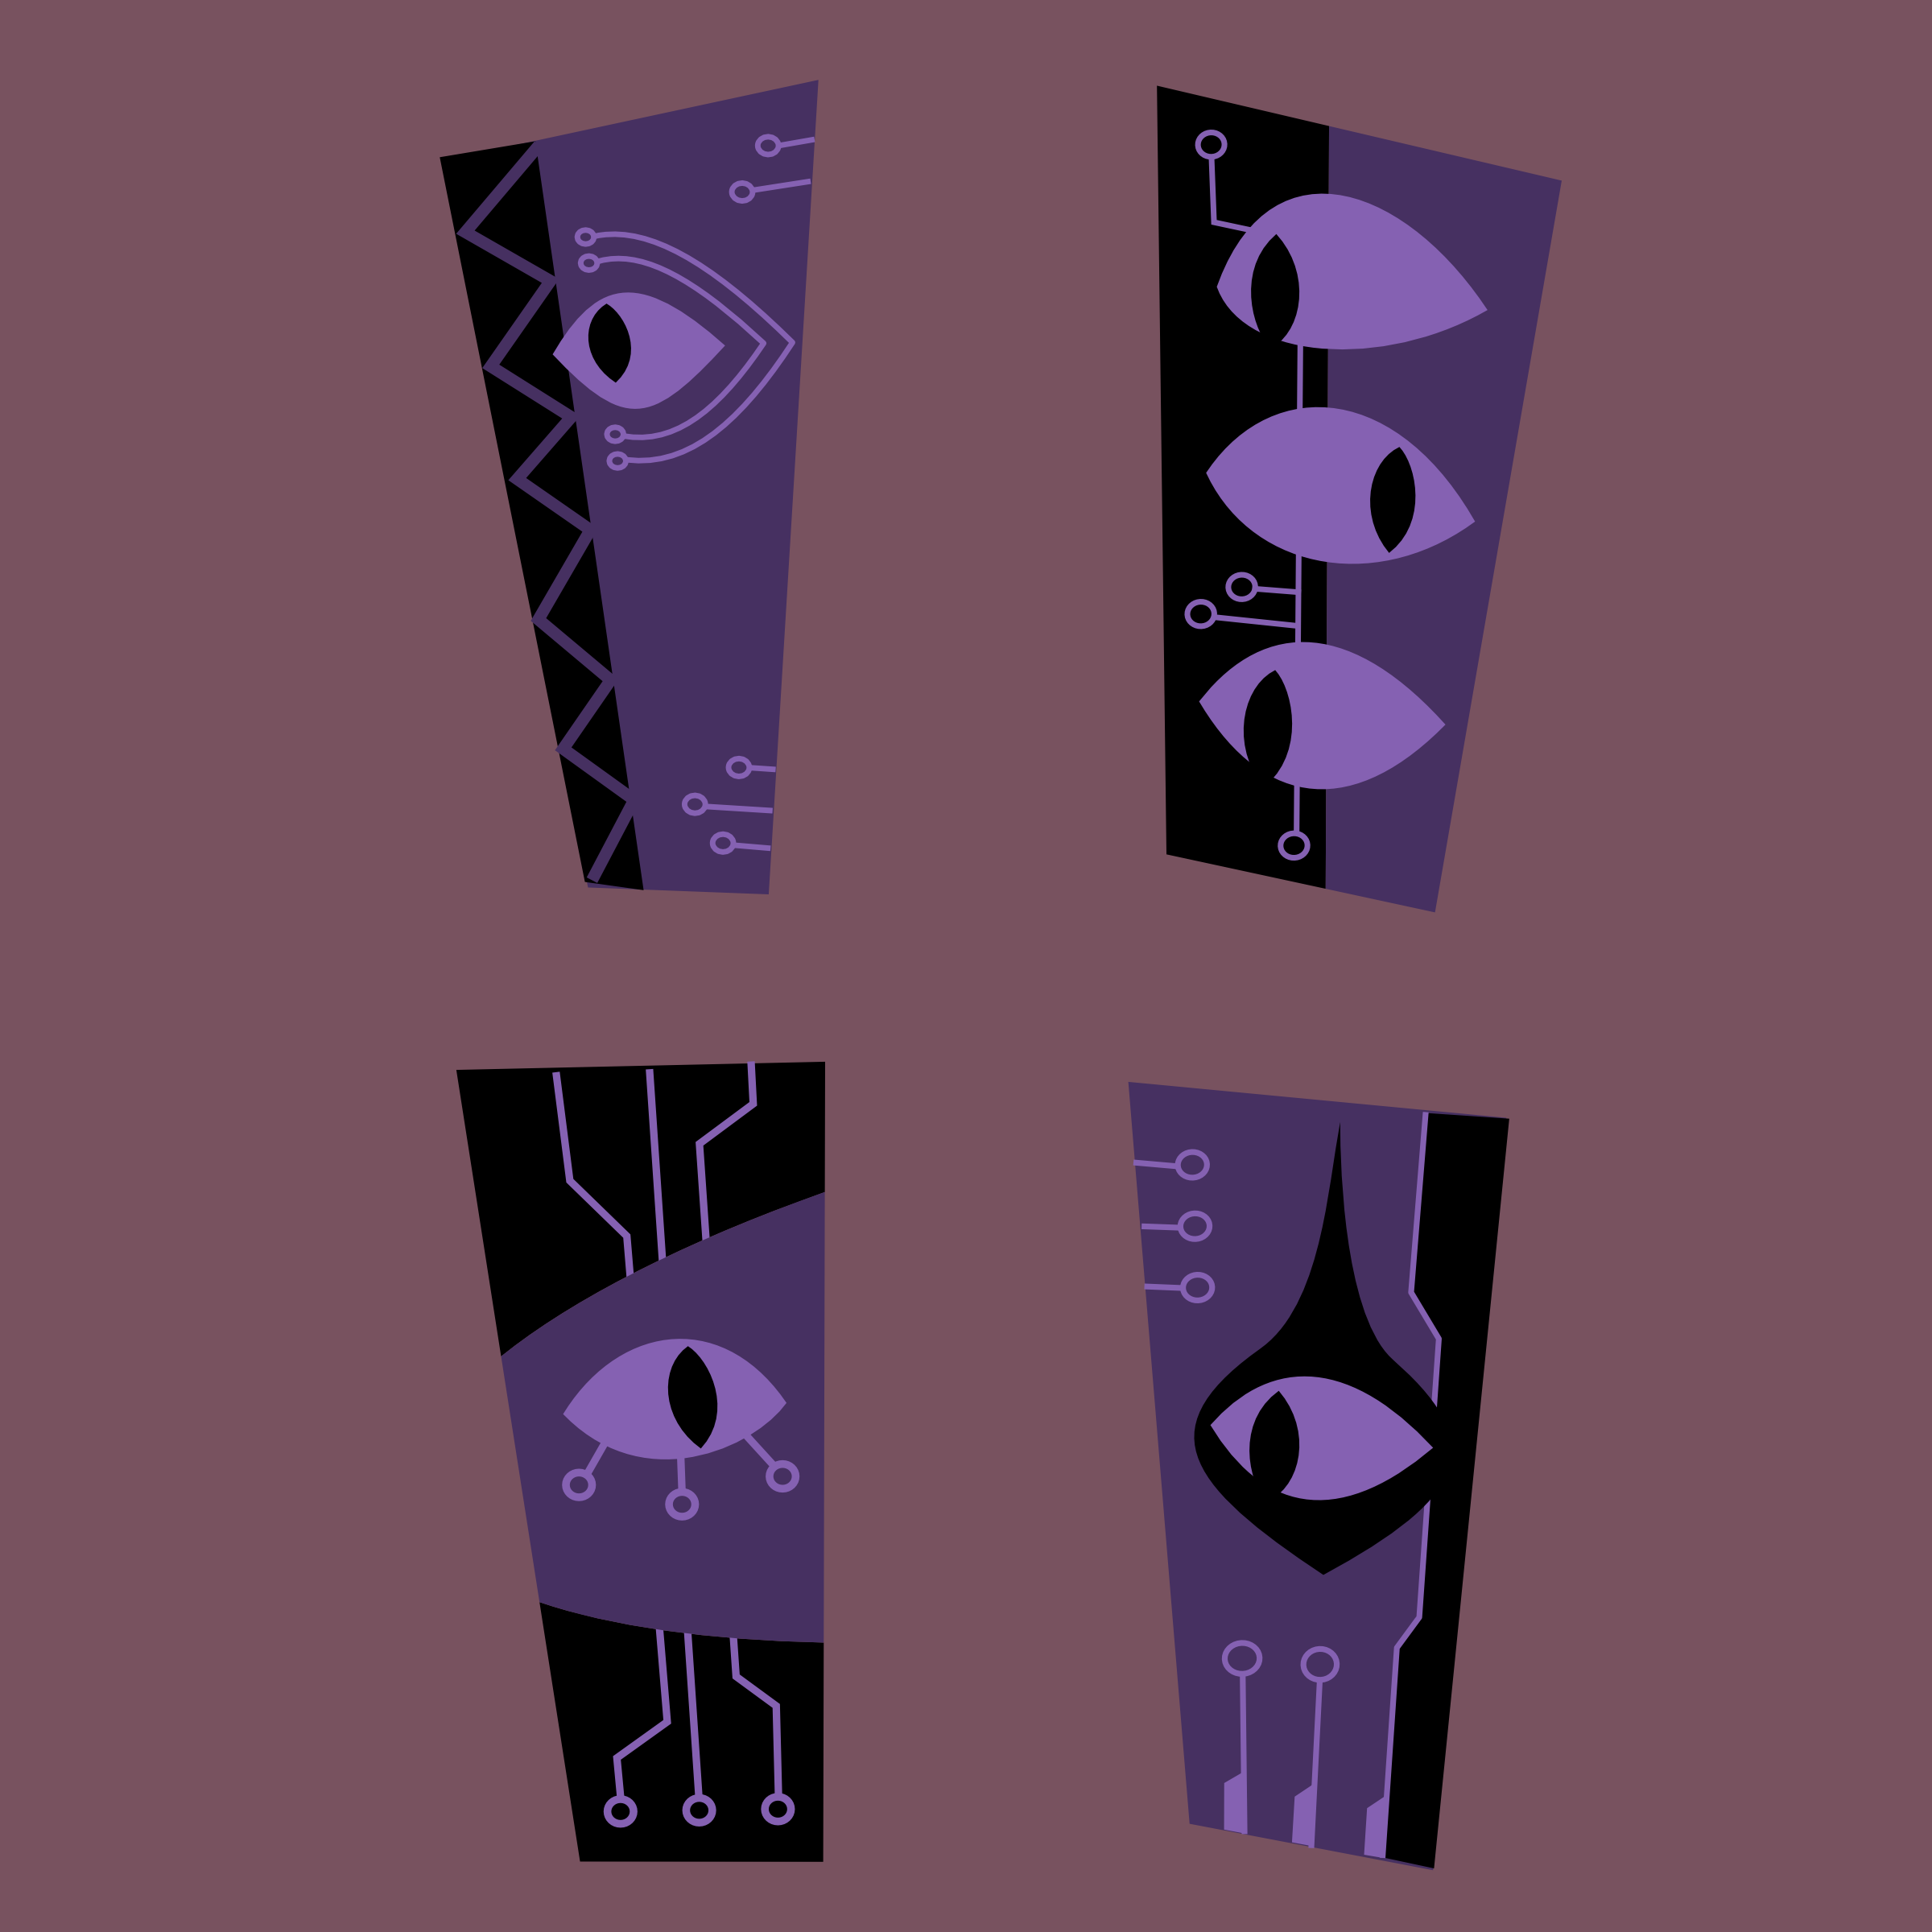
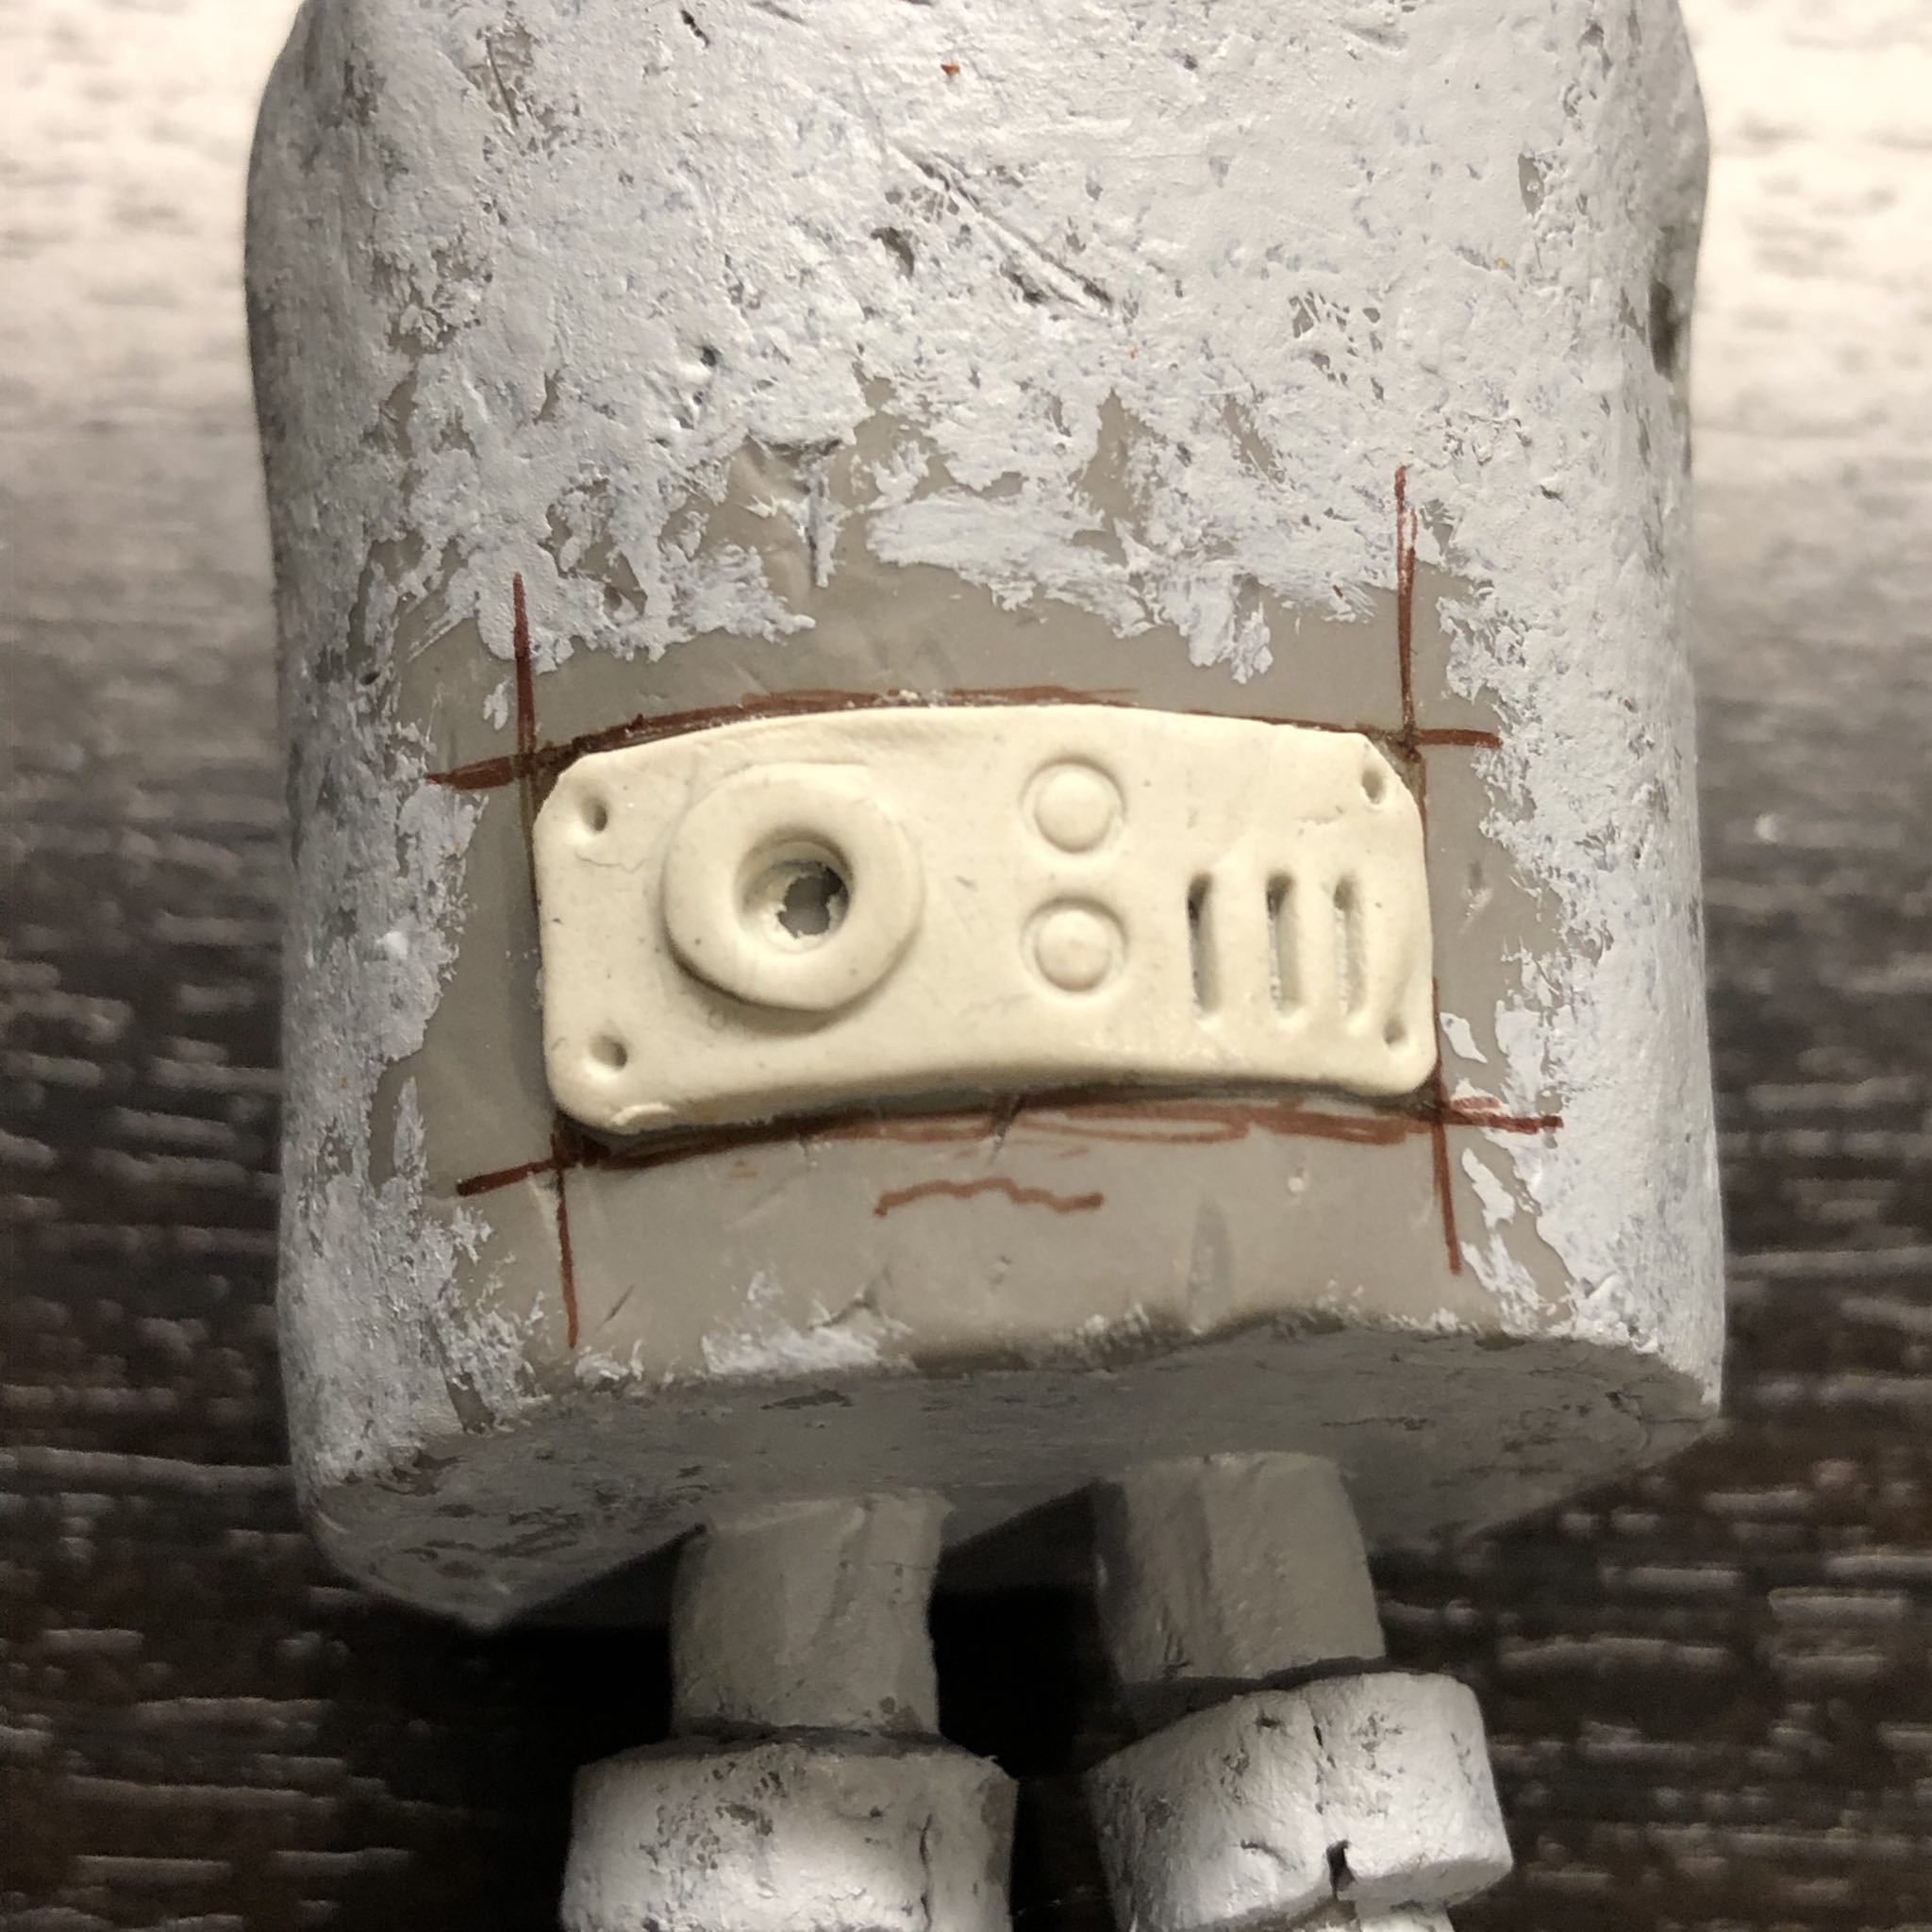
I designed several tiki masks for an unused concept in Space Pirates. I wanted them all to feature similar eyes as well as circuit board elements, showing a level of technological advancement.

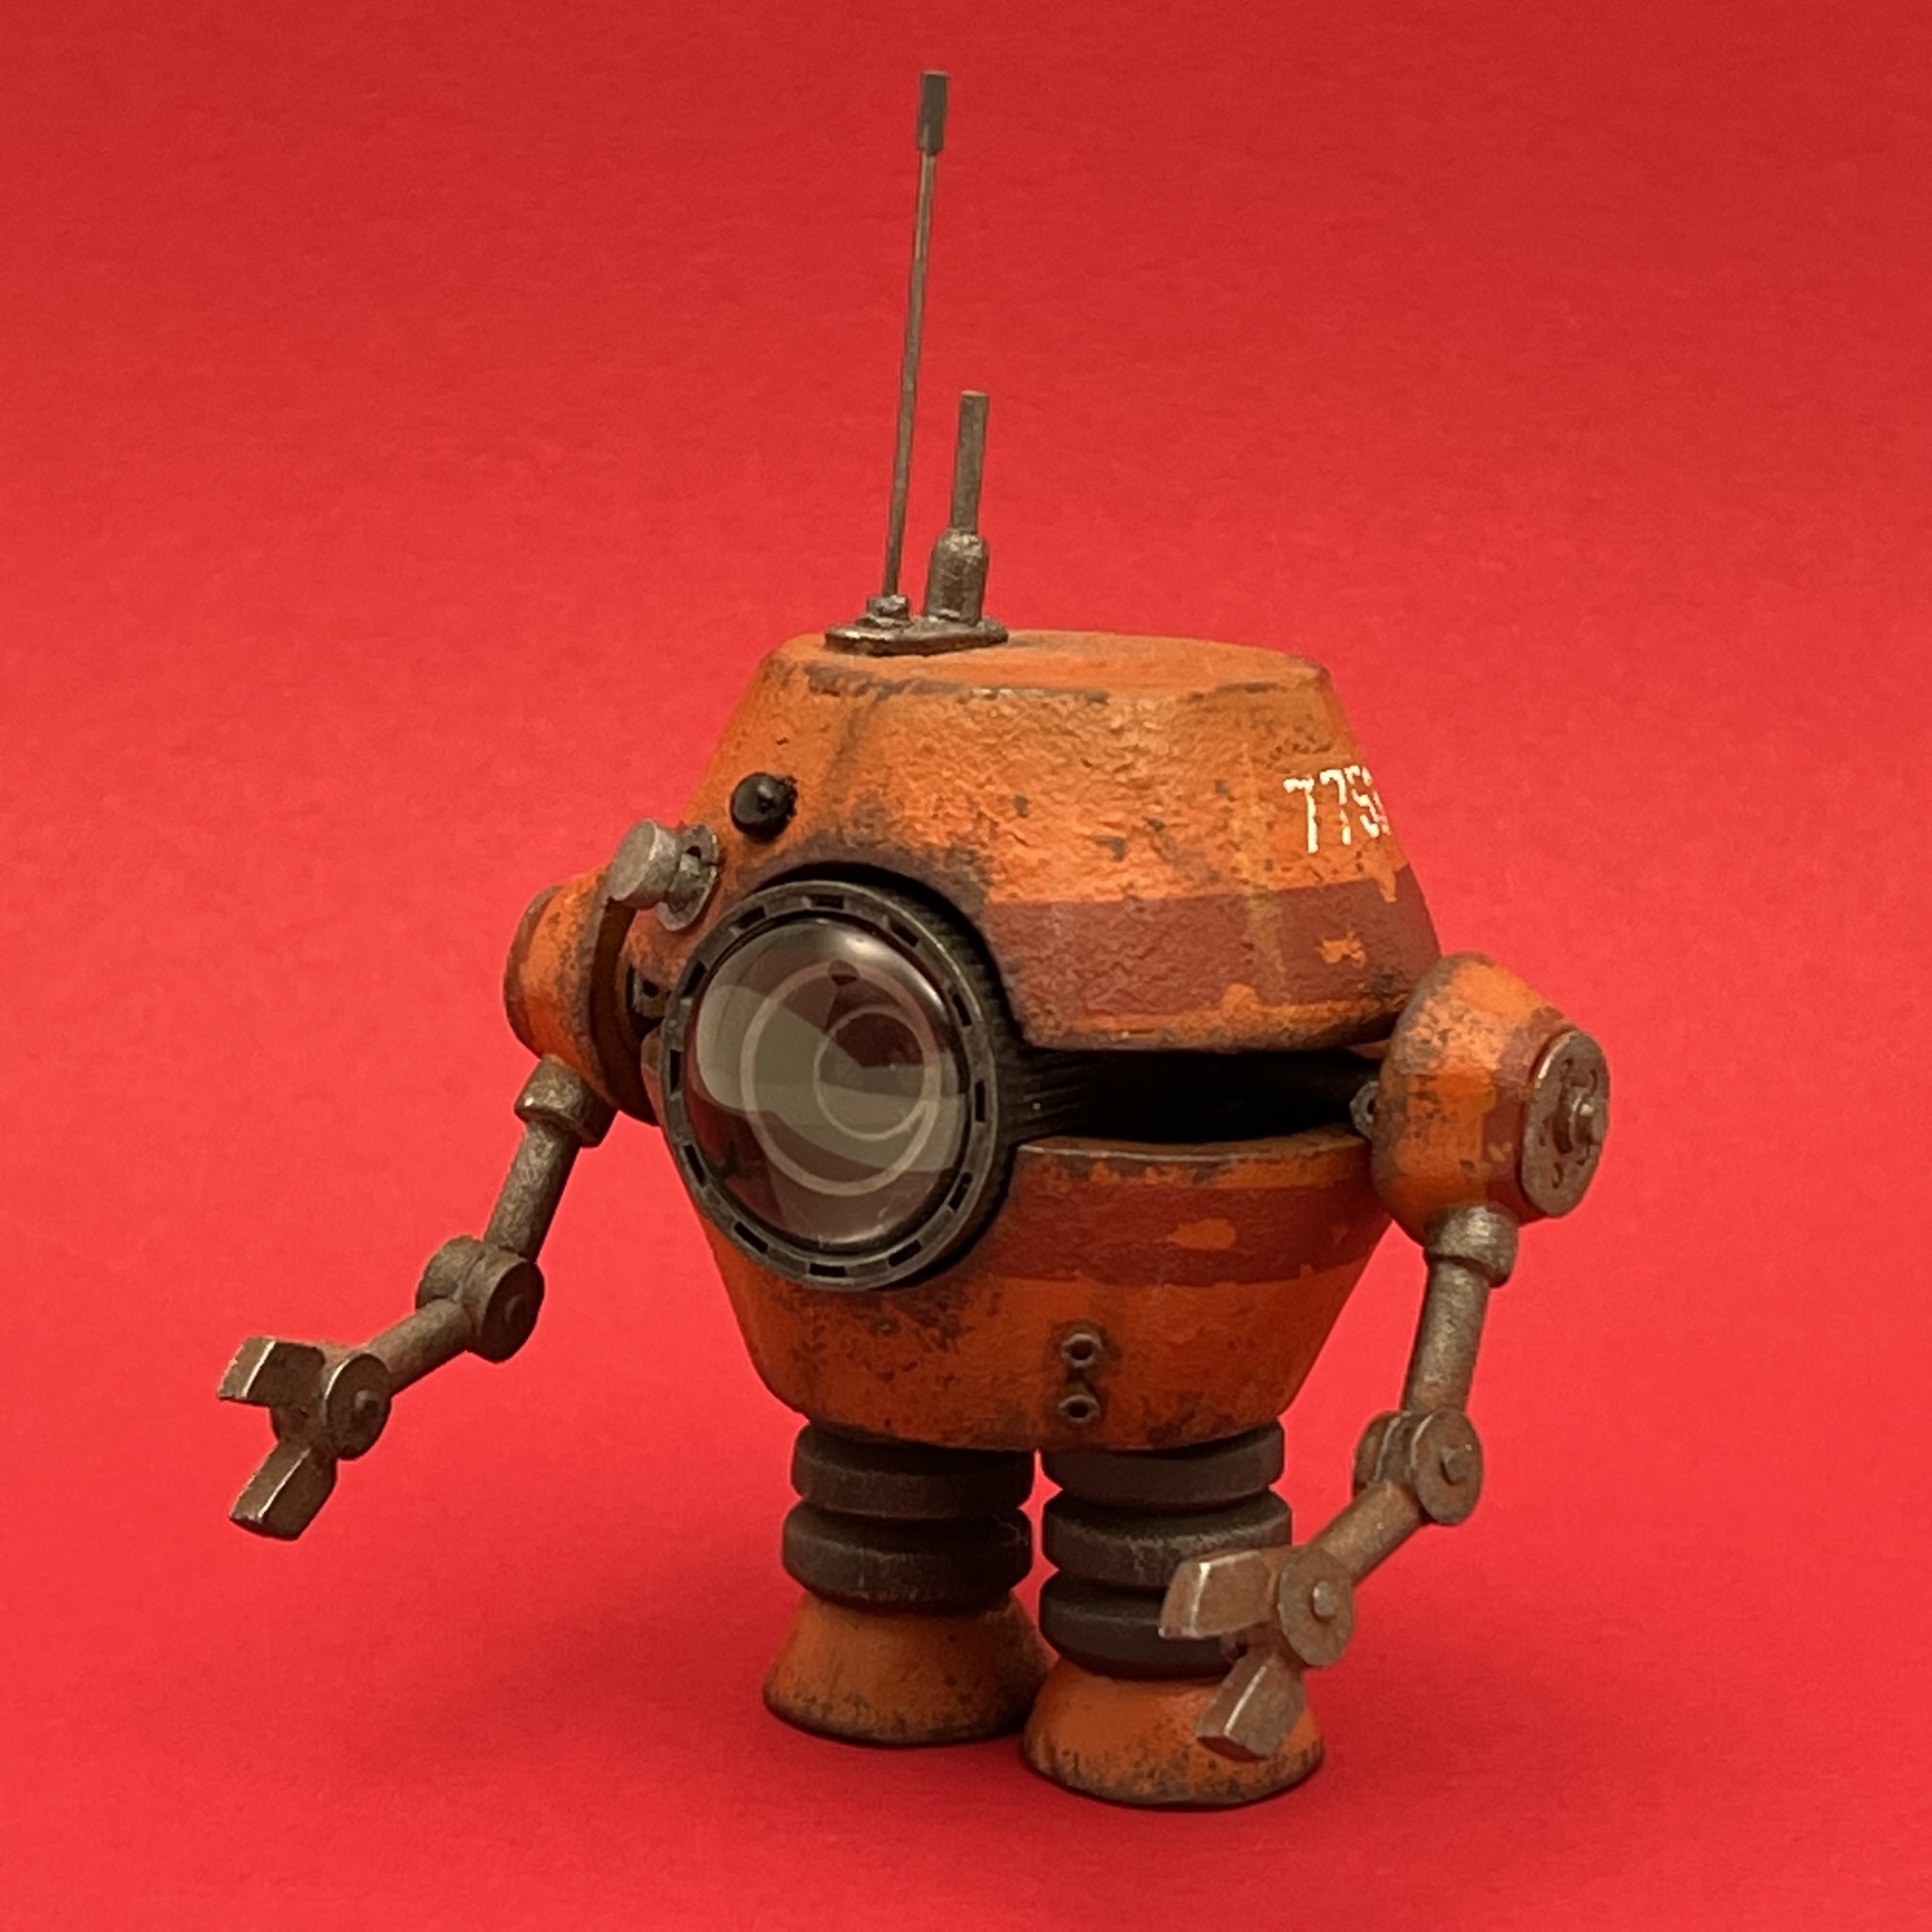
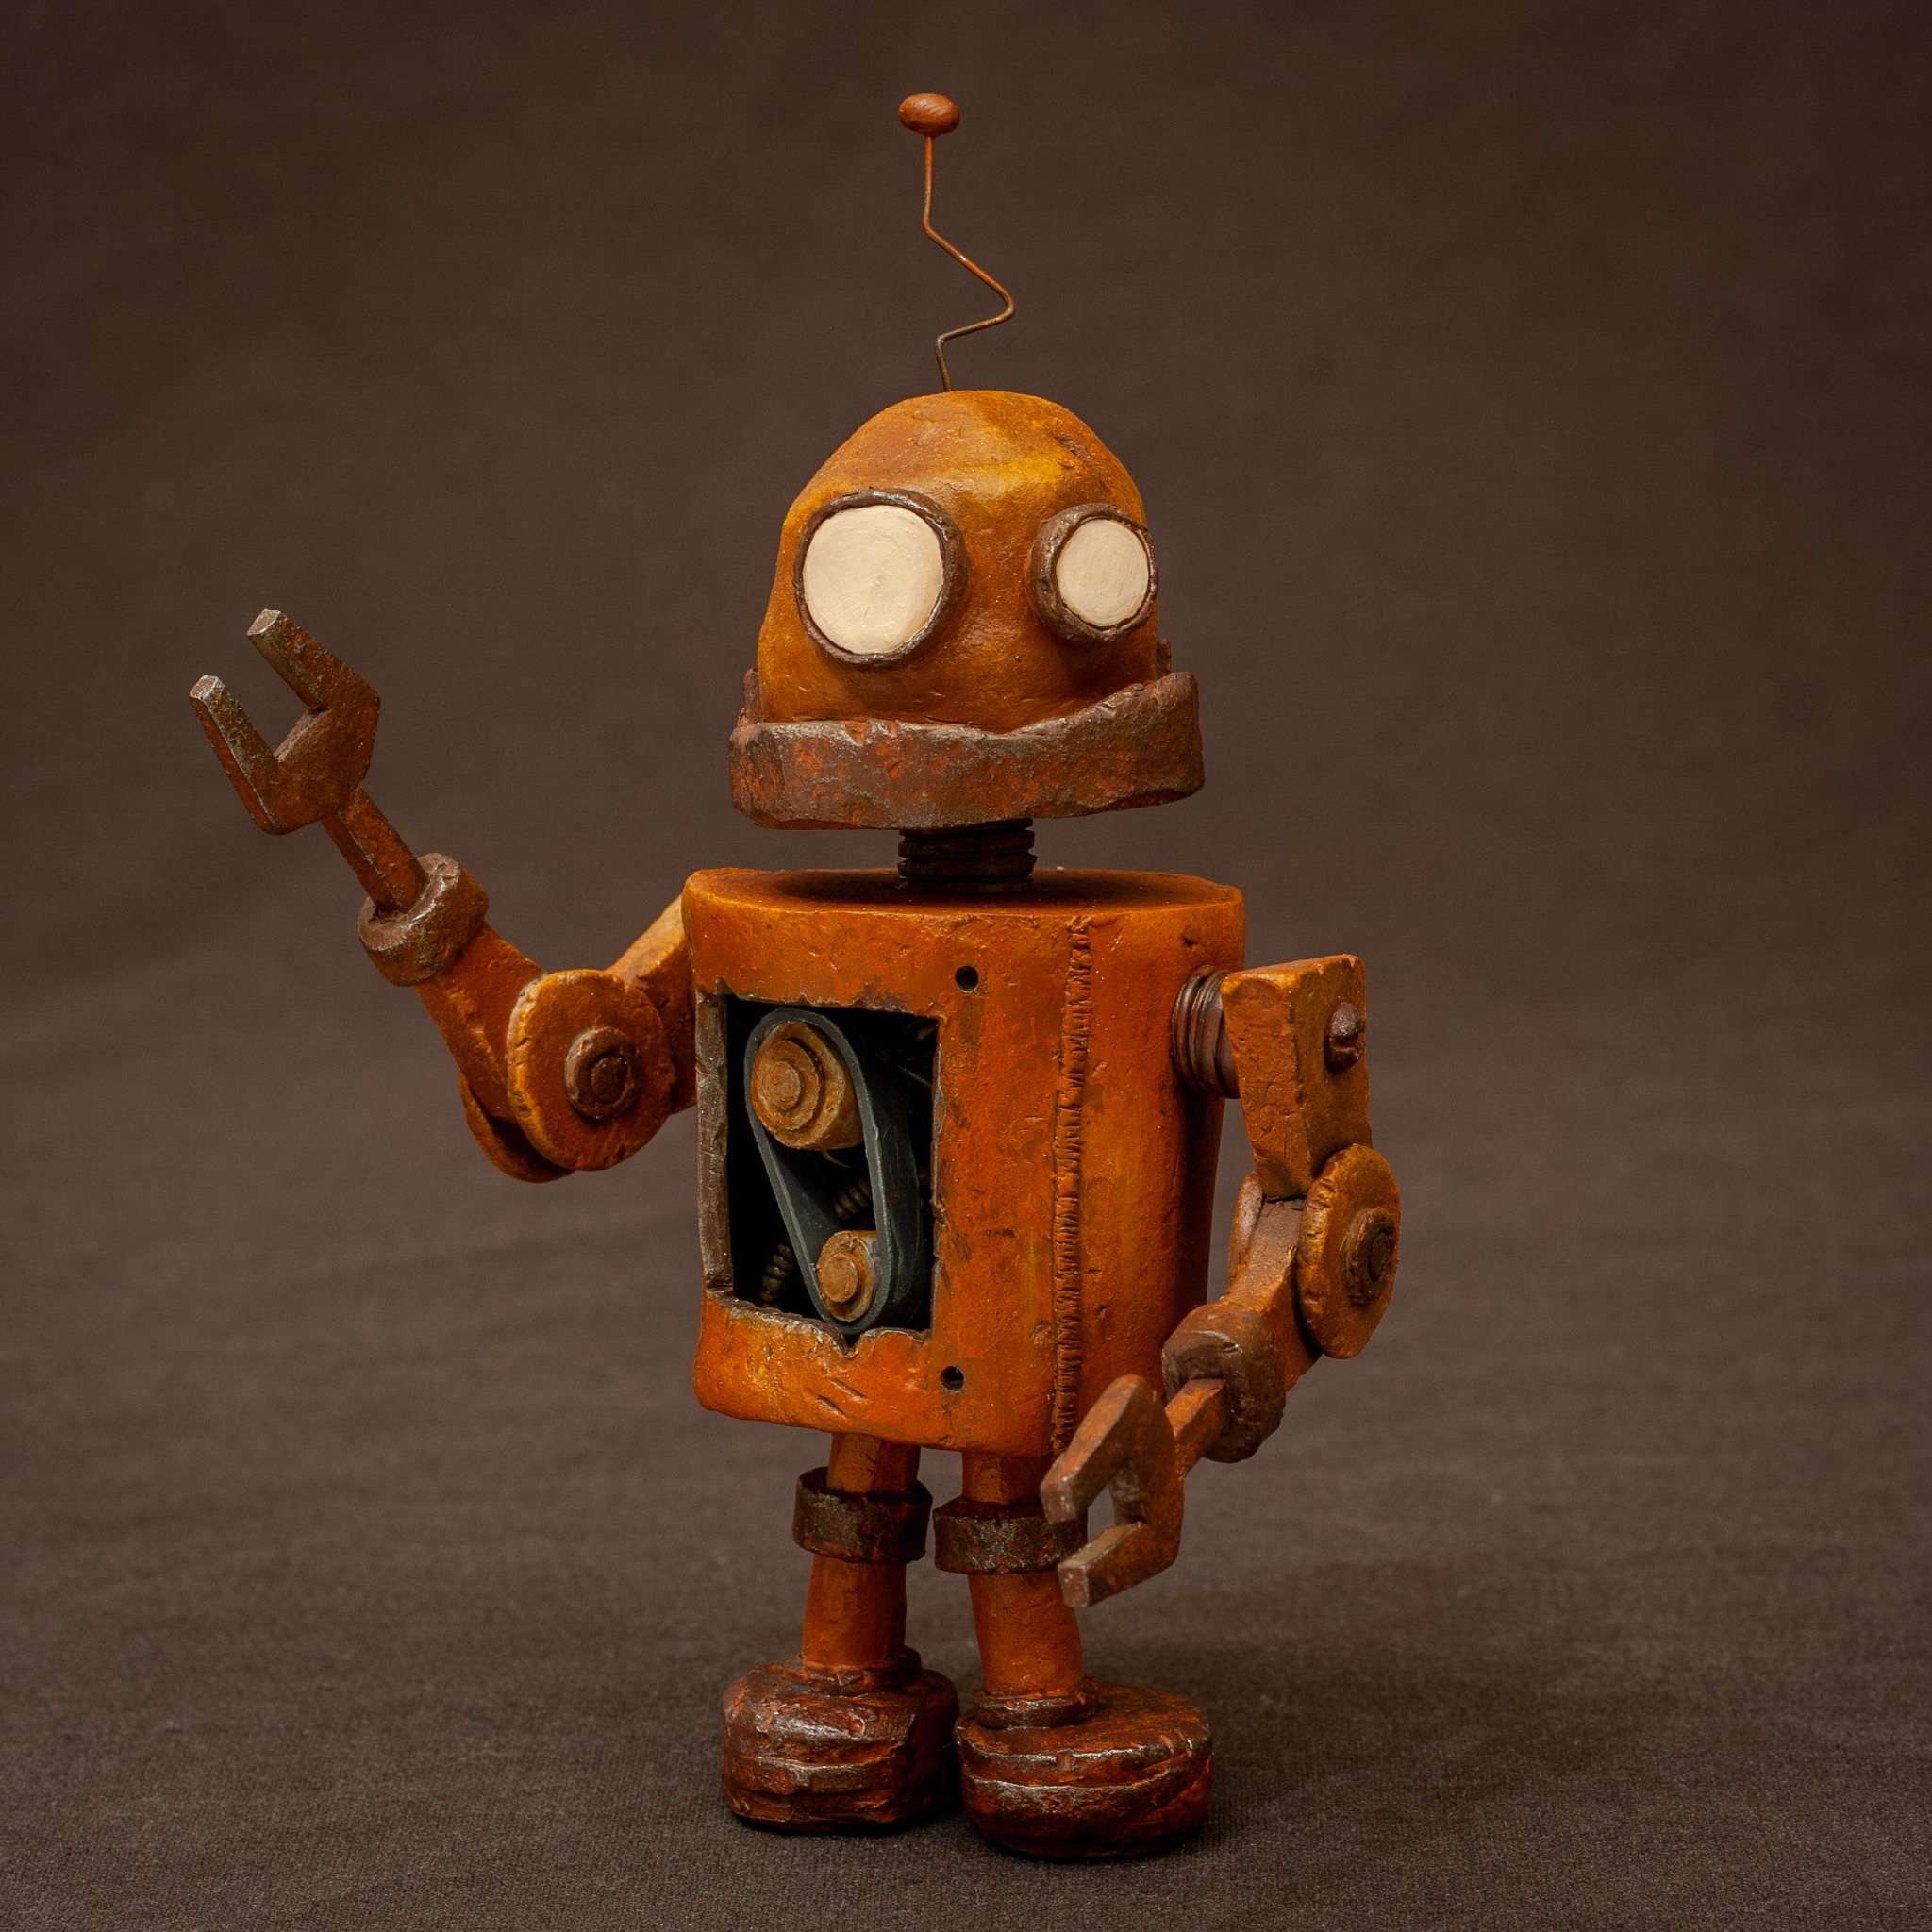
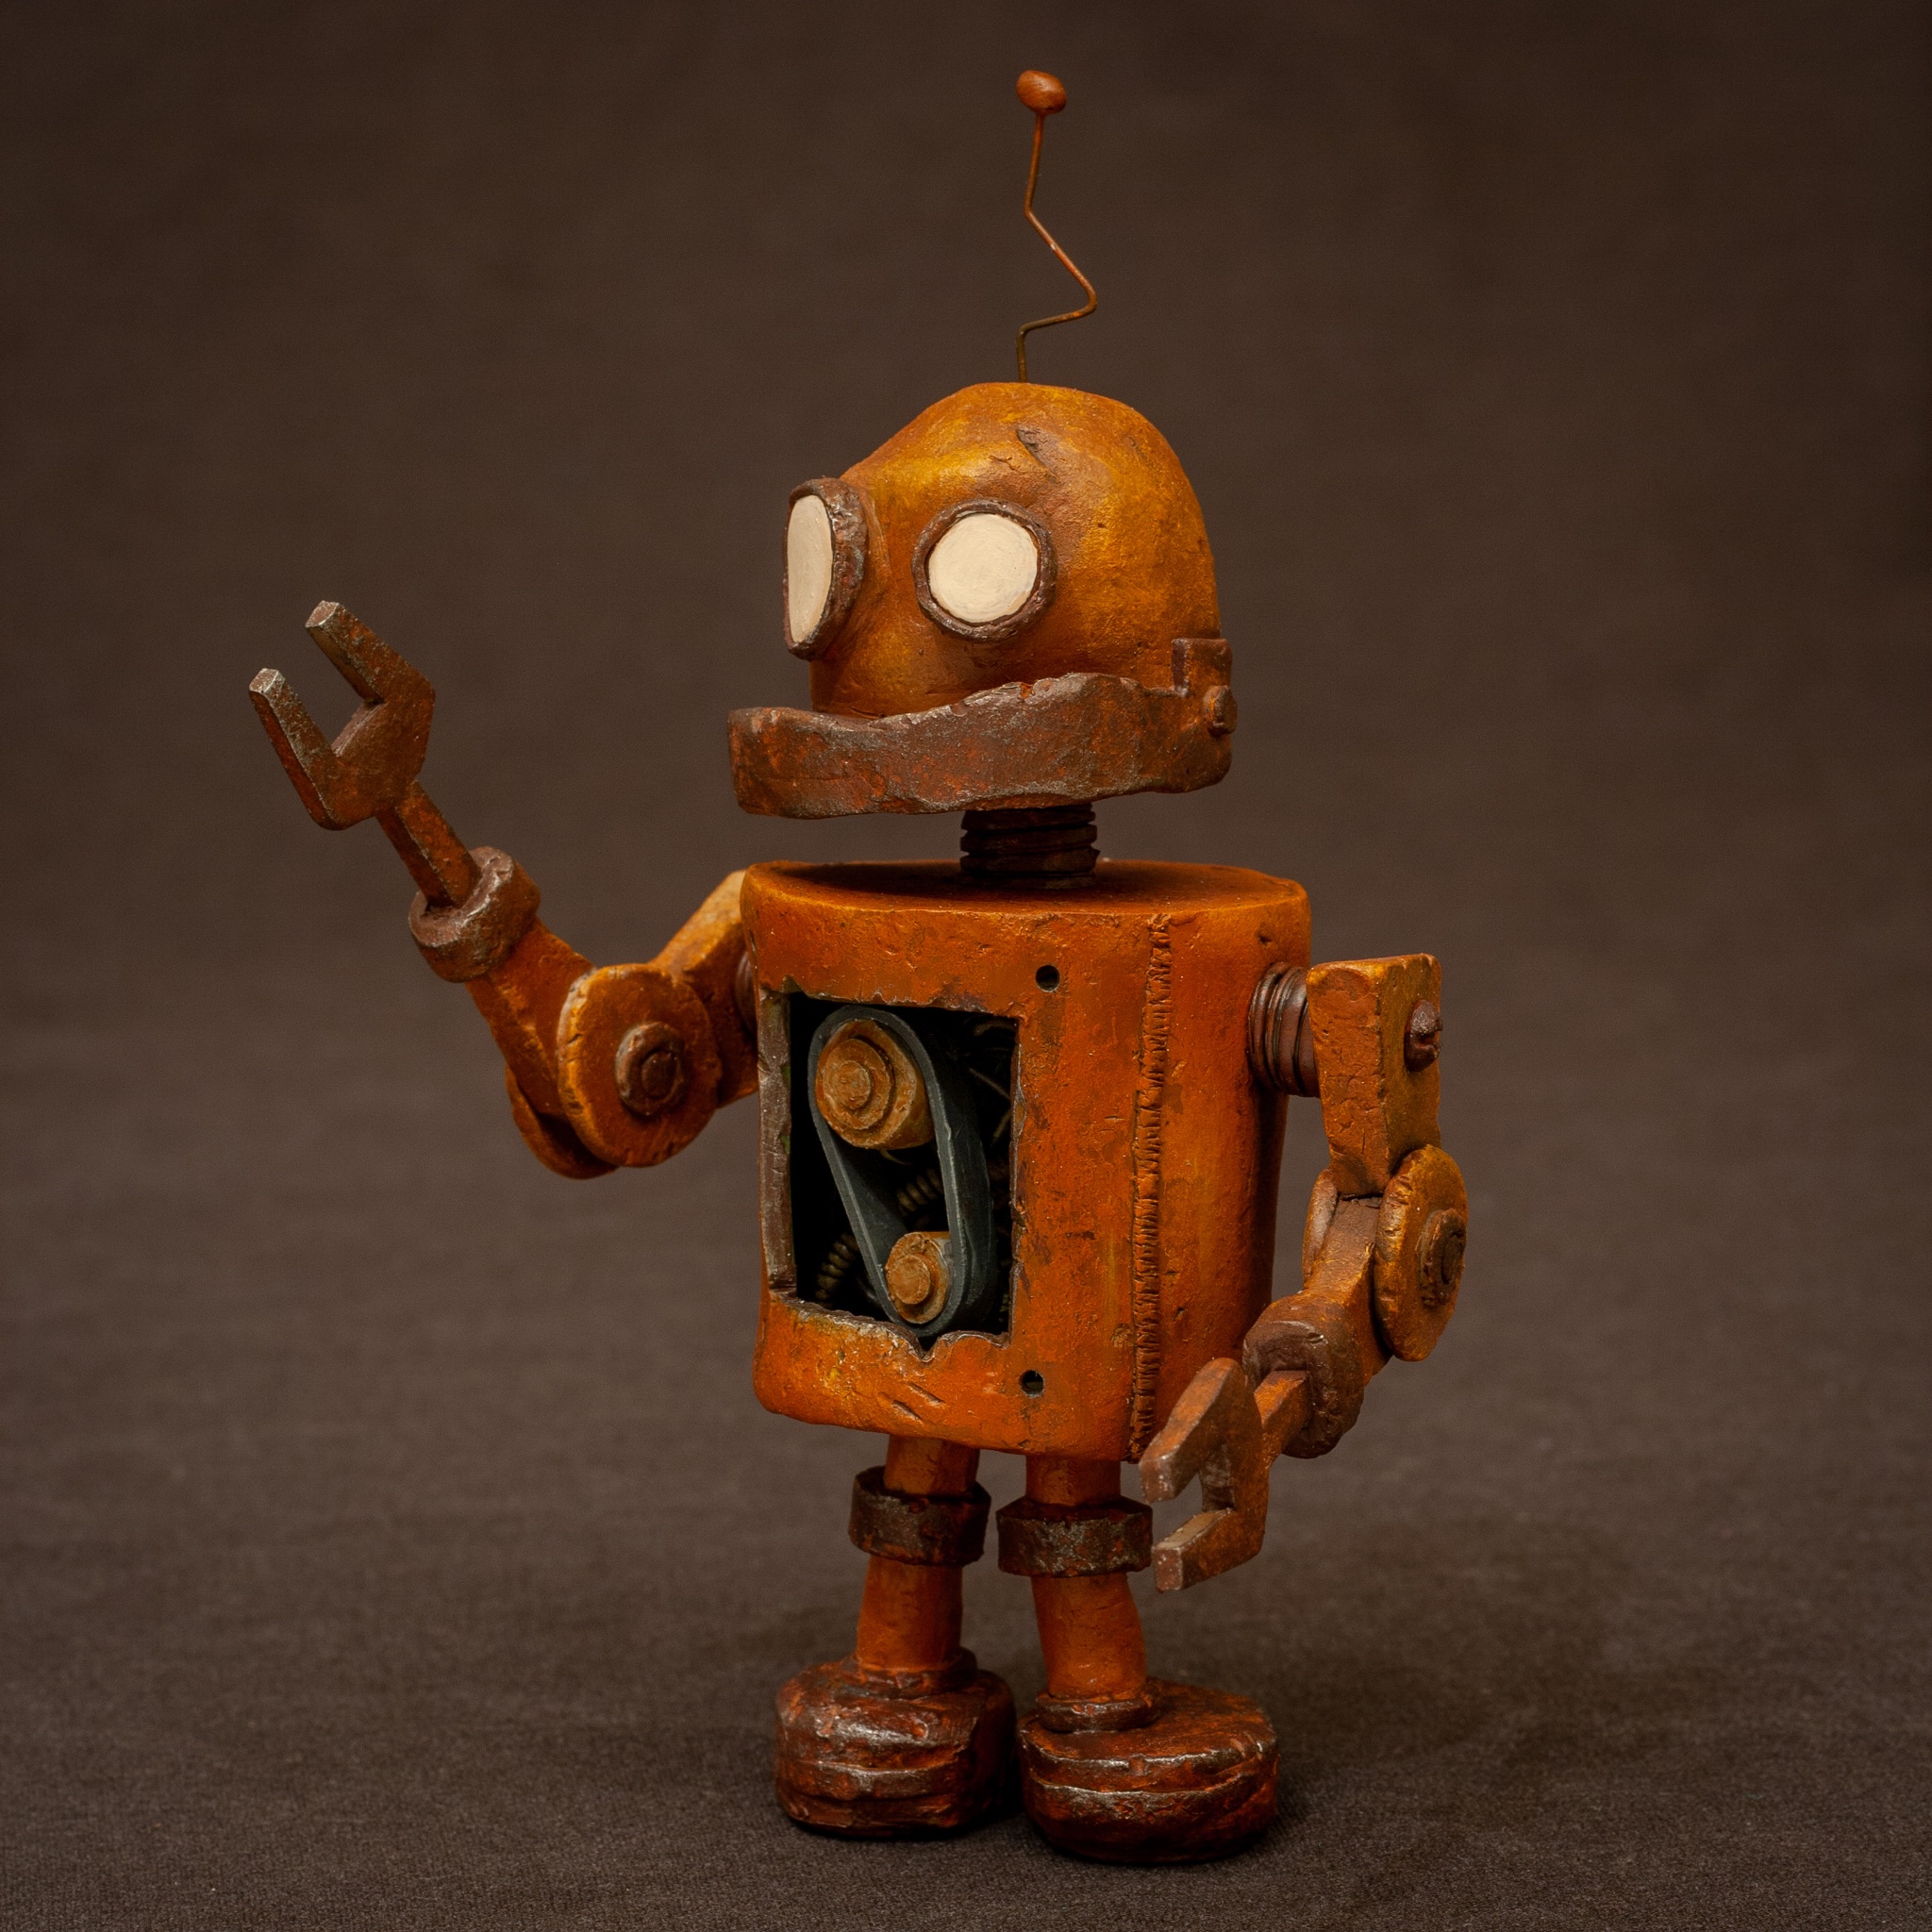
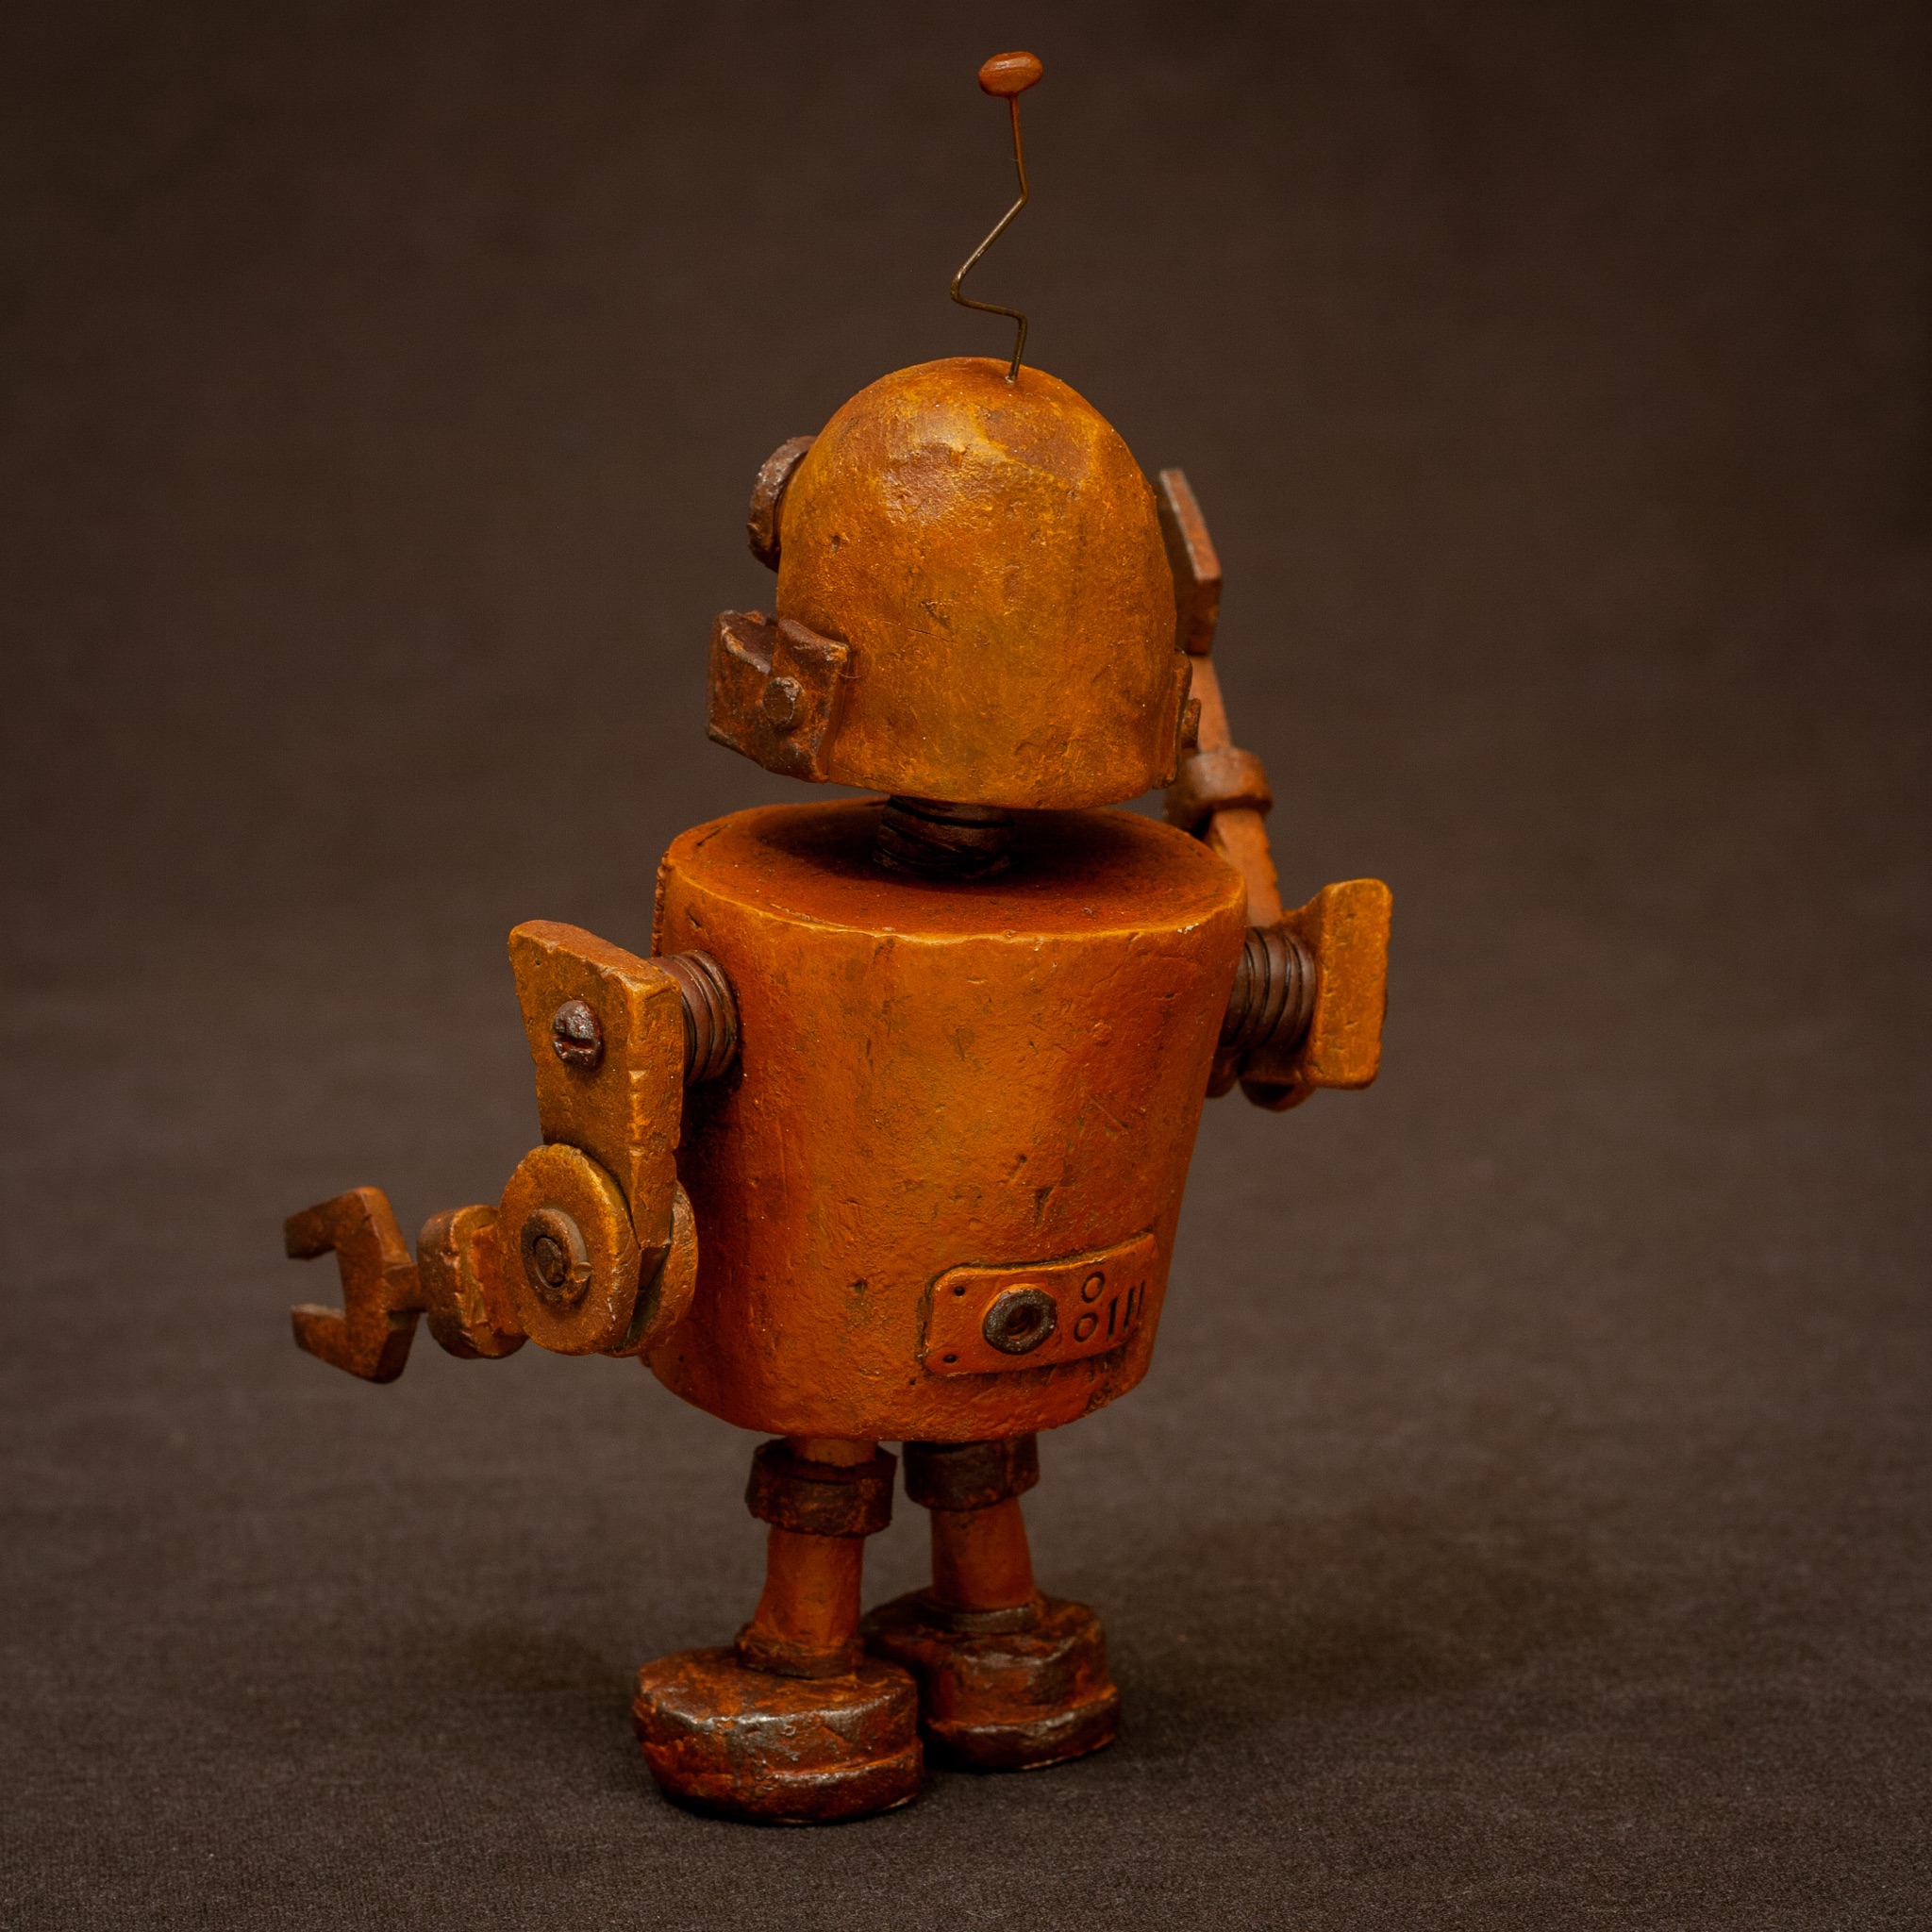
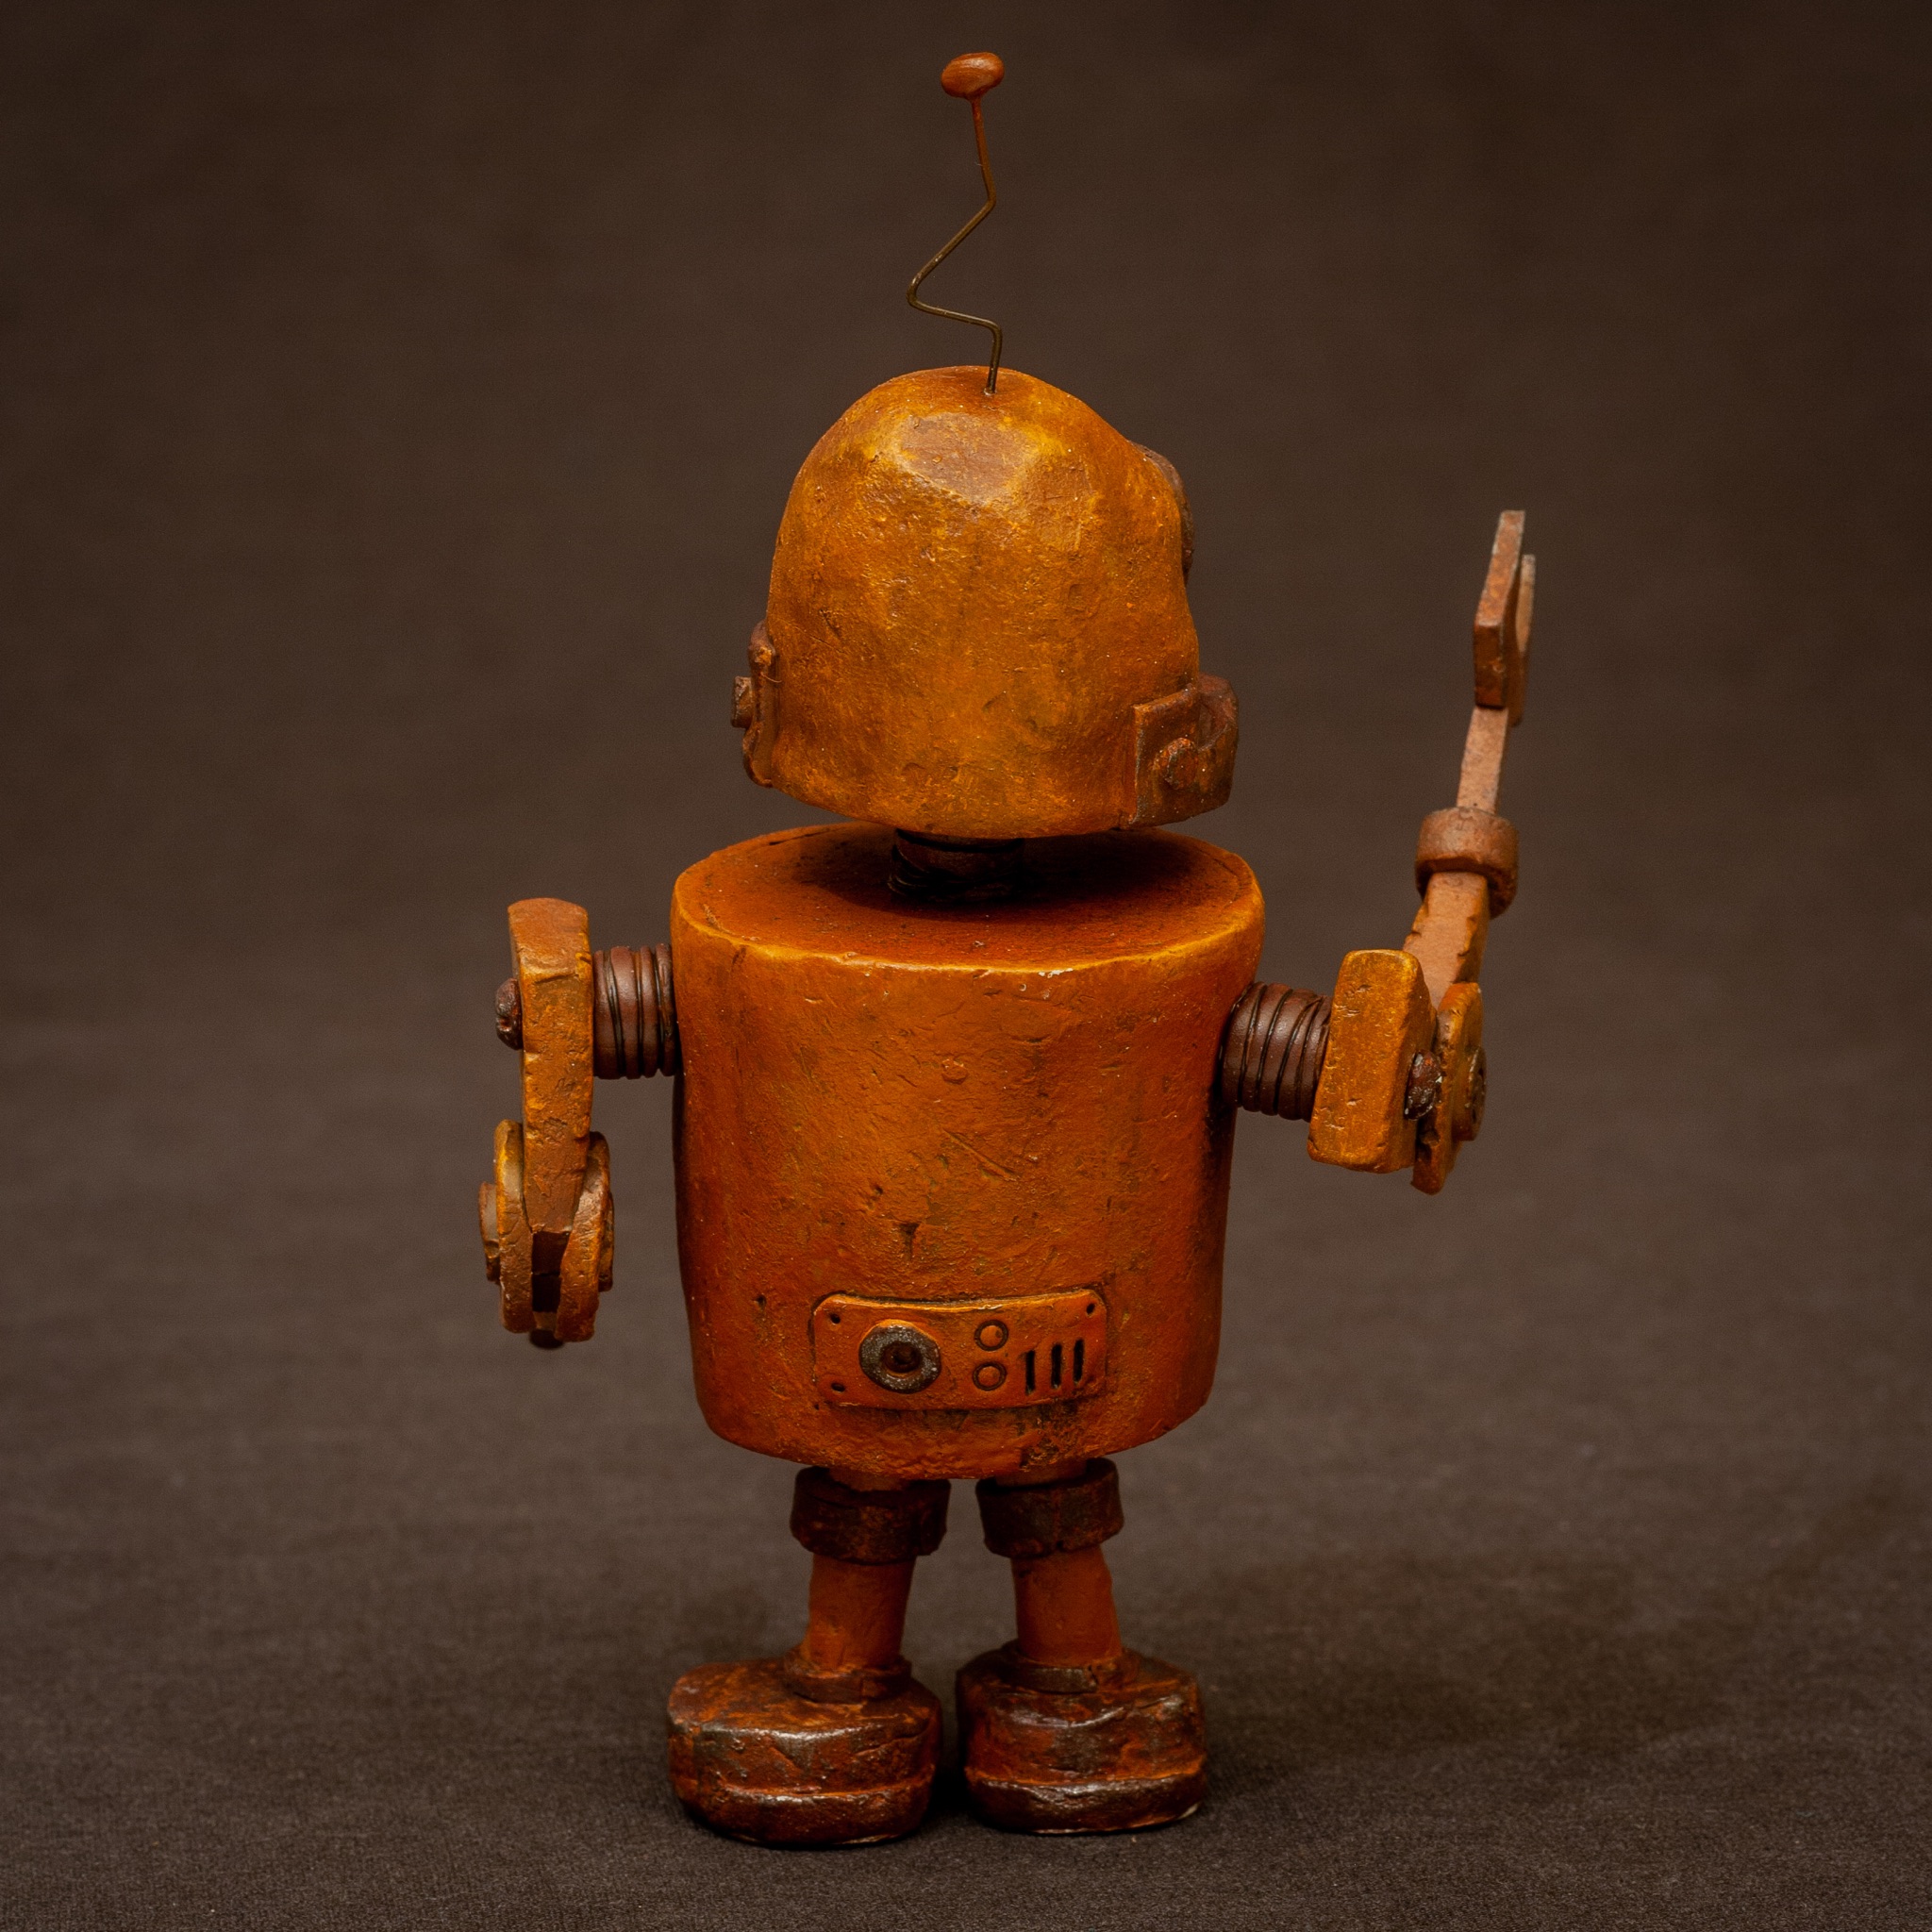
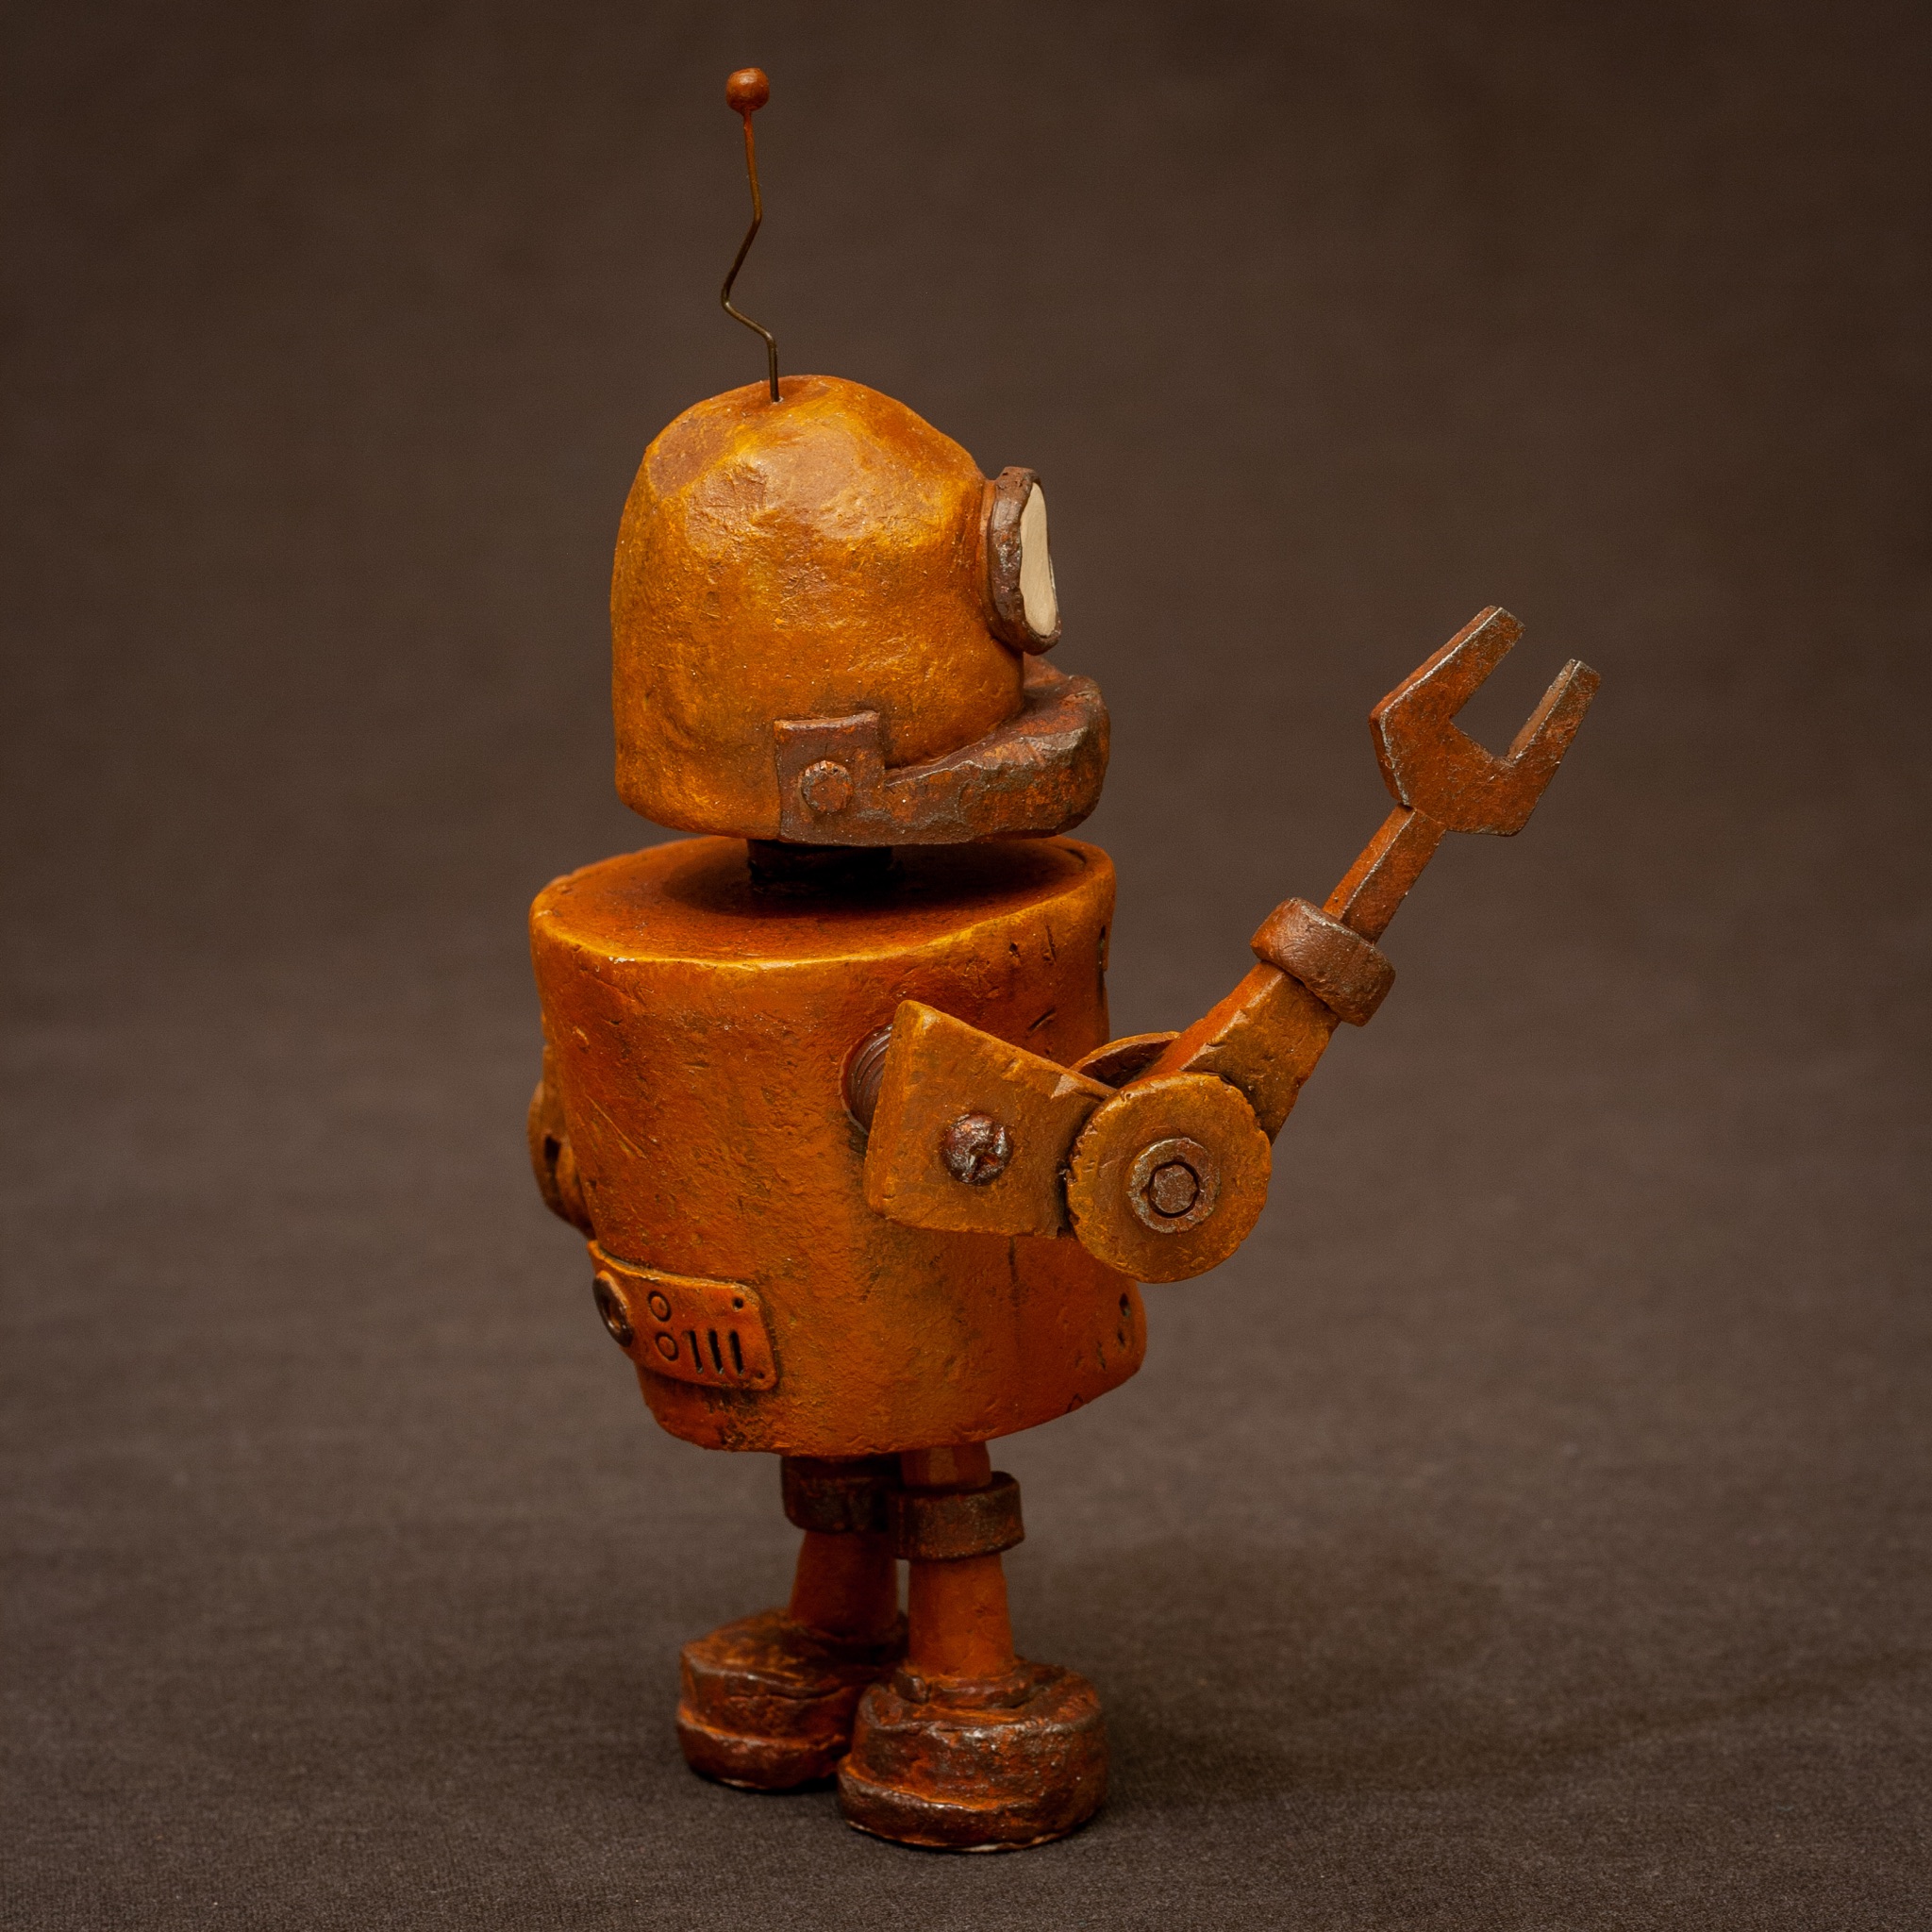
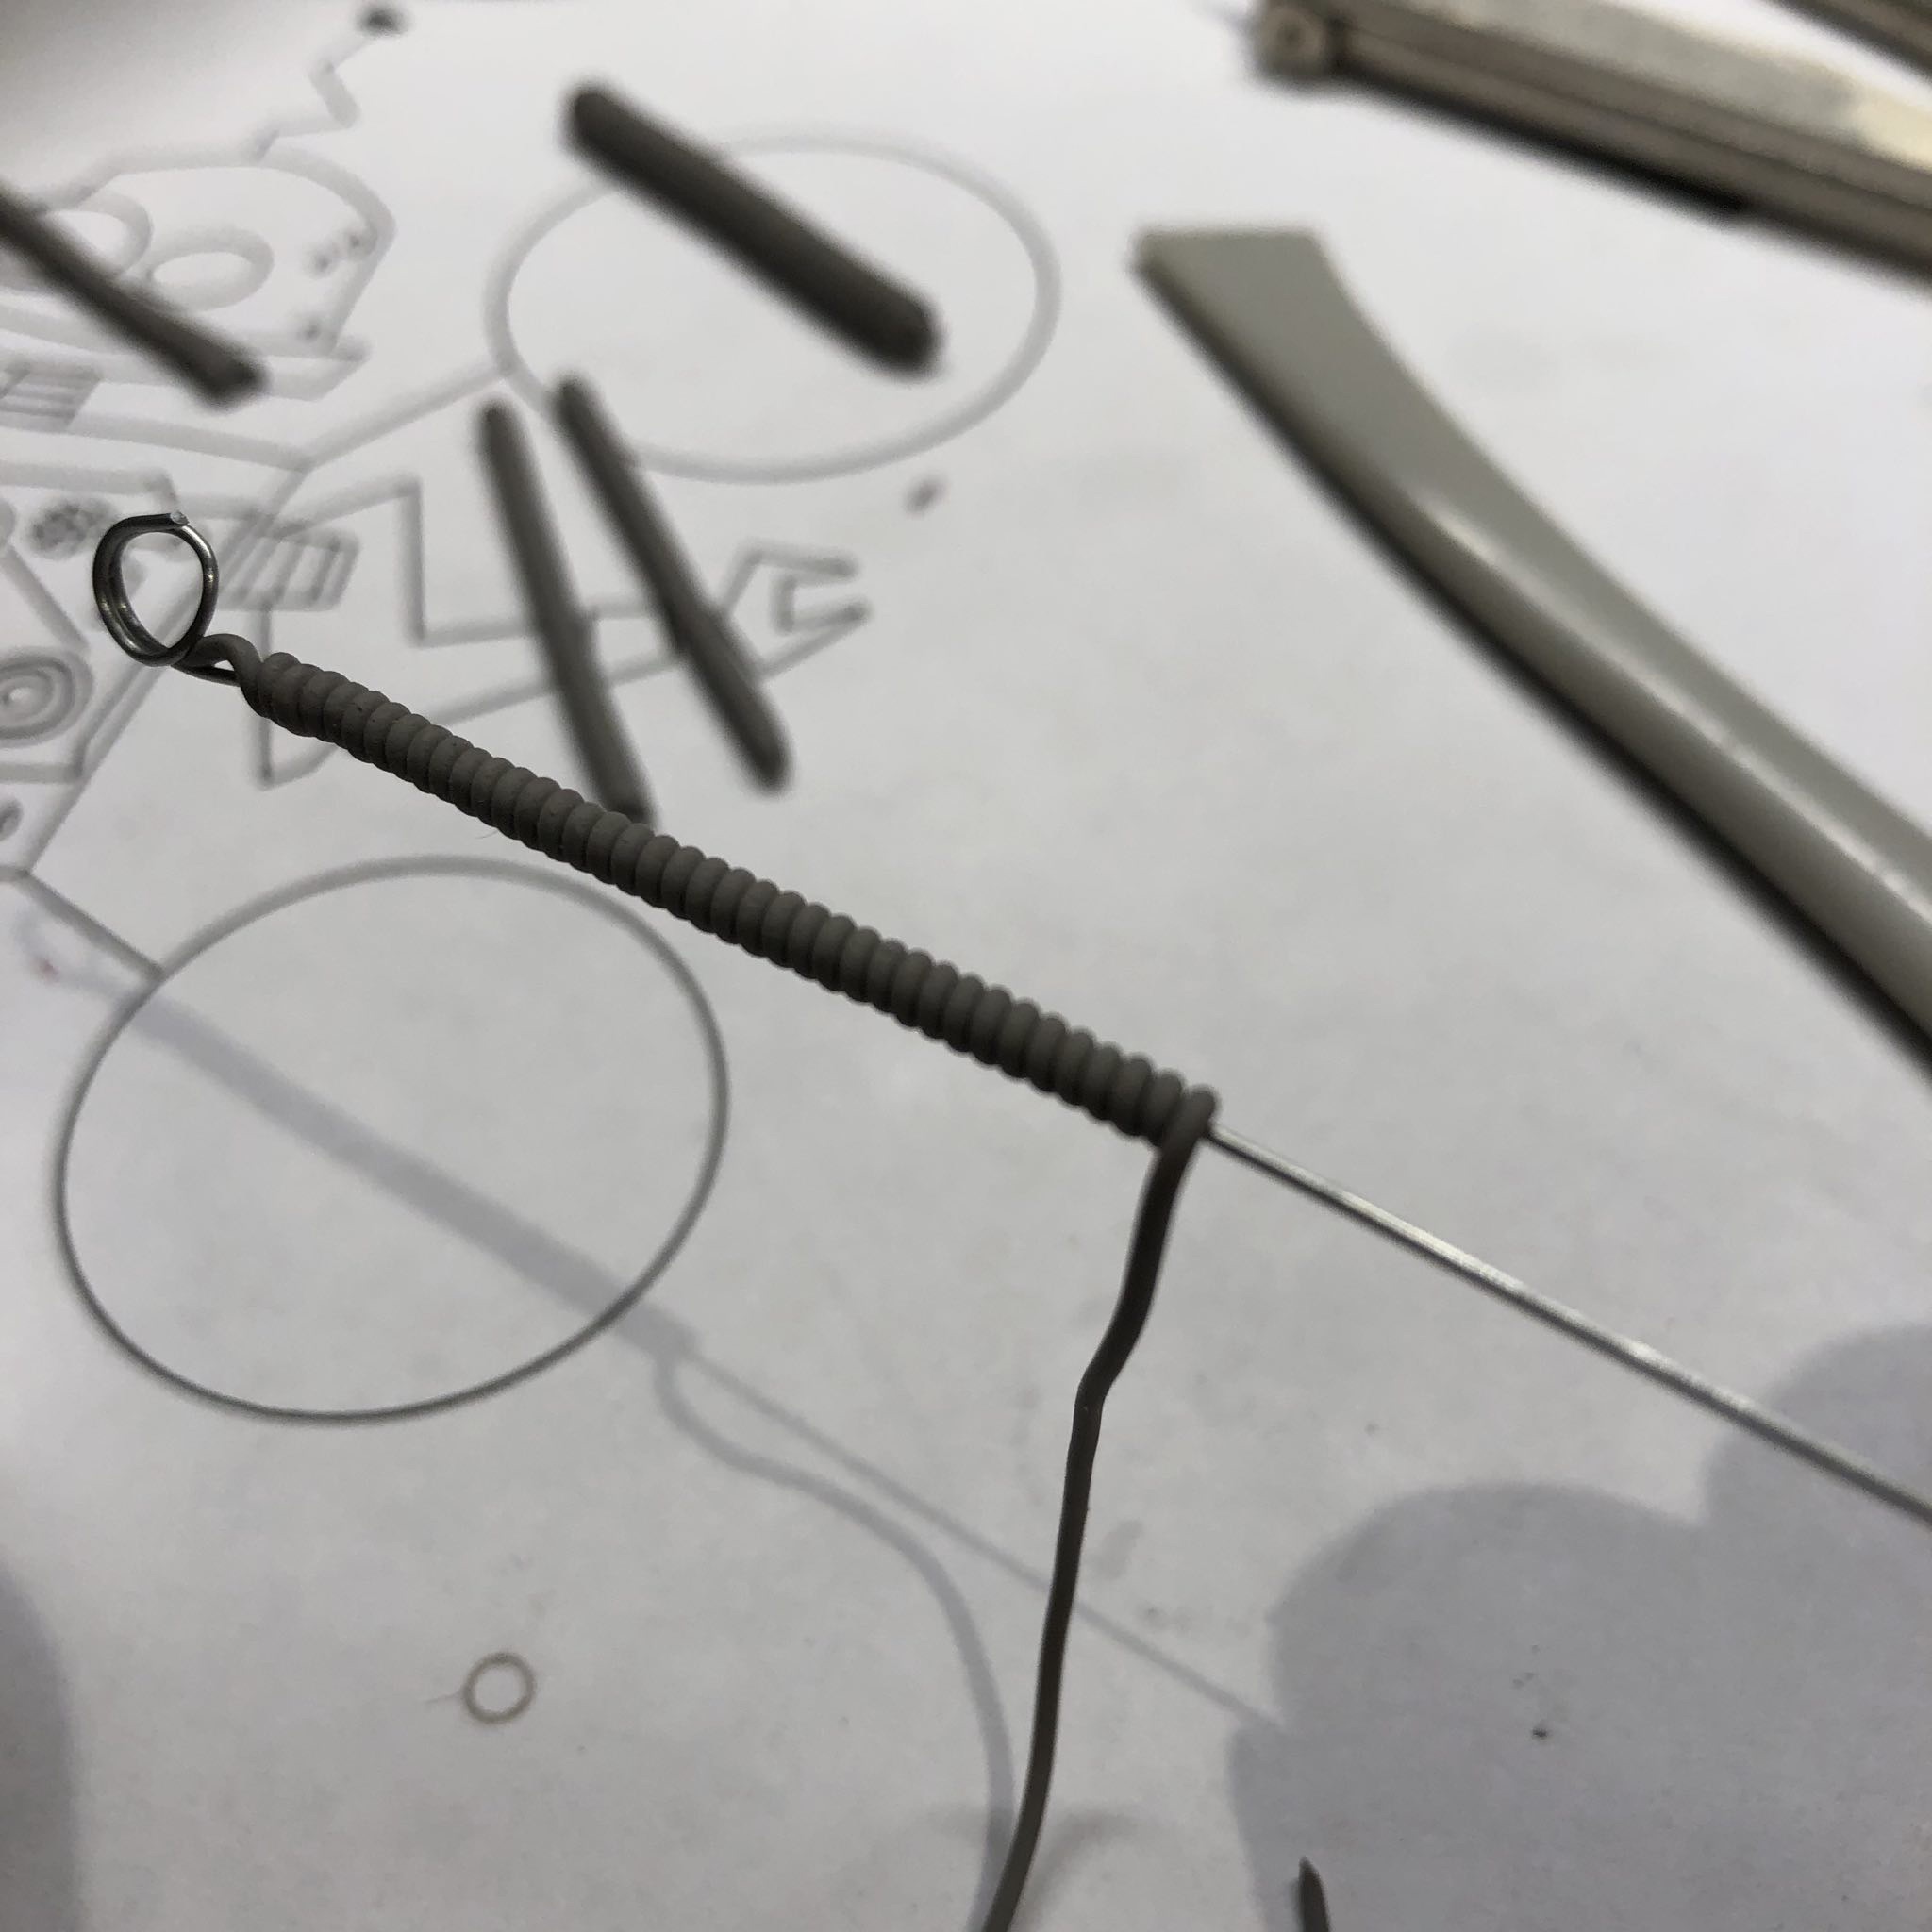
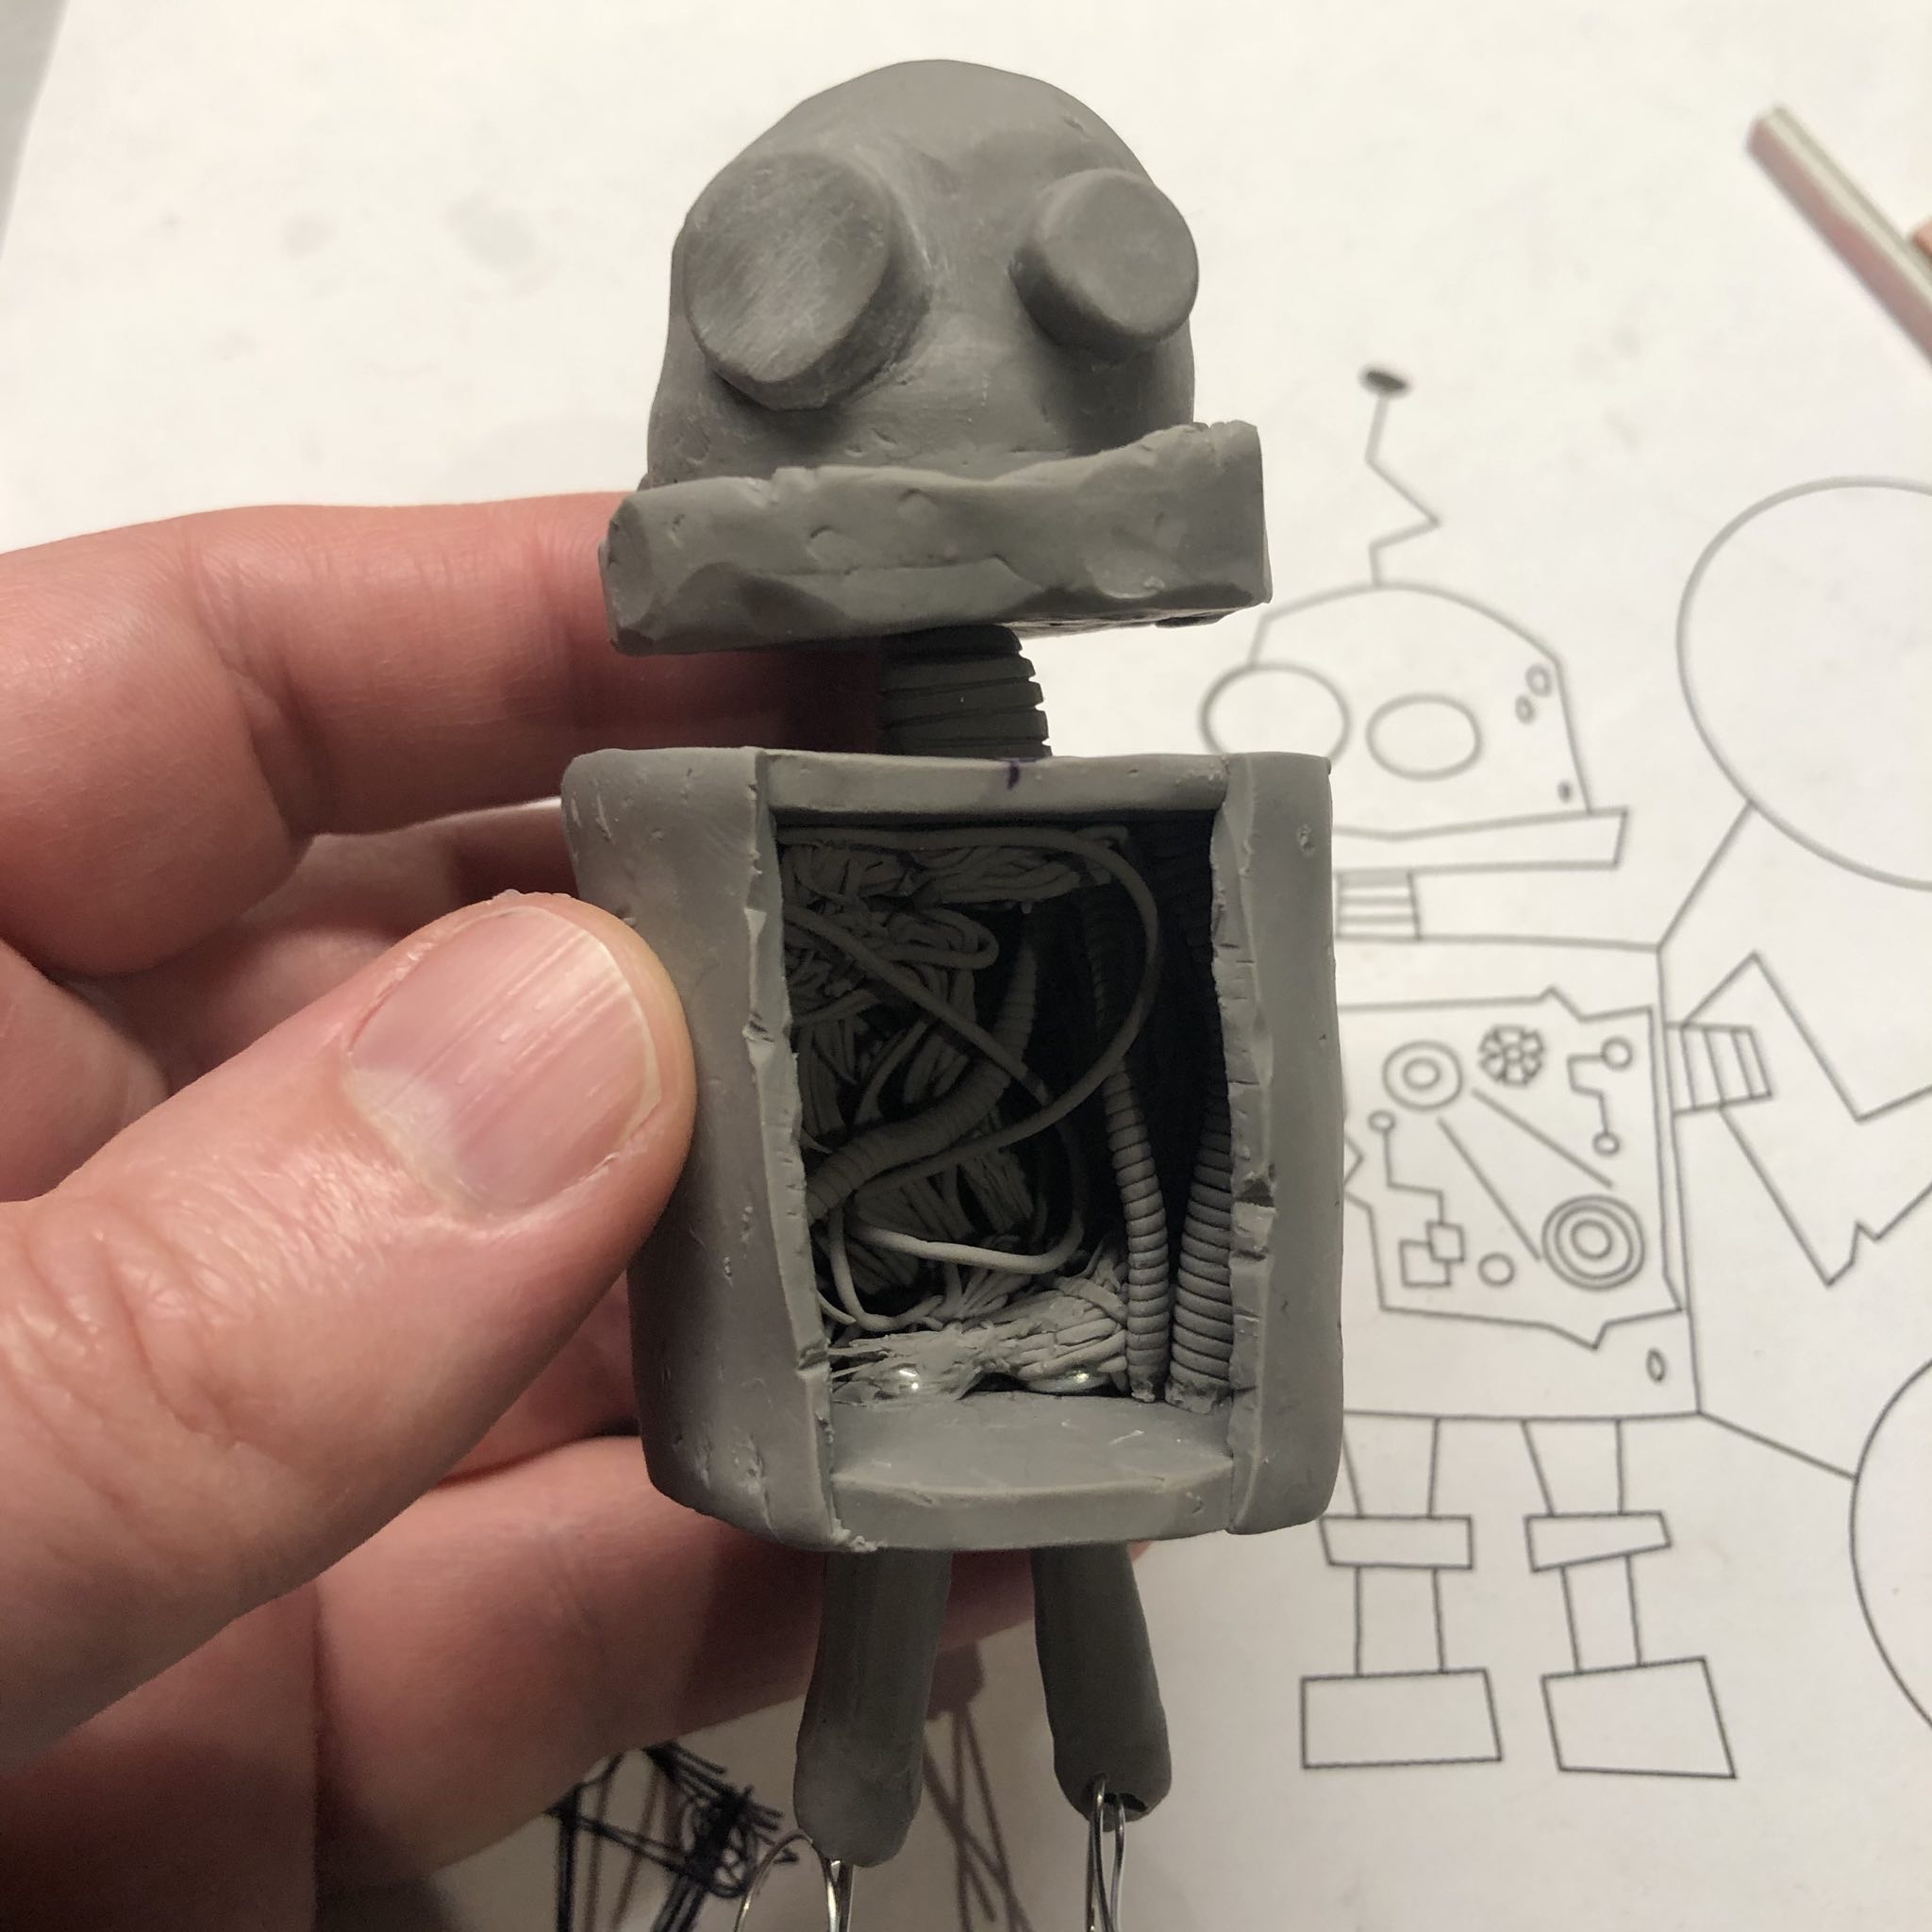
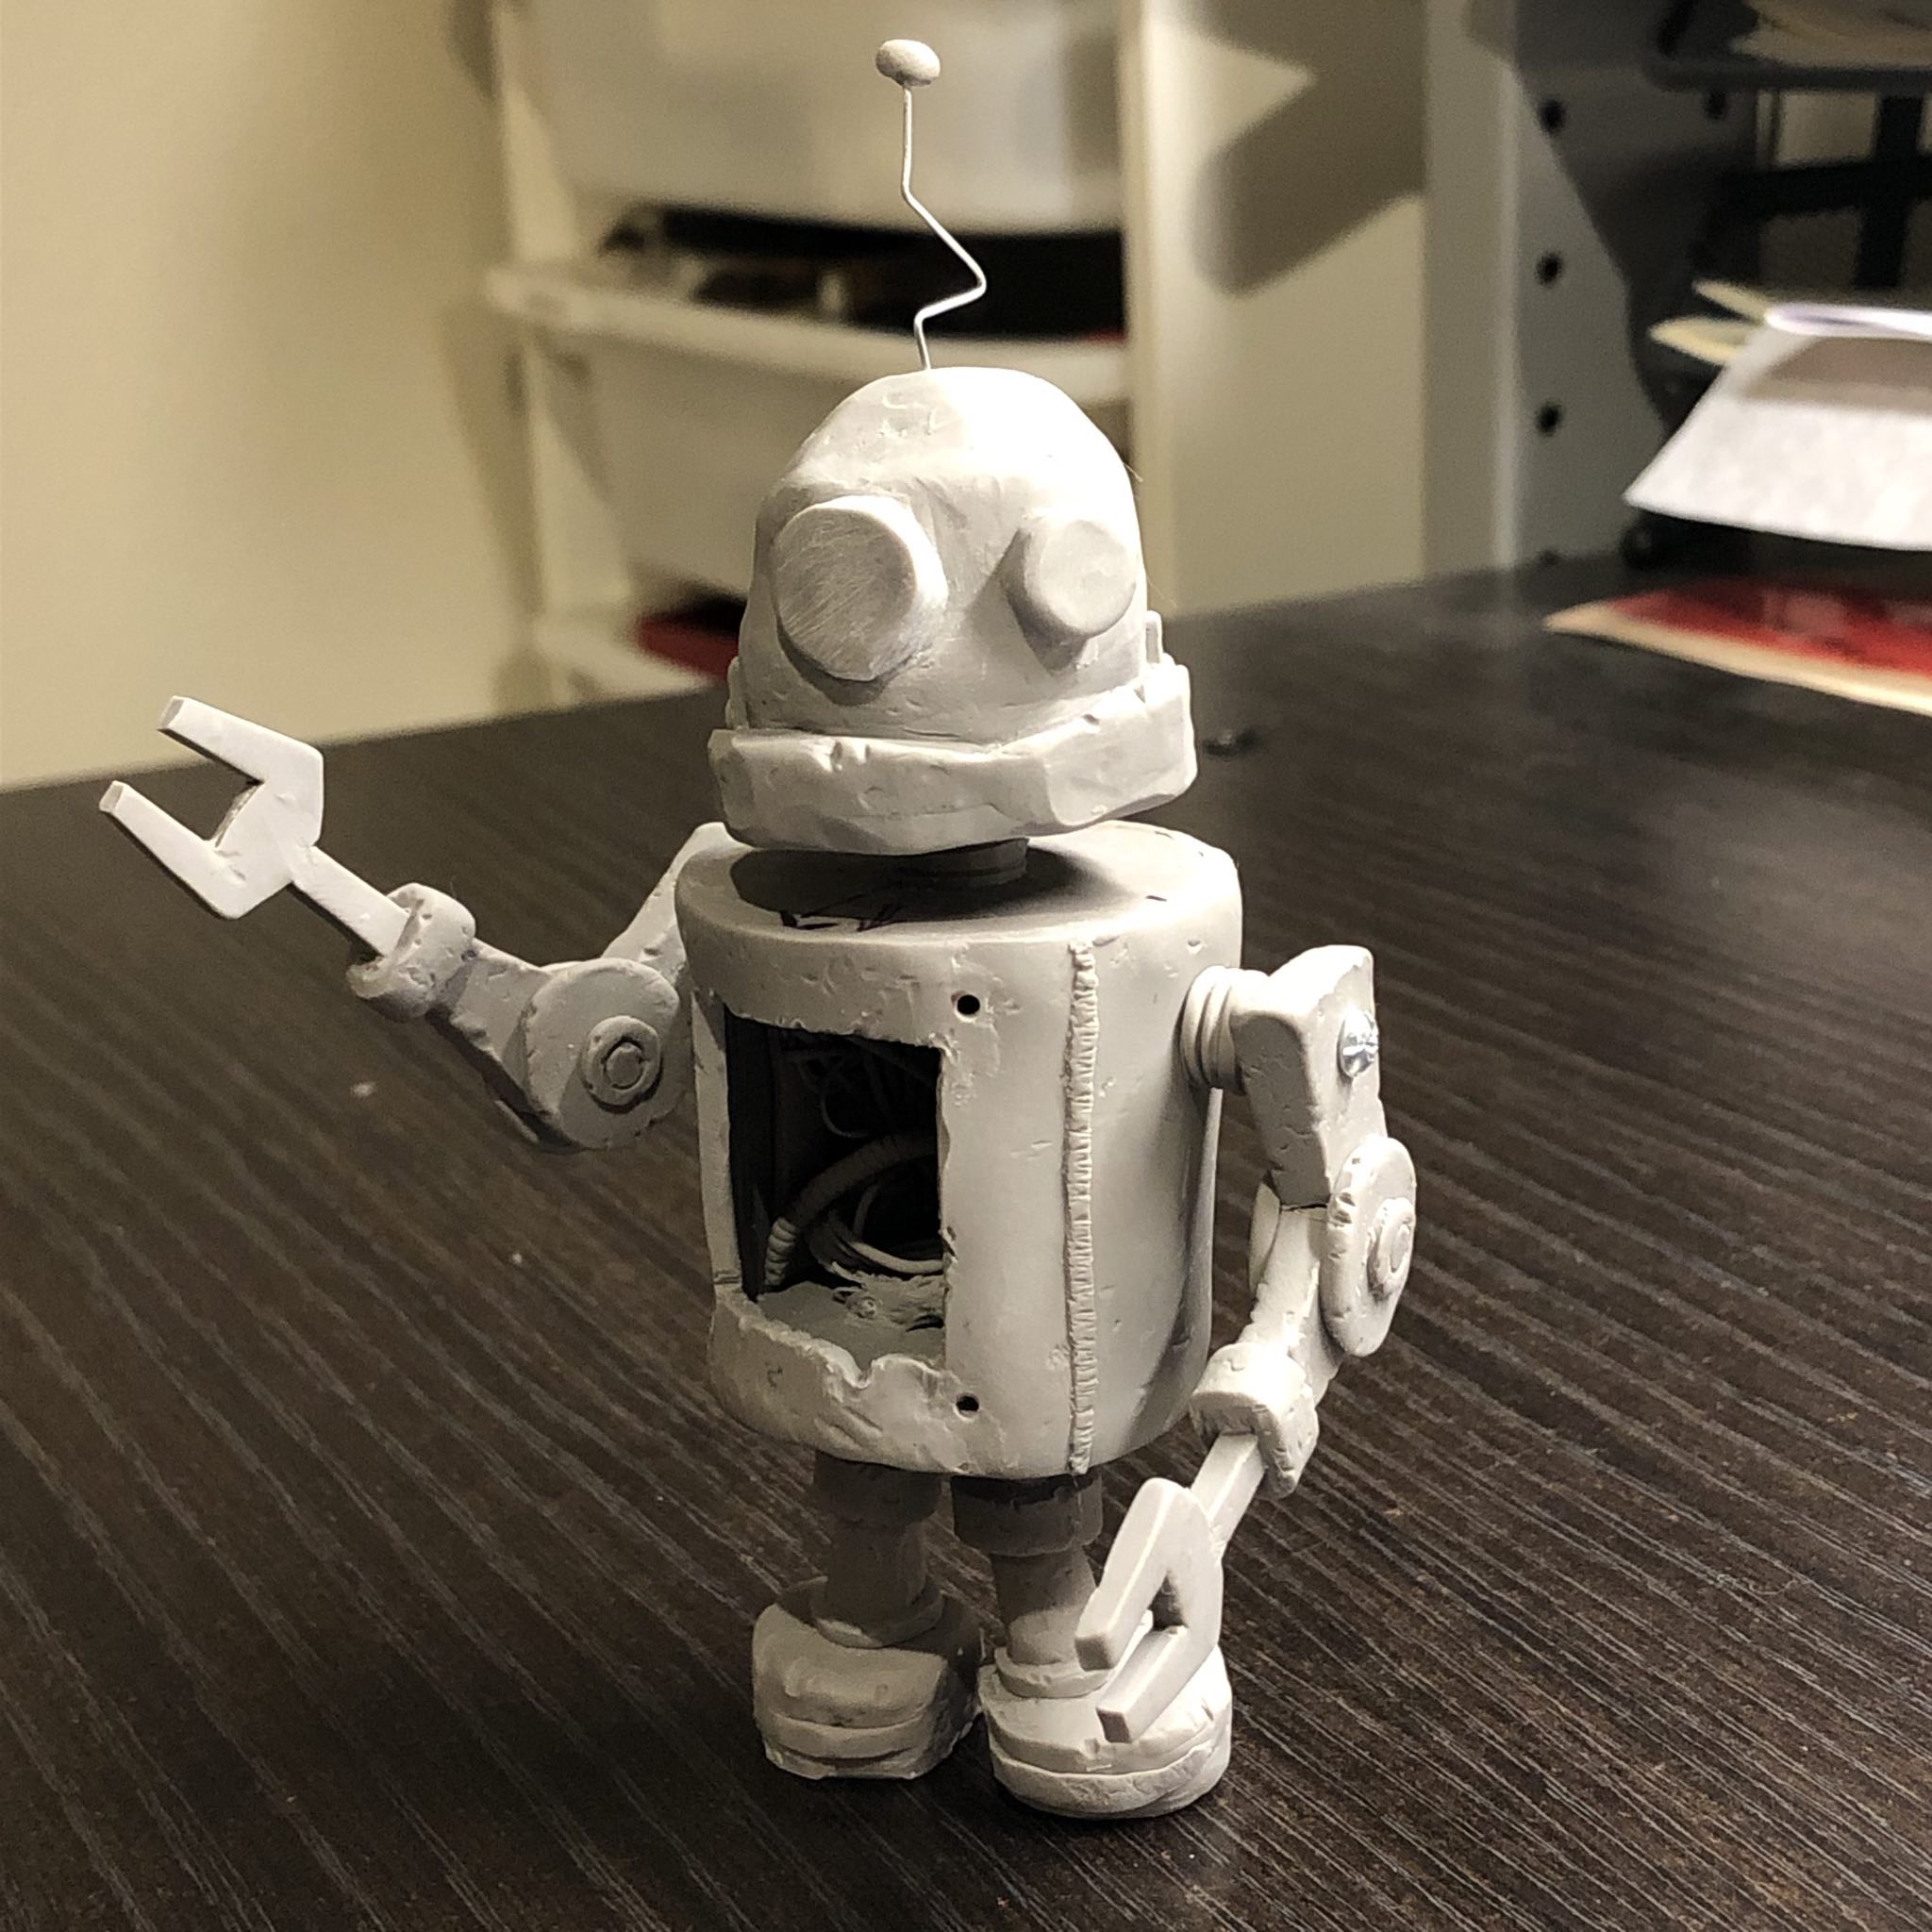
I made an art toy scupture of Junkbot, one of my Robot Roundup characters.
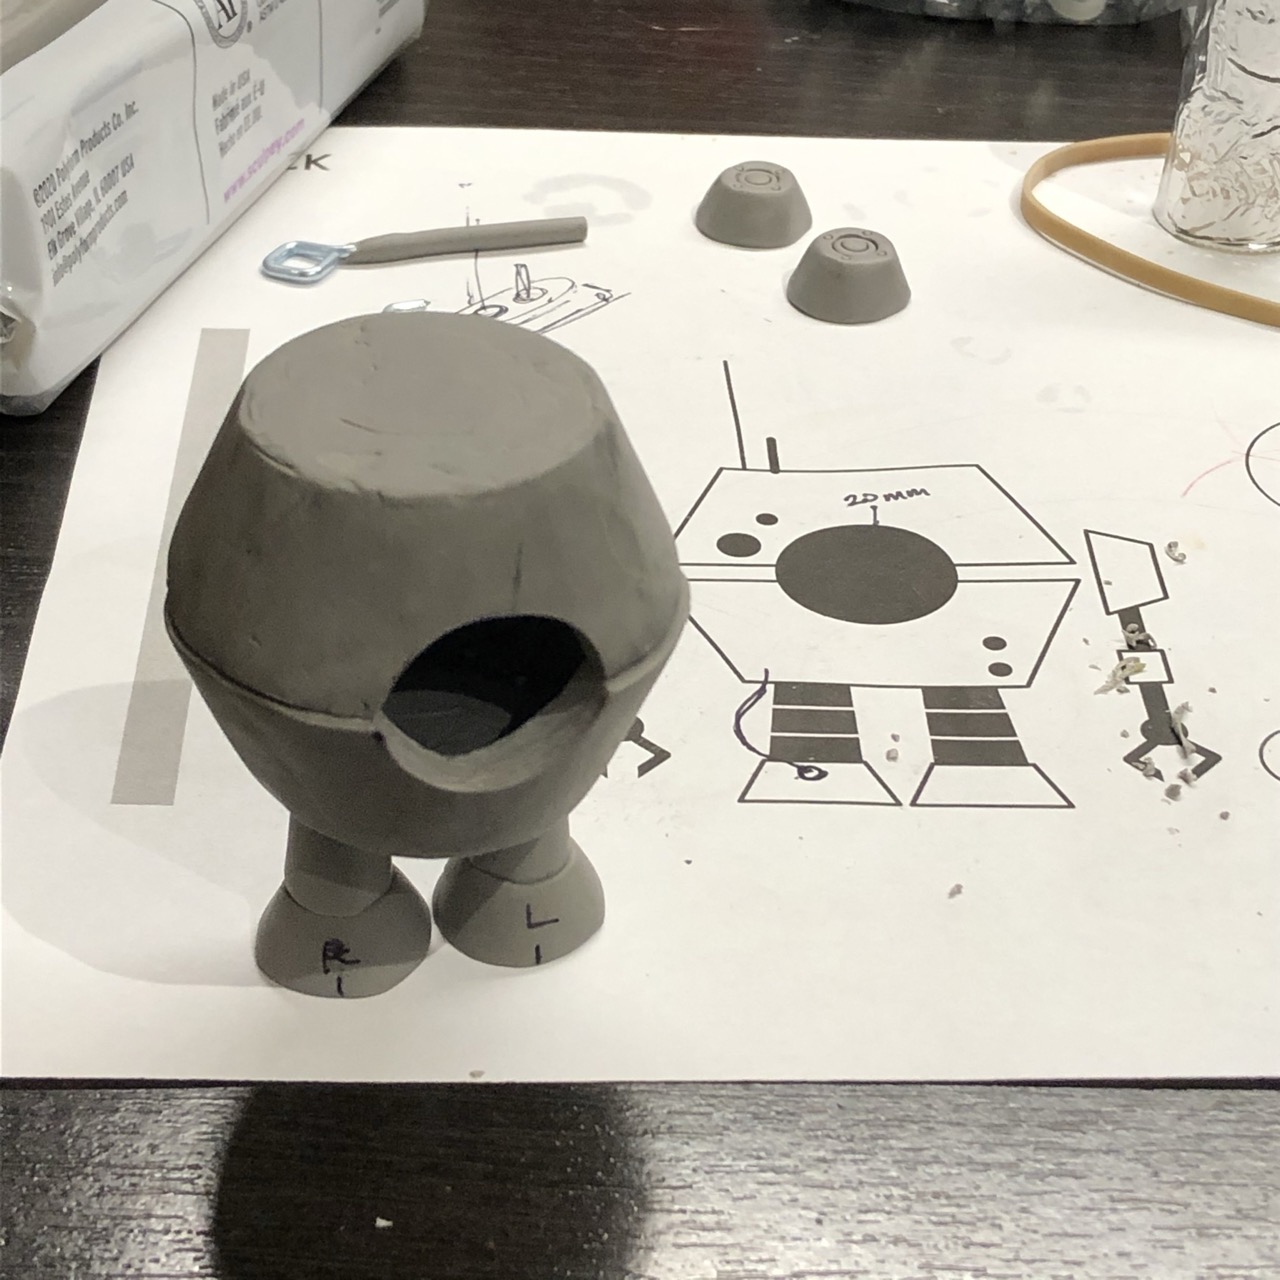
I started by printing out the vector drawing of the character at the size I wanted the sculpture. I used this as a schematic so that I could measure his proportions against the print out.
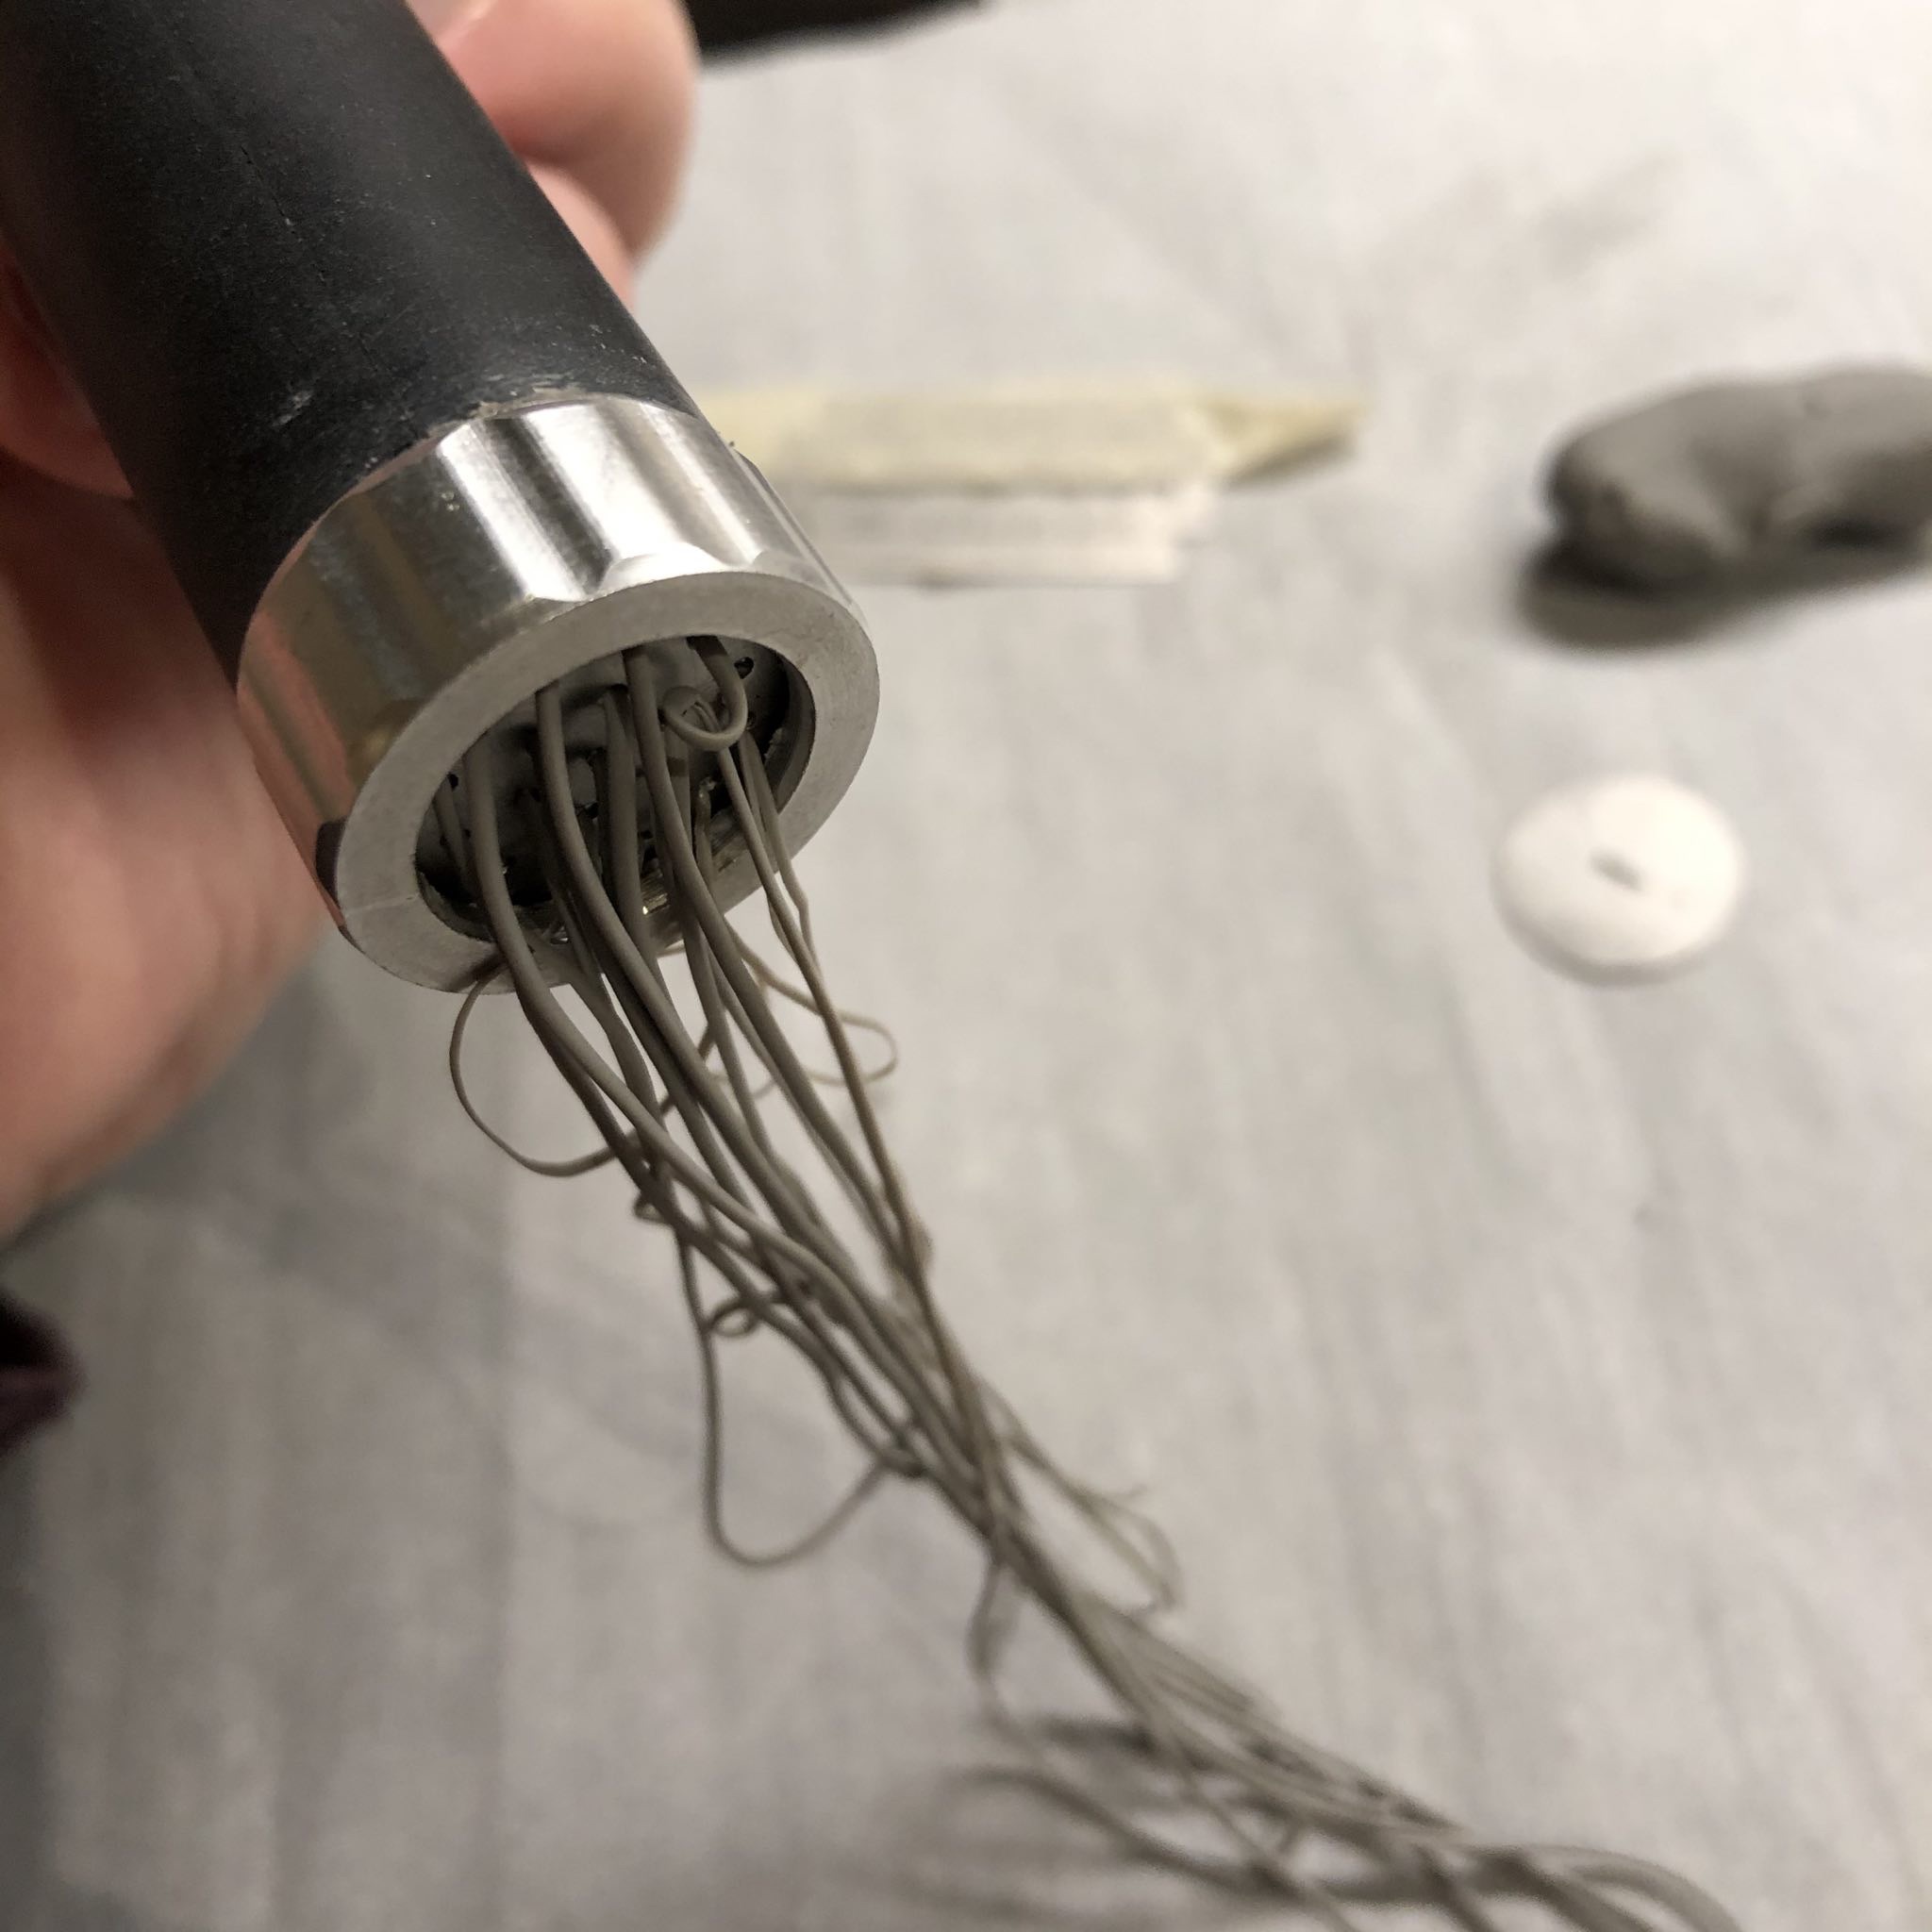
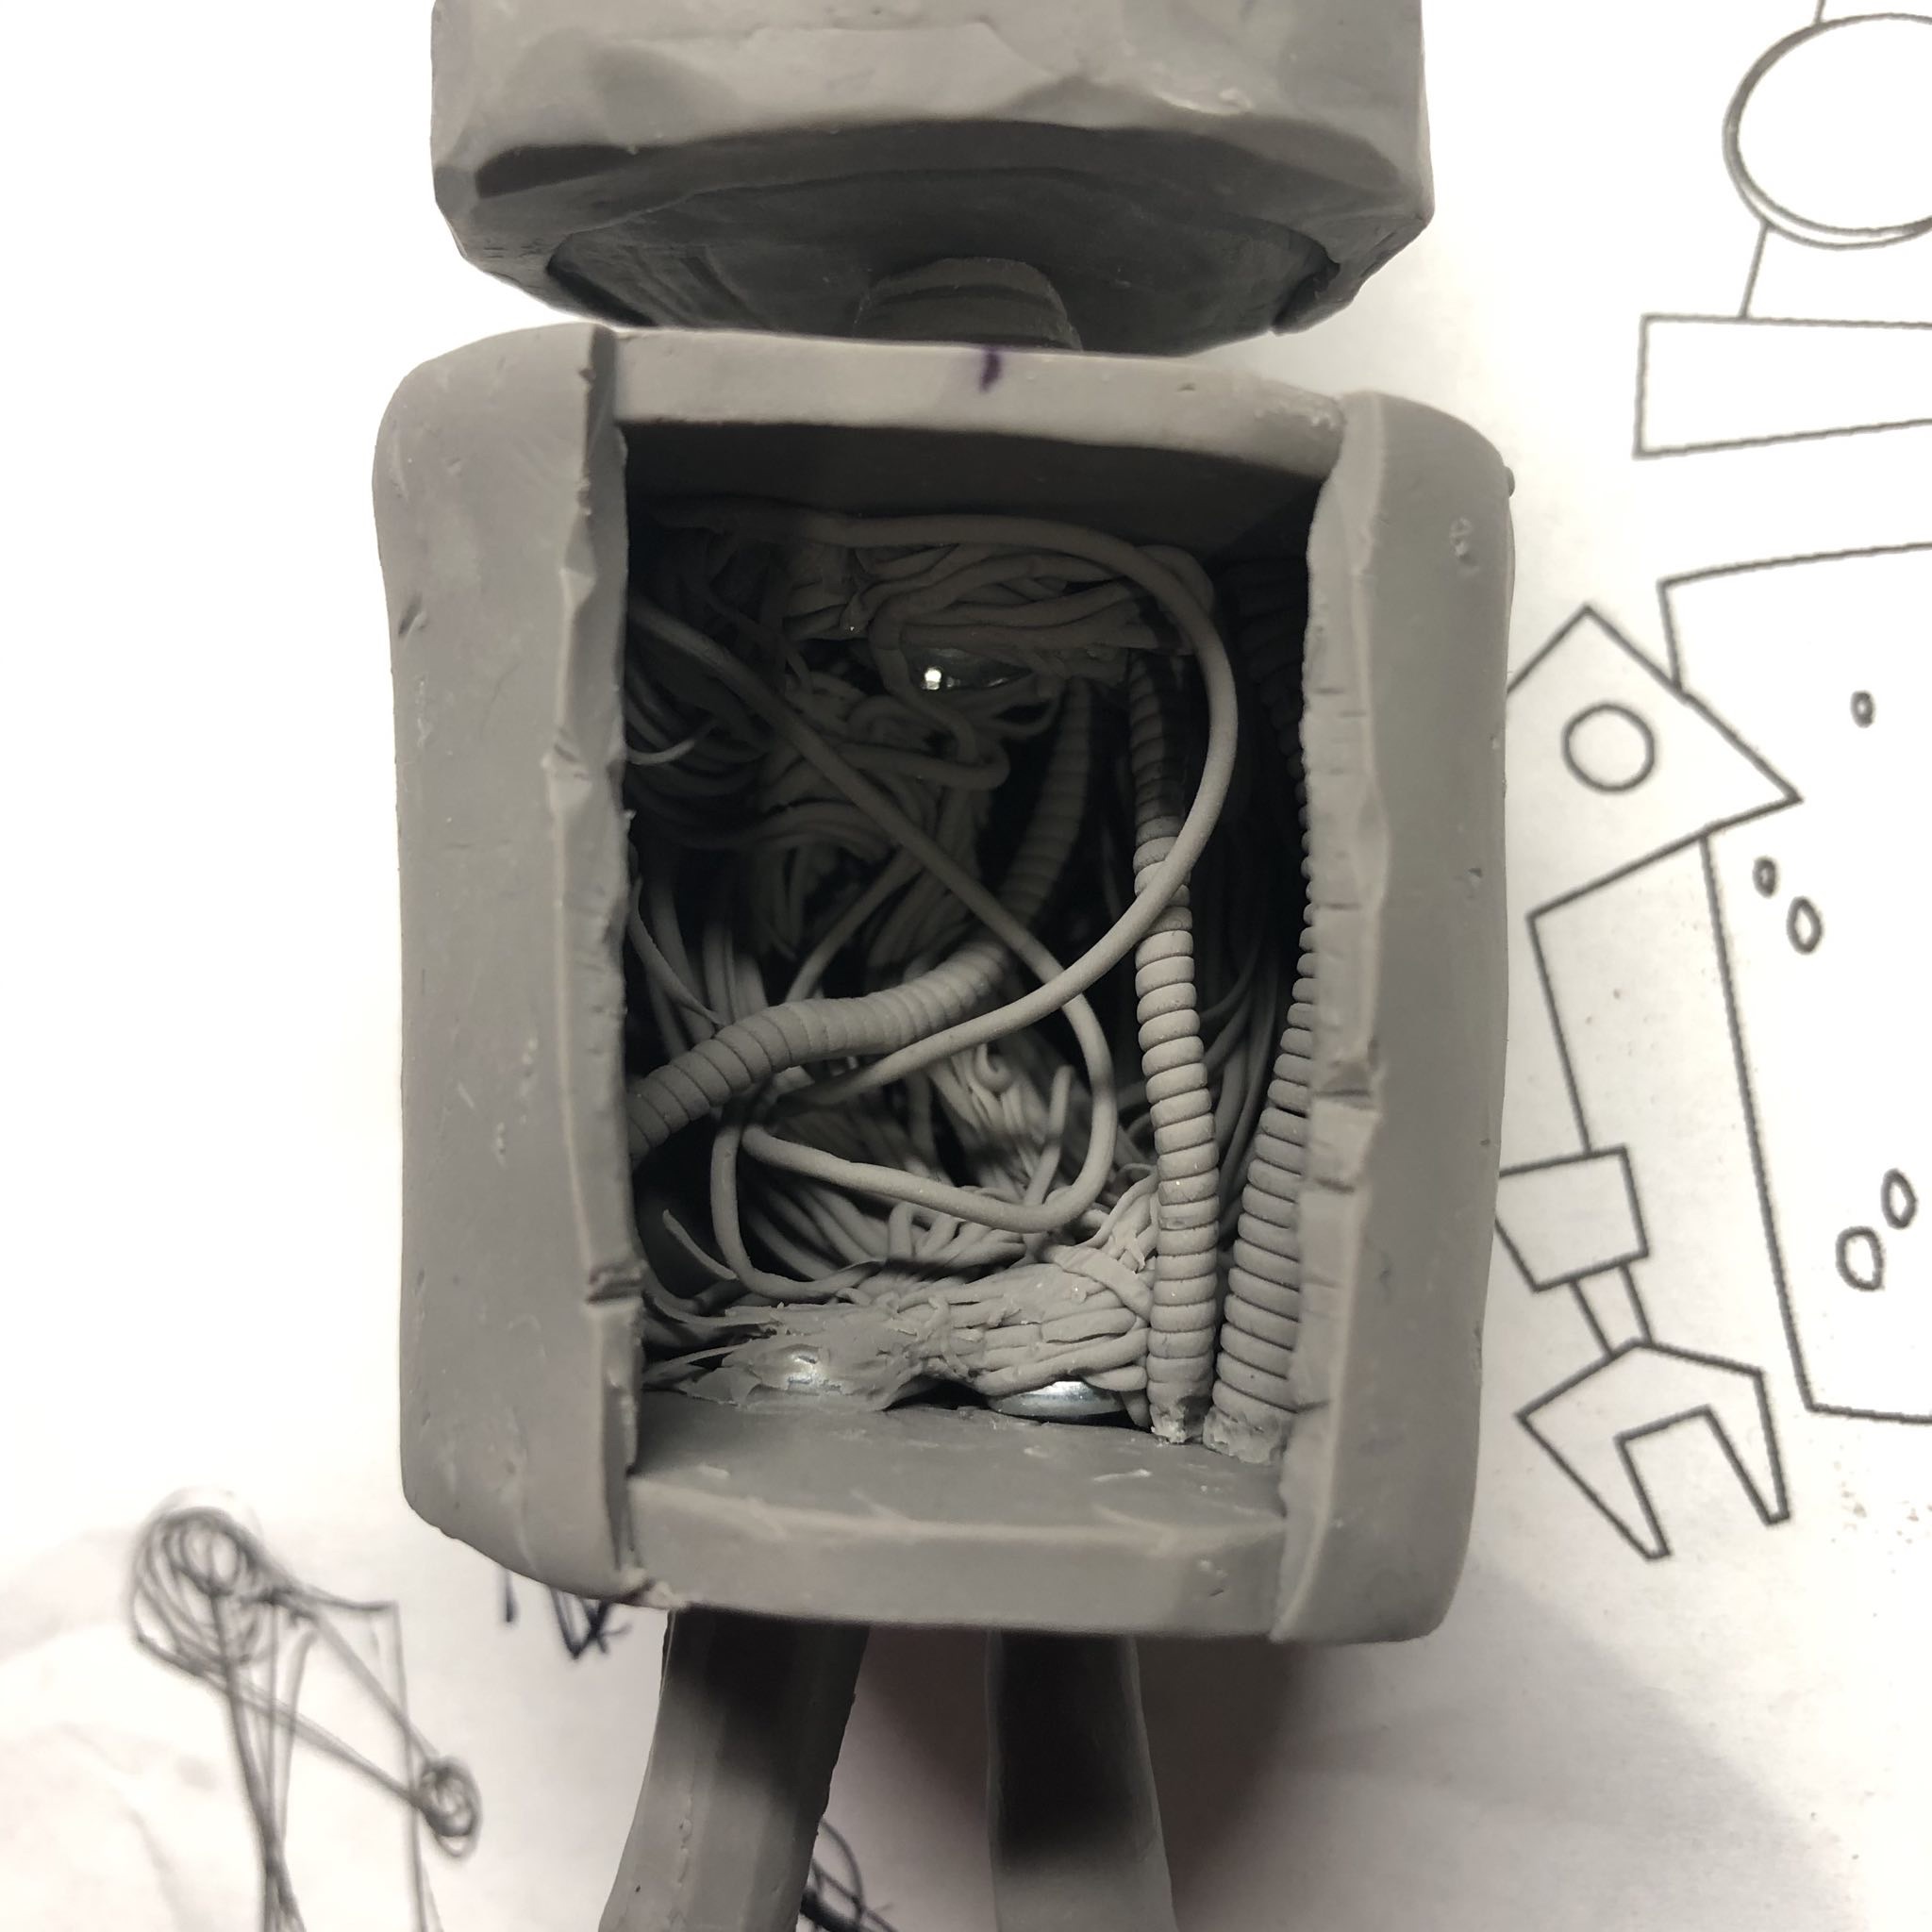
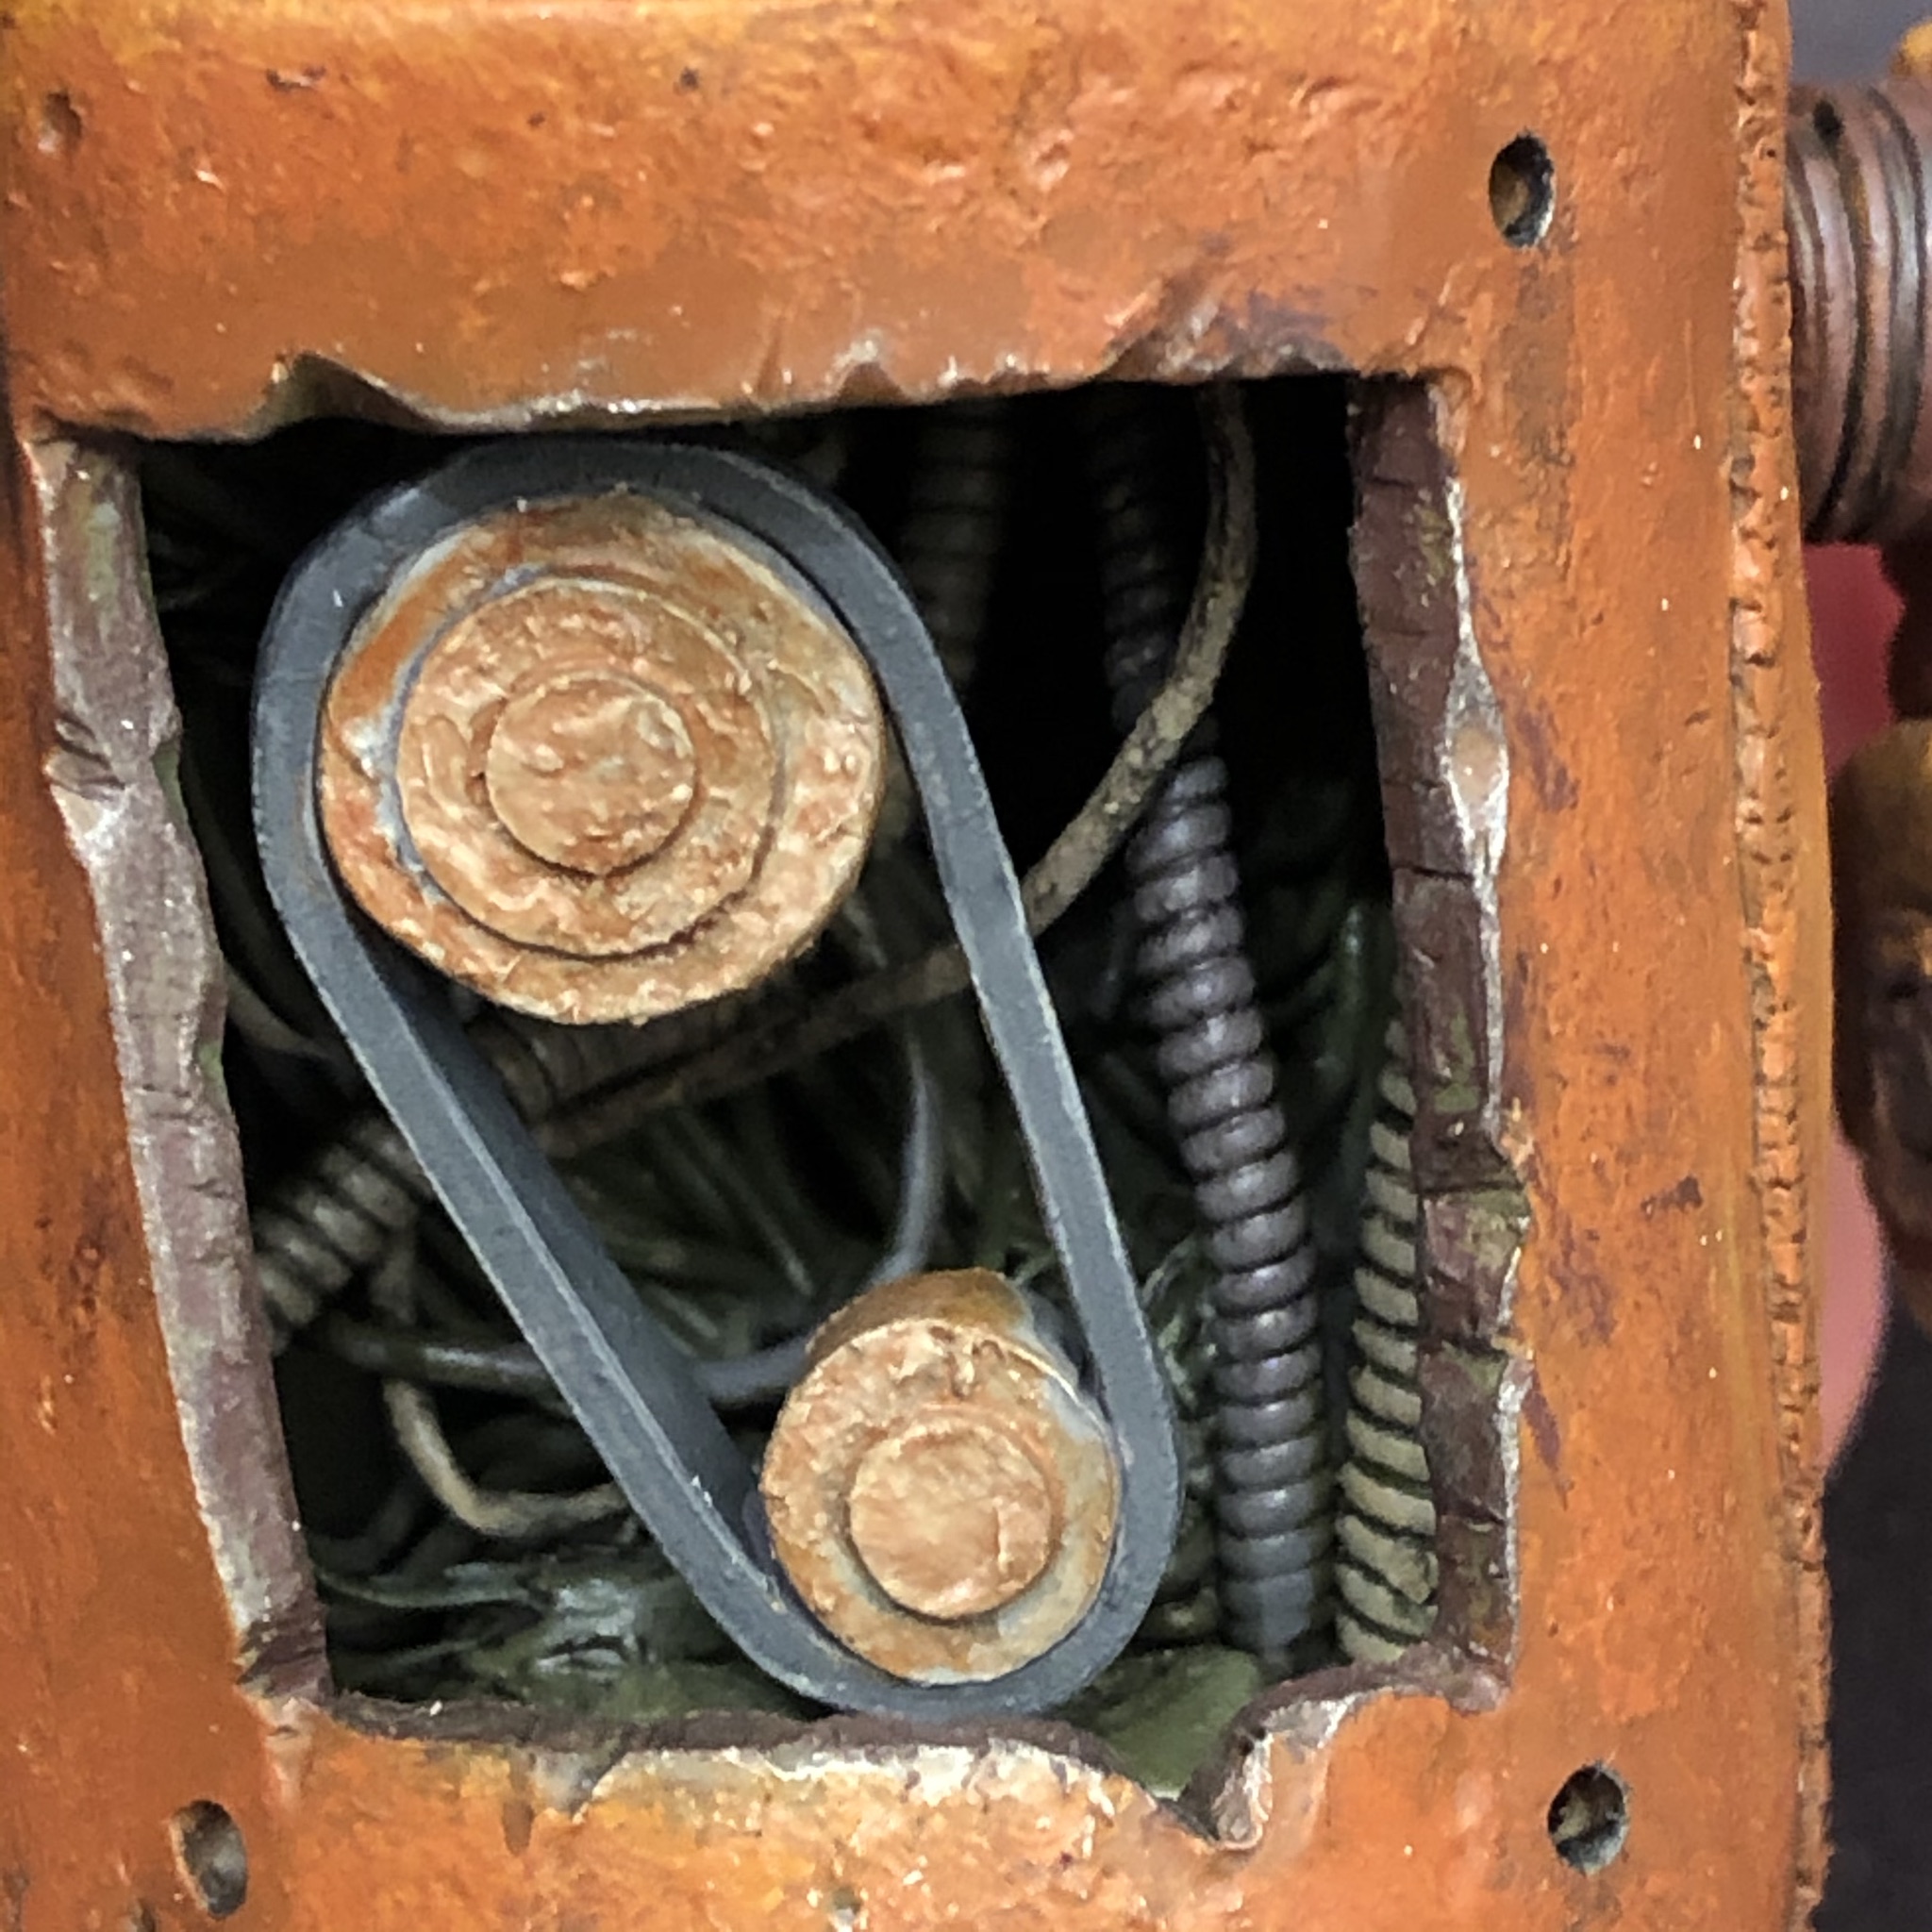
Except for some screws in his arms, legs, and neck, he’s made entirely from polymer clay, even his inner wires. Using a clay extruder tool, I made a bunch of “noodles” that I used to coat his insides with a messy nest of wires. I then made some thicker ribbed tubing by twisting a noodle around a thin wire.
After the clay was cured, I coated him with thinned modeling putty, dabbed on with an old paint brush. This added a kind of cast iron texture.
I airbrushed him with various rust and orange colors and then used thin washes of oil paint to add grease and rust streaks.
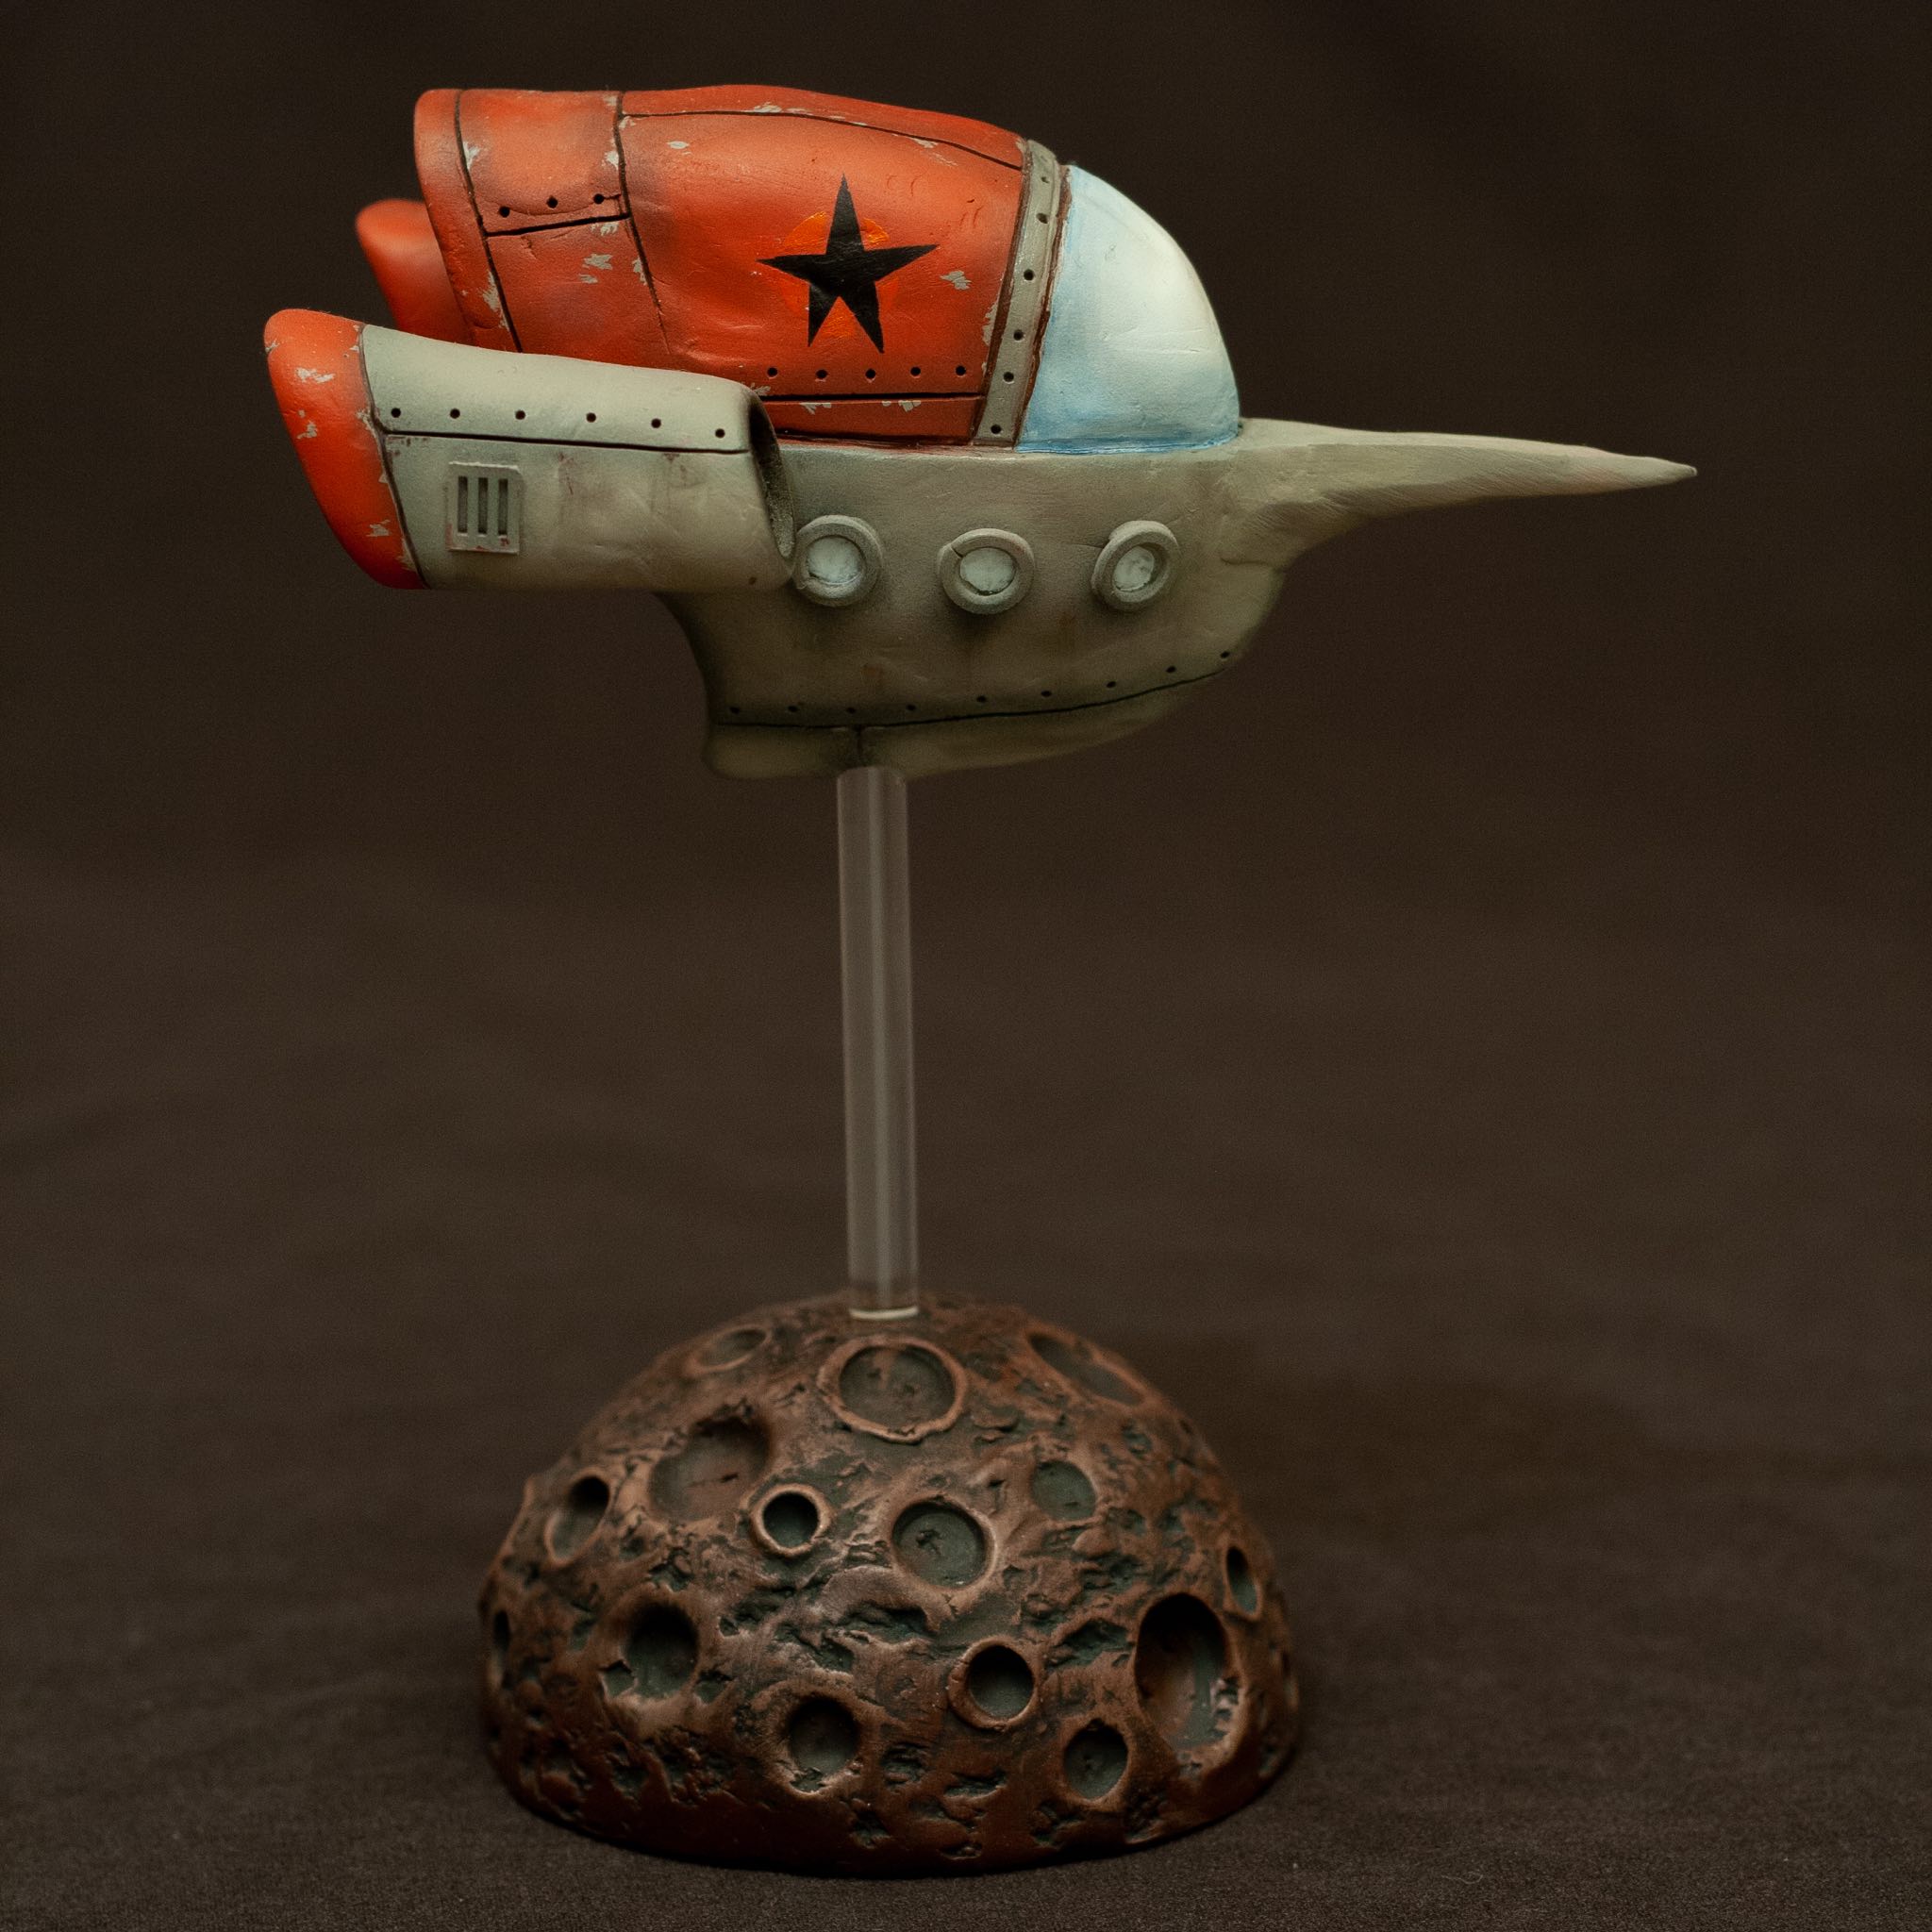
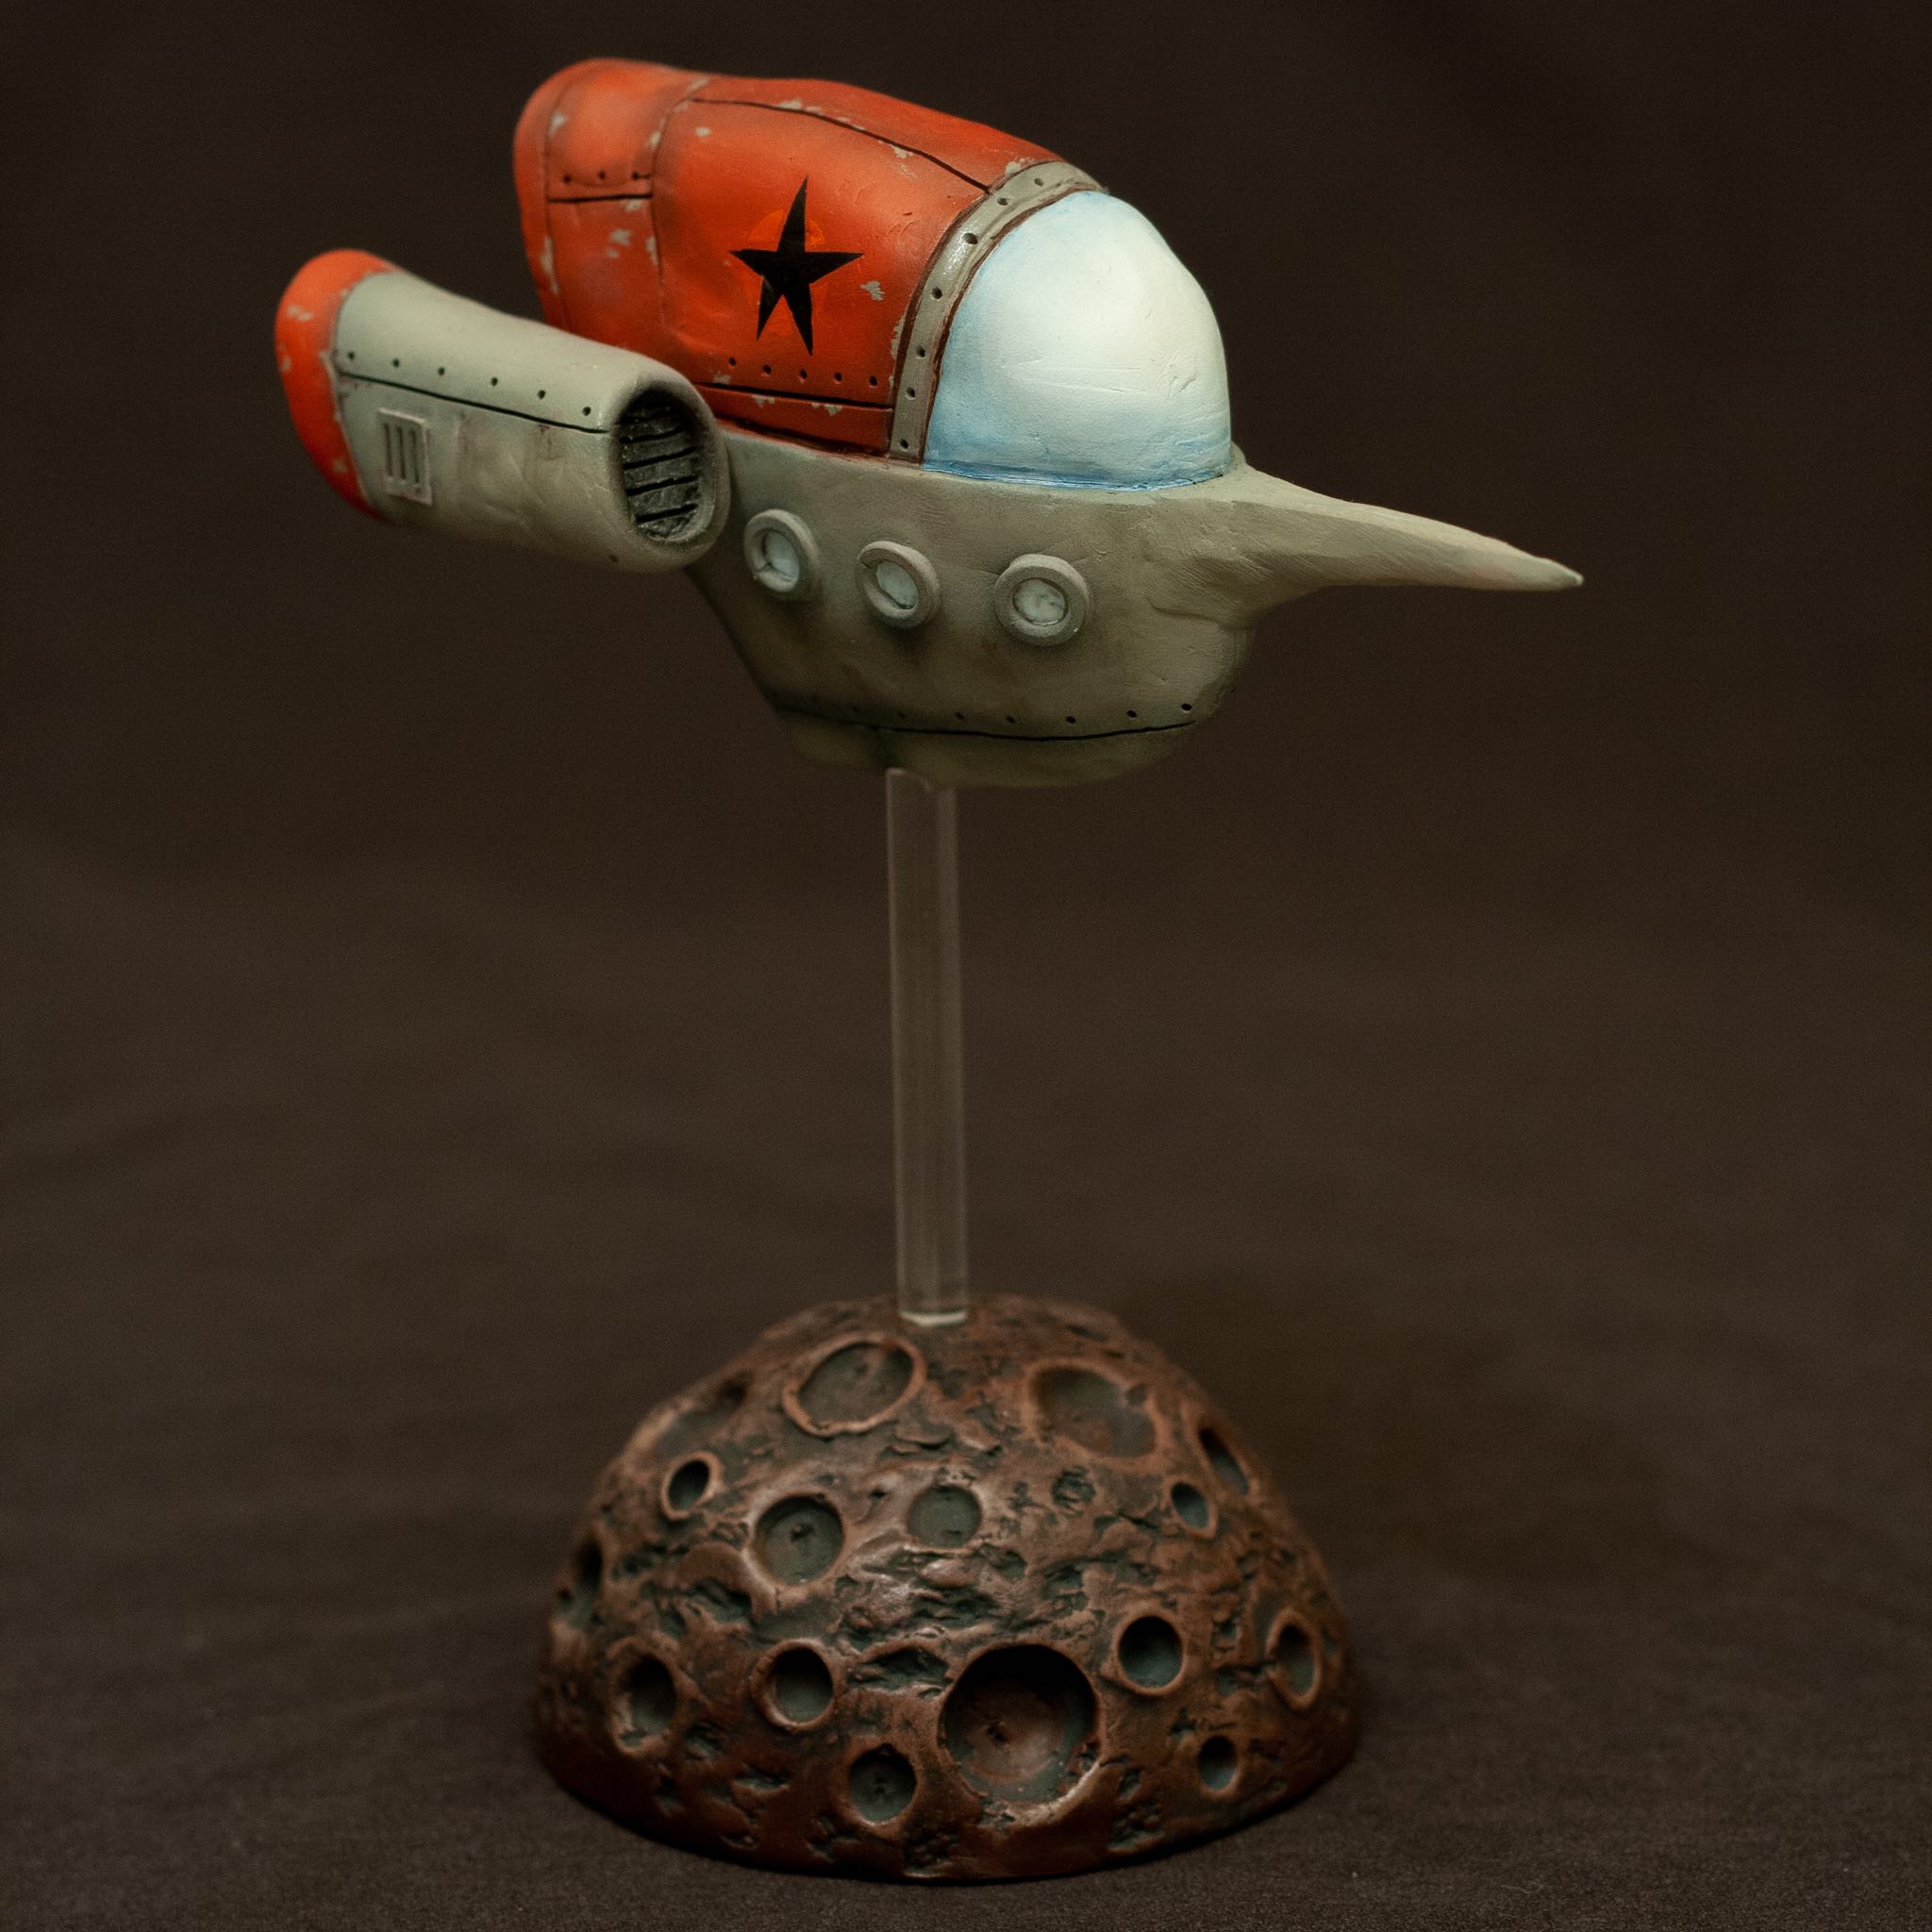
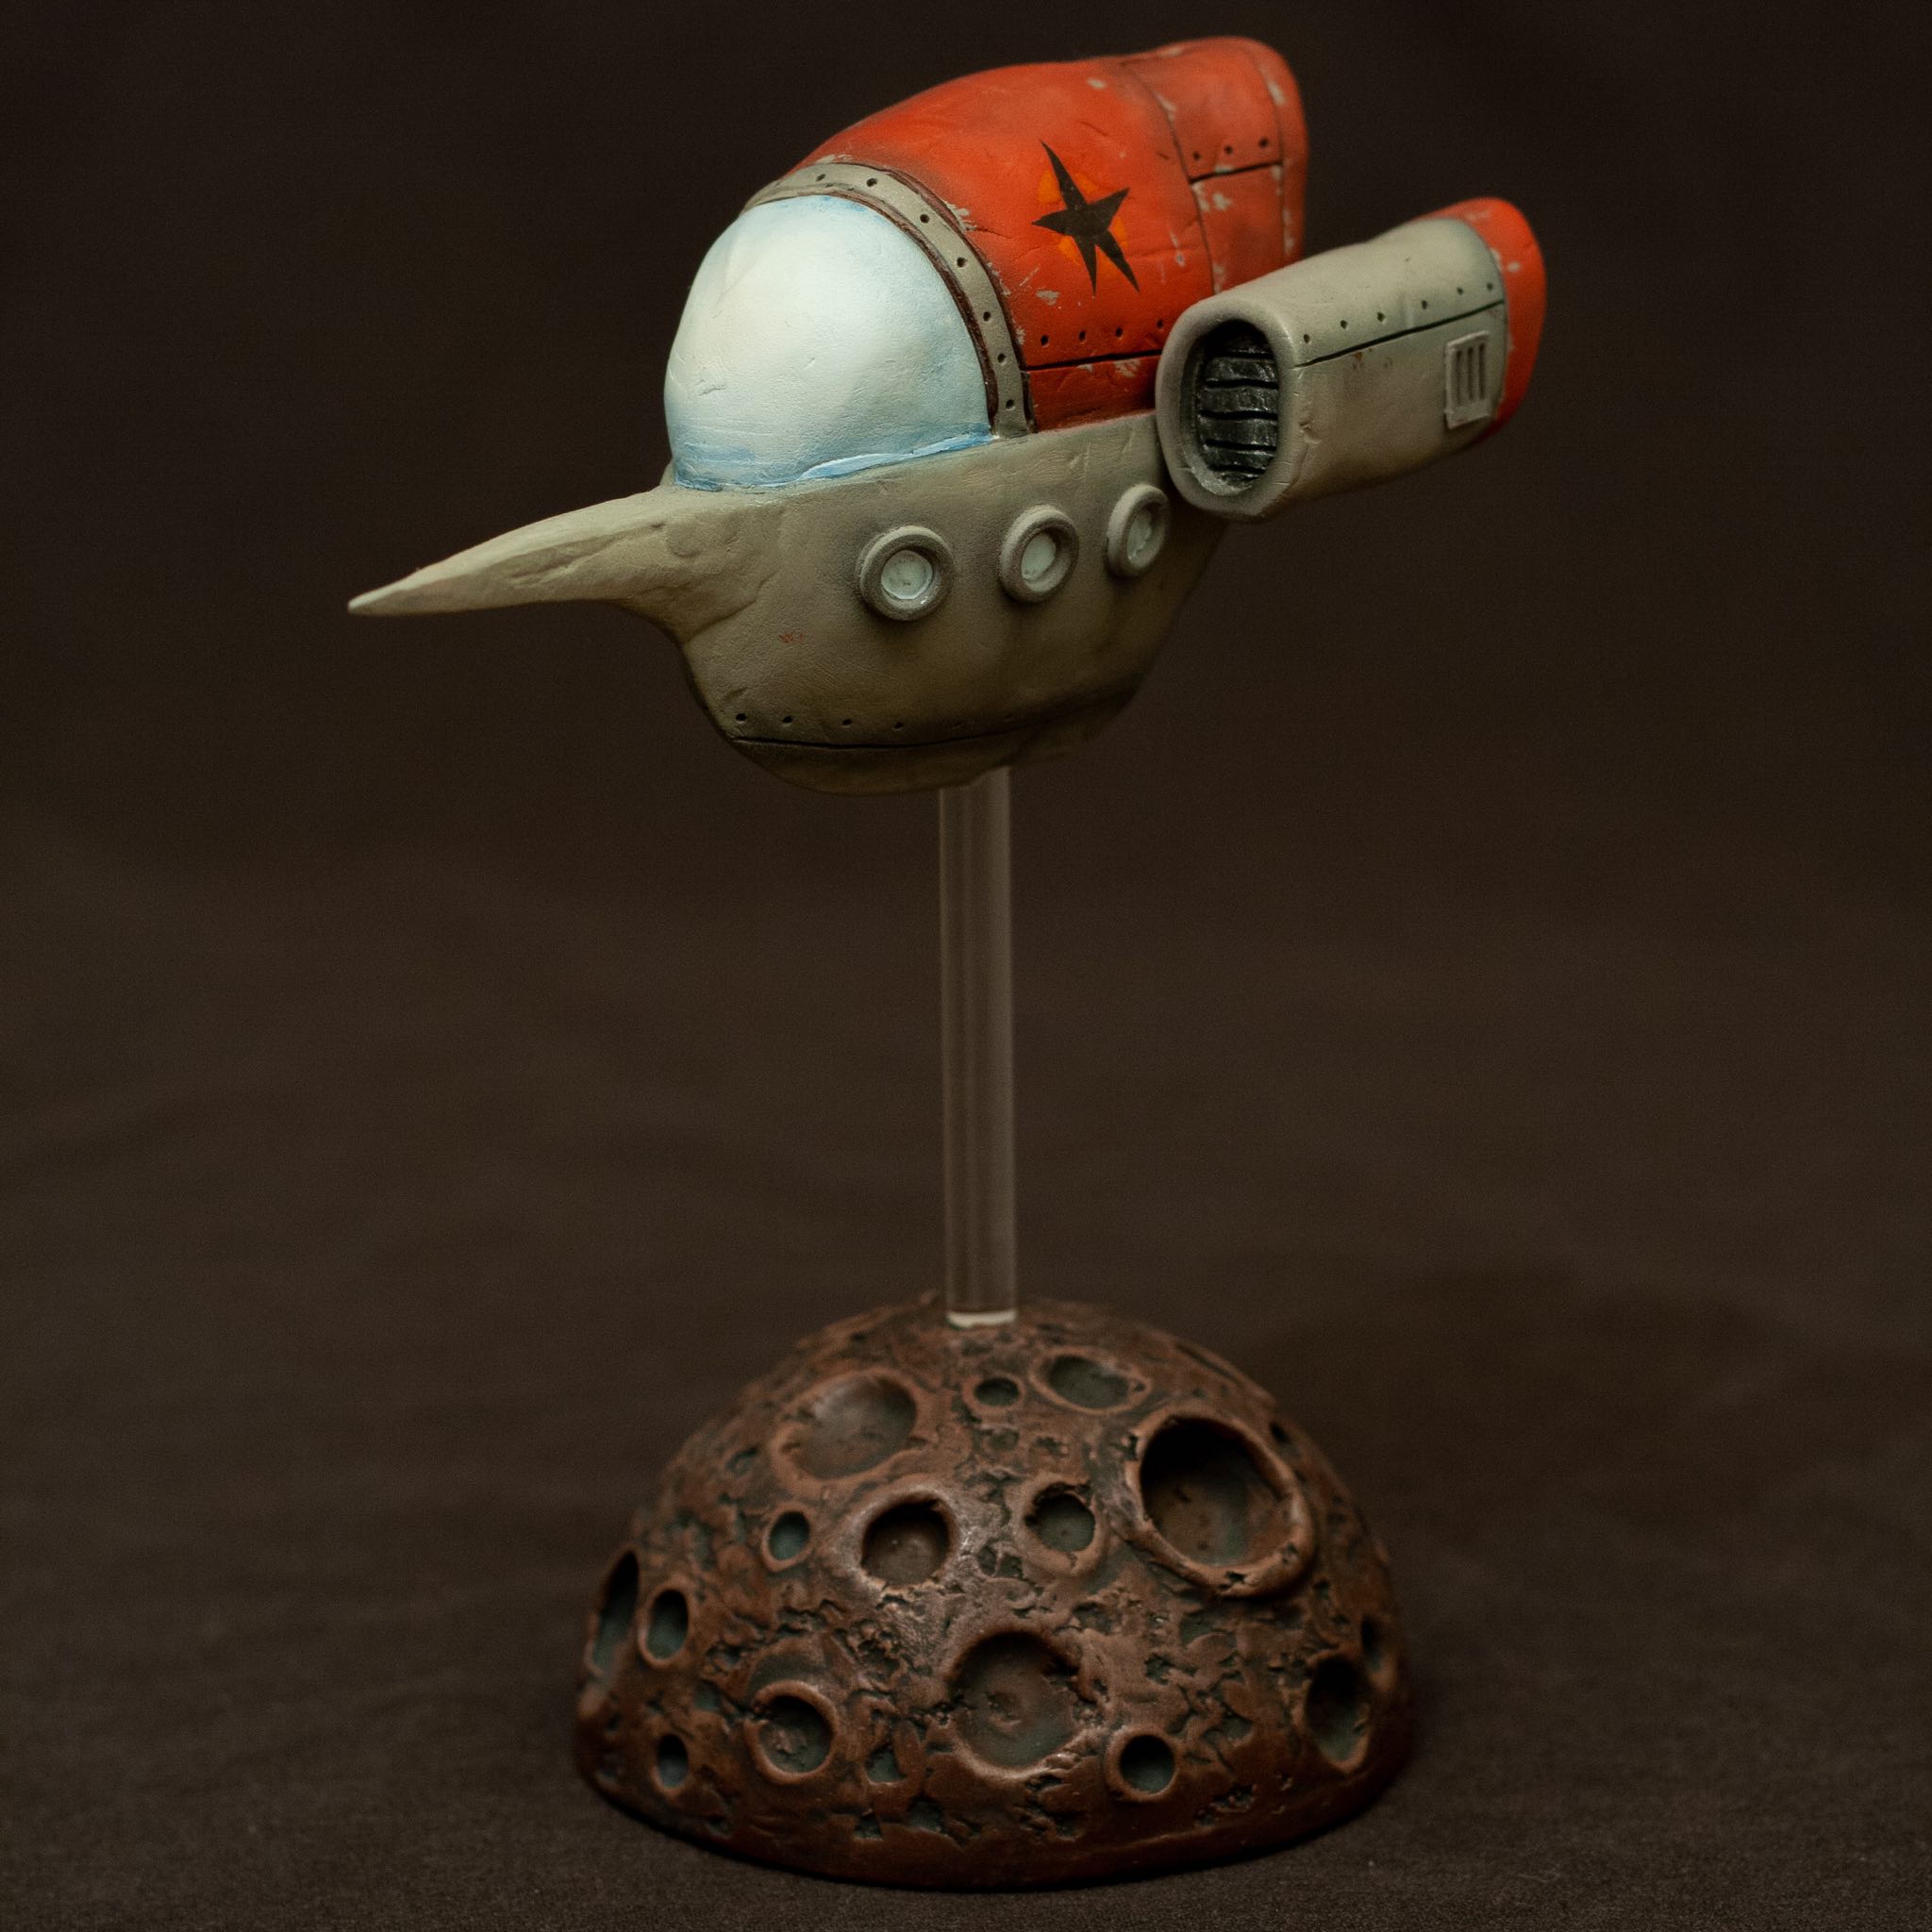
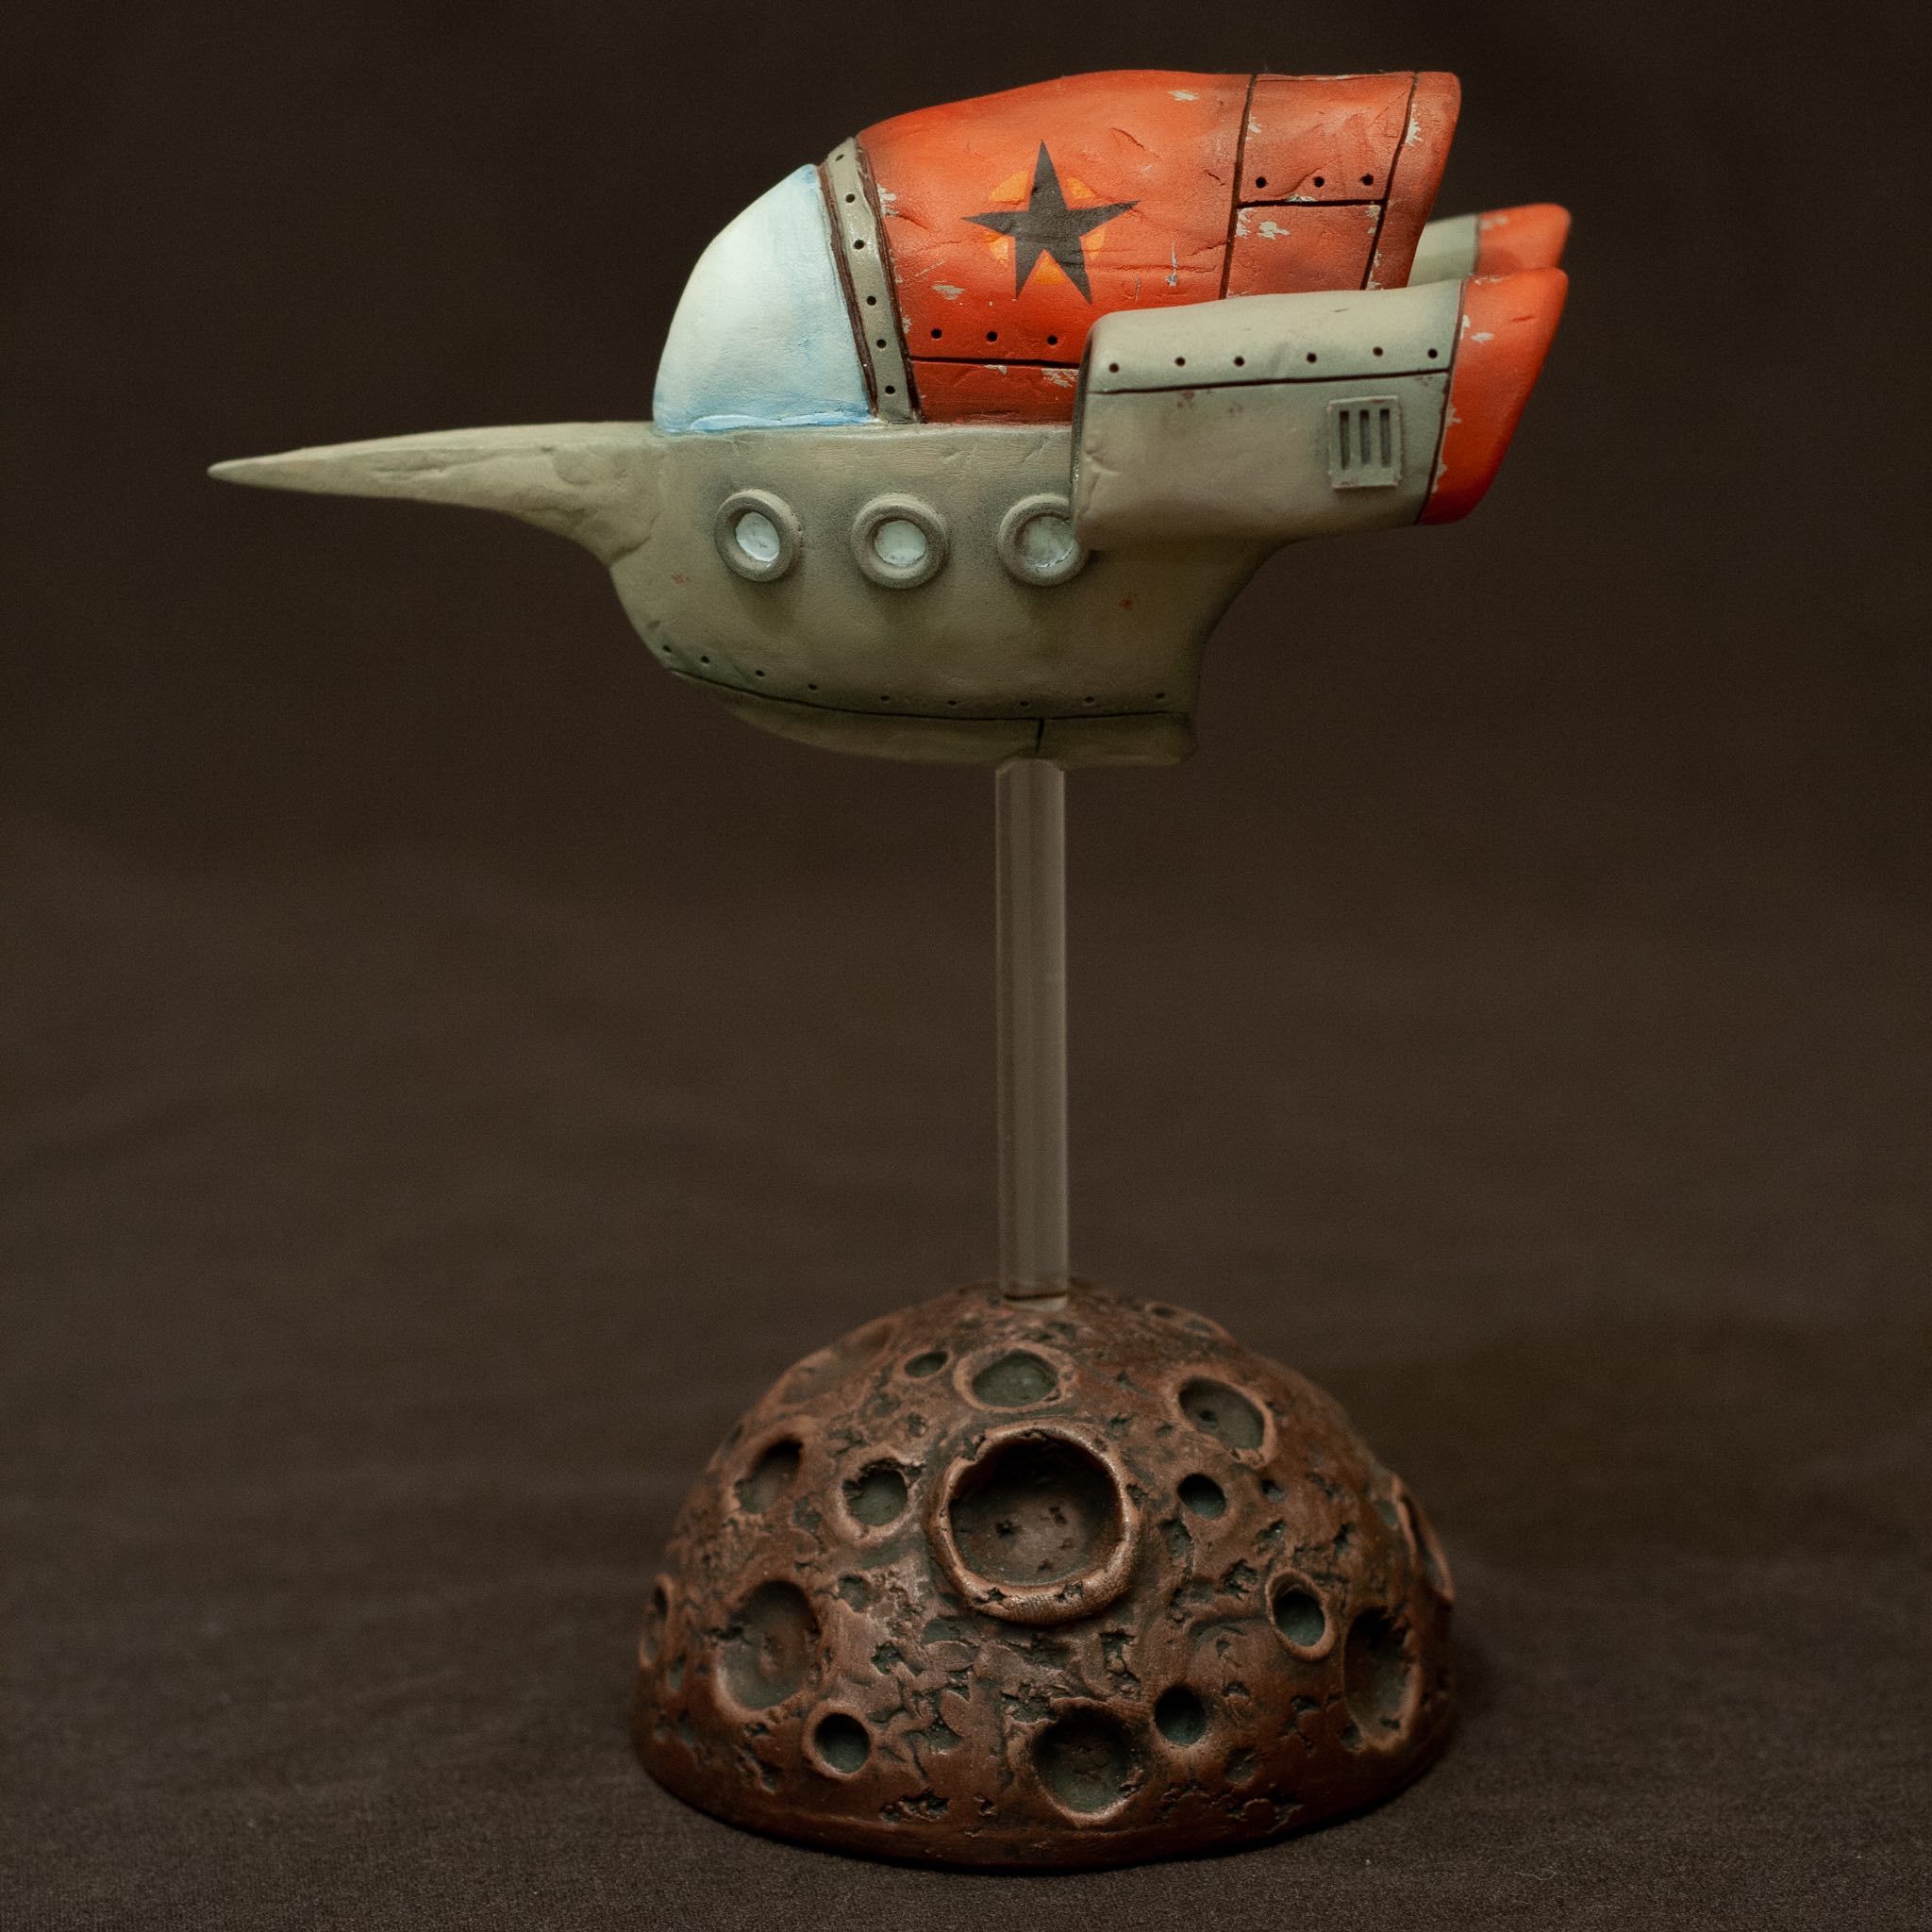
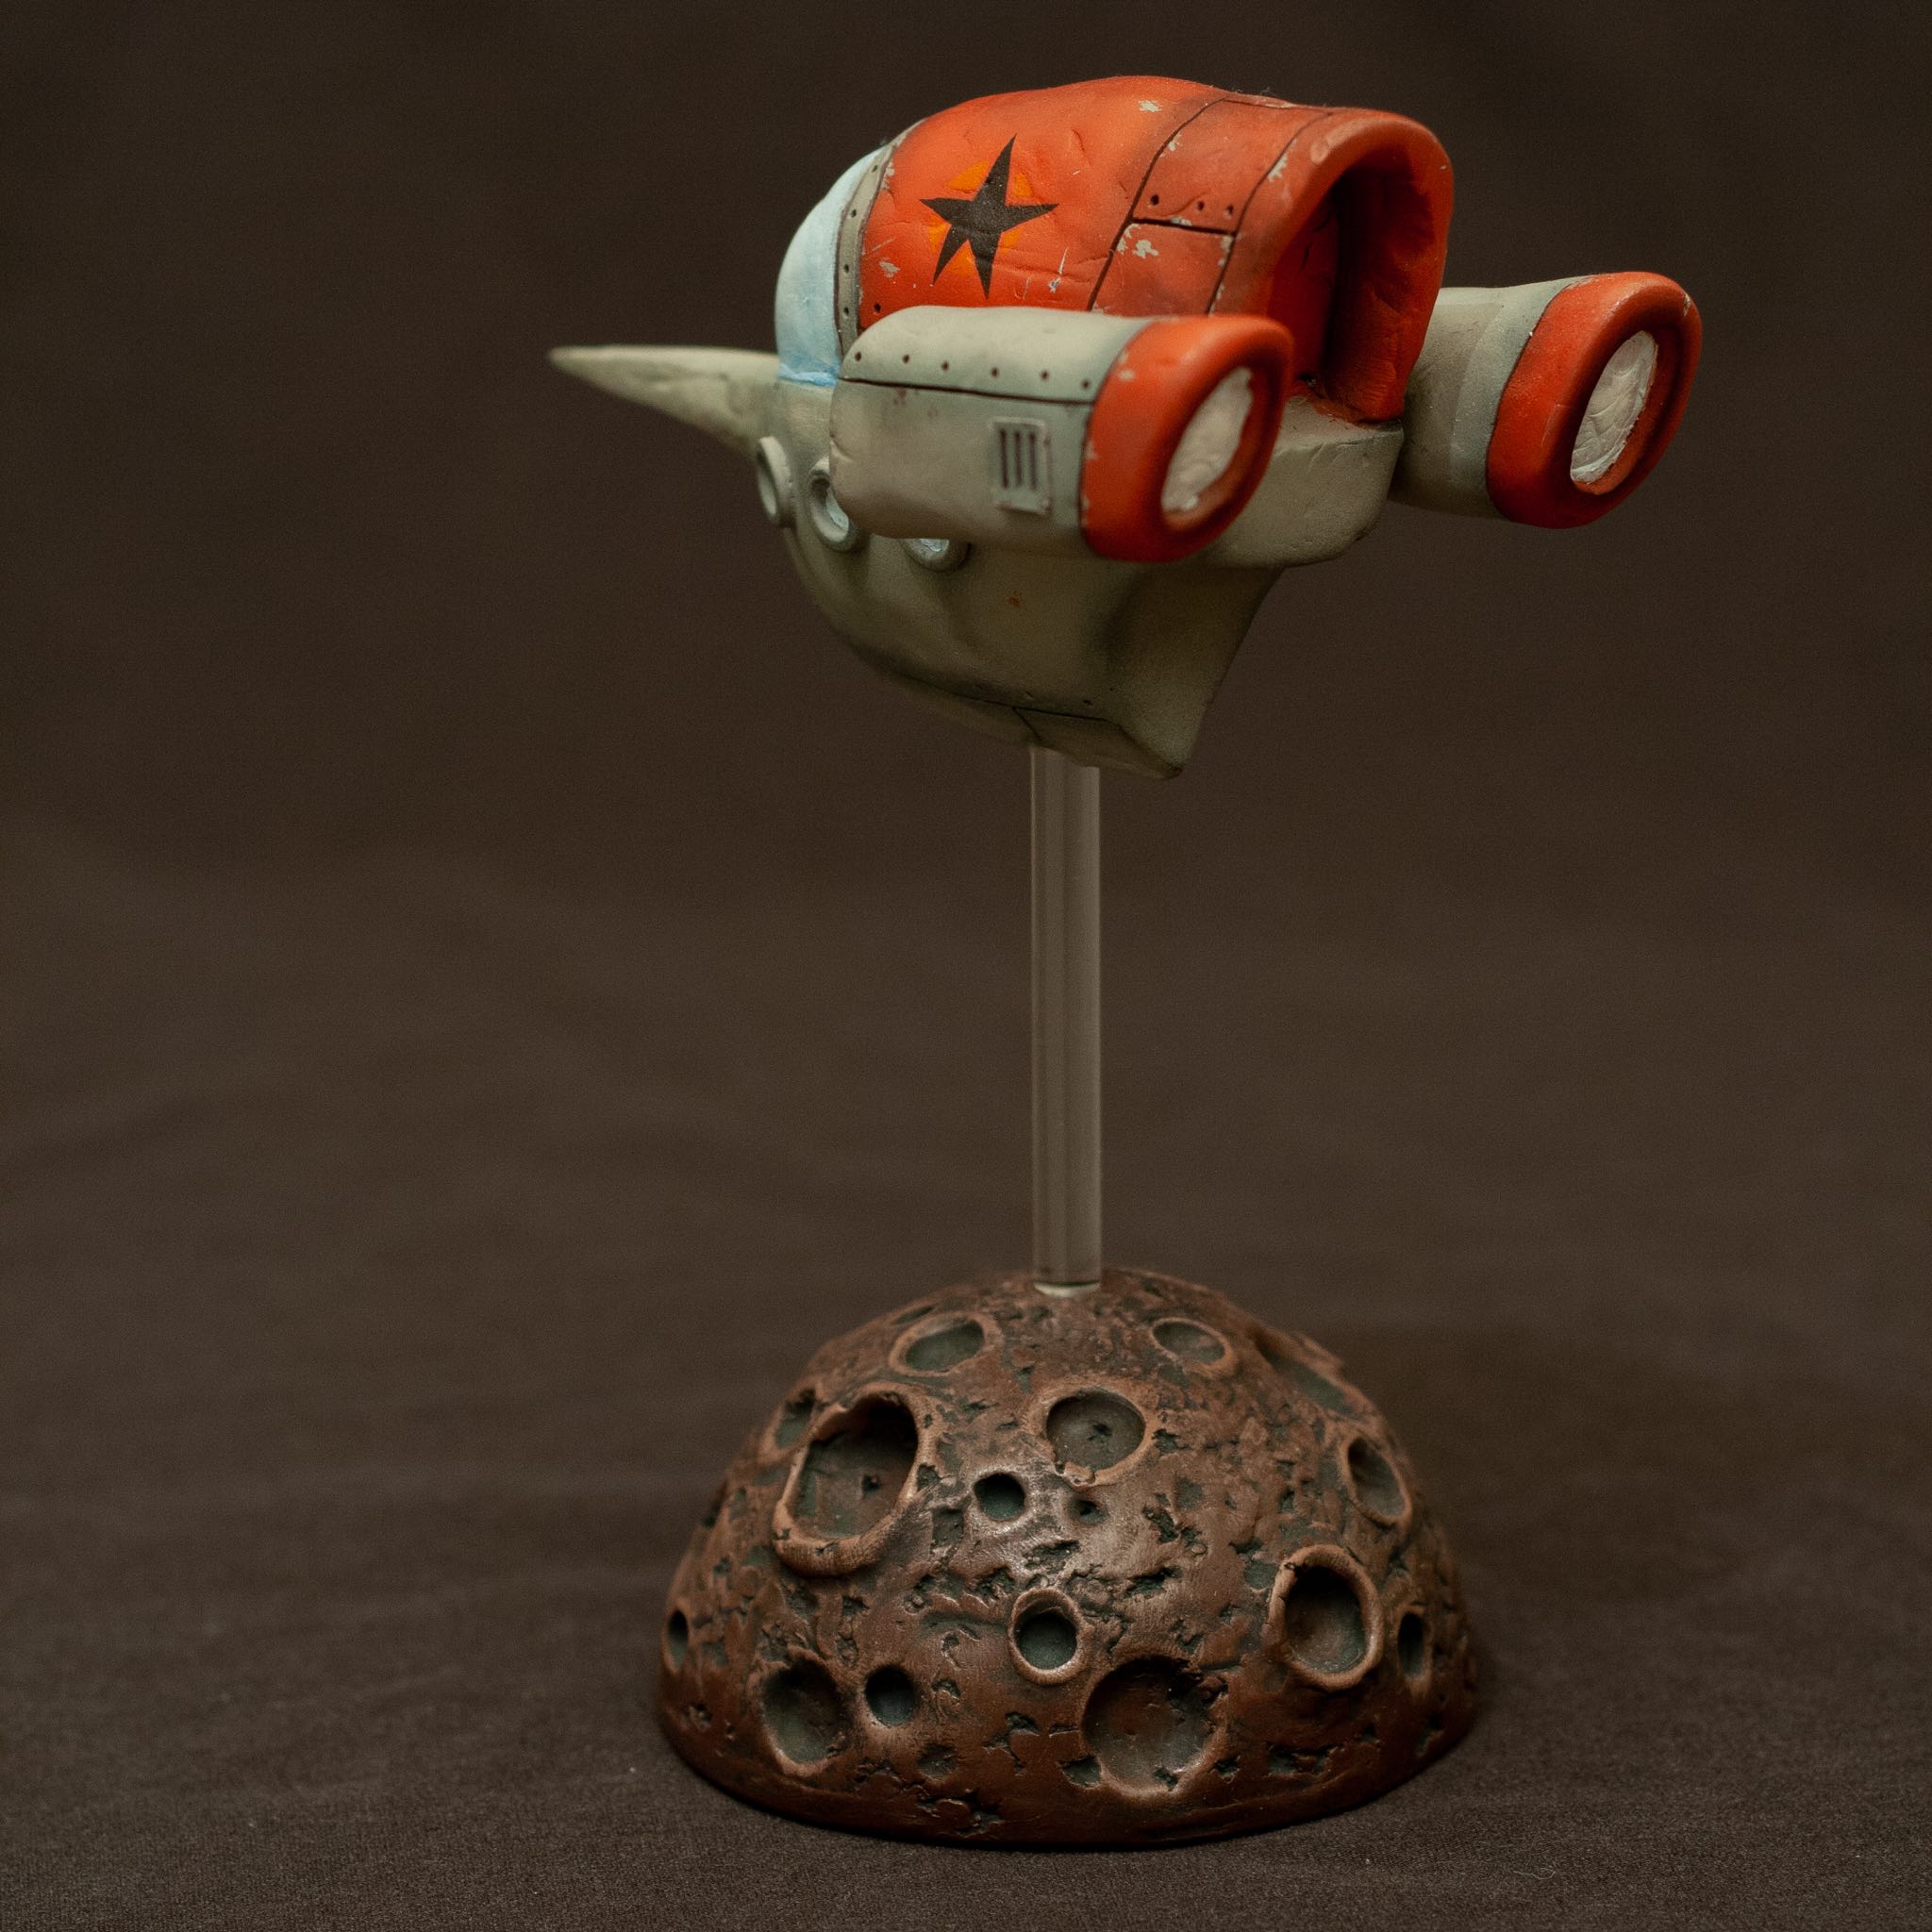
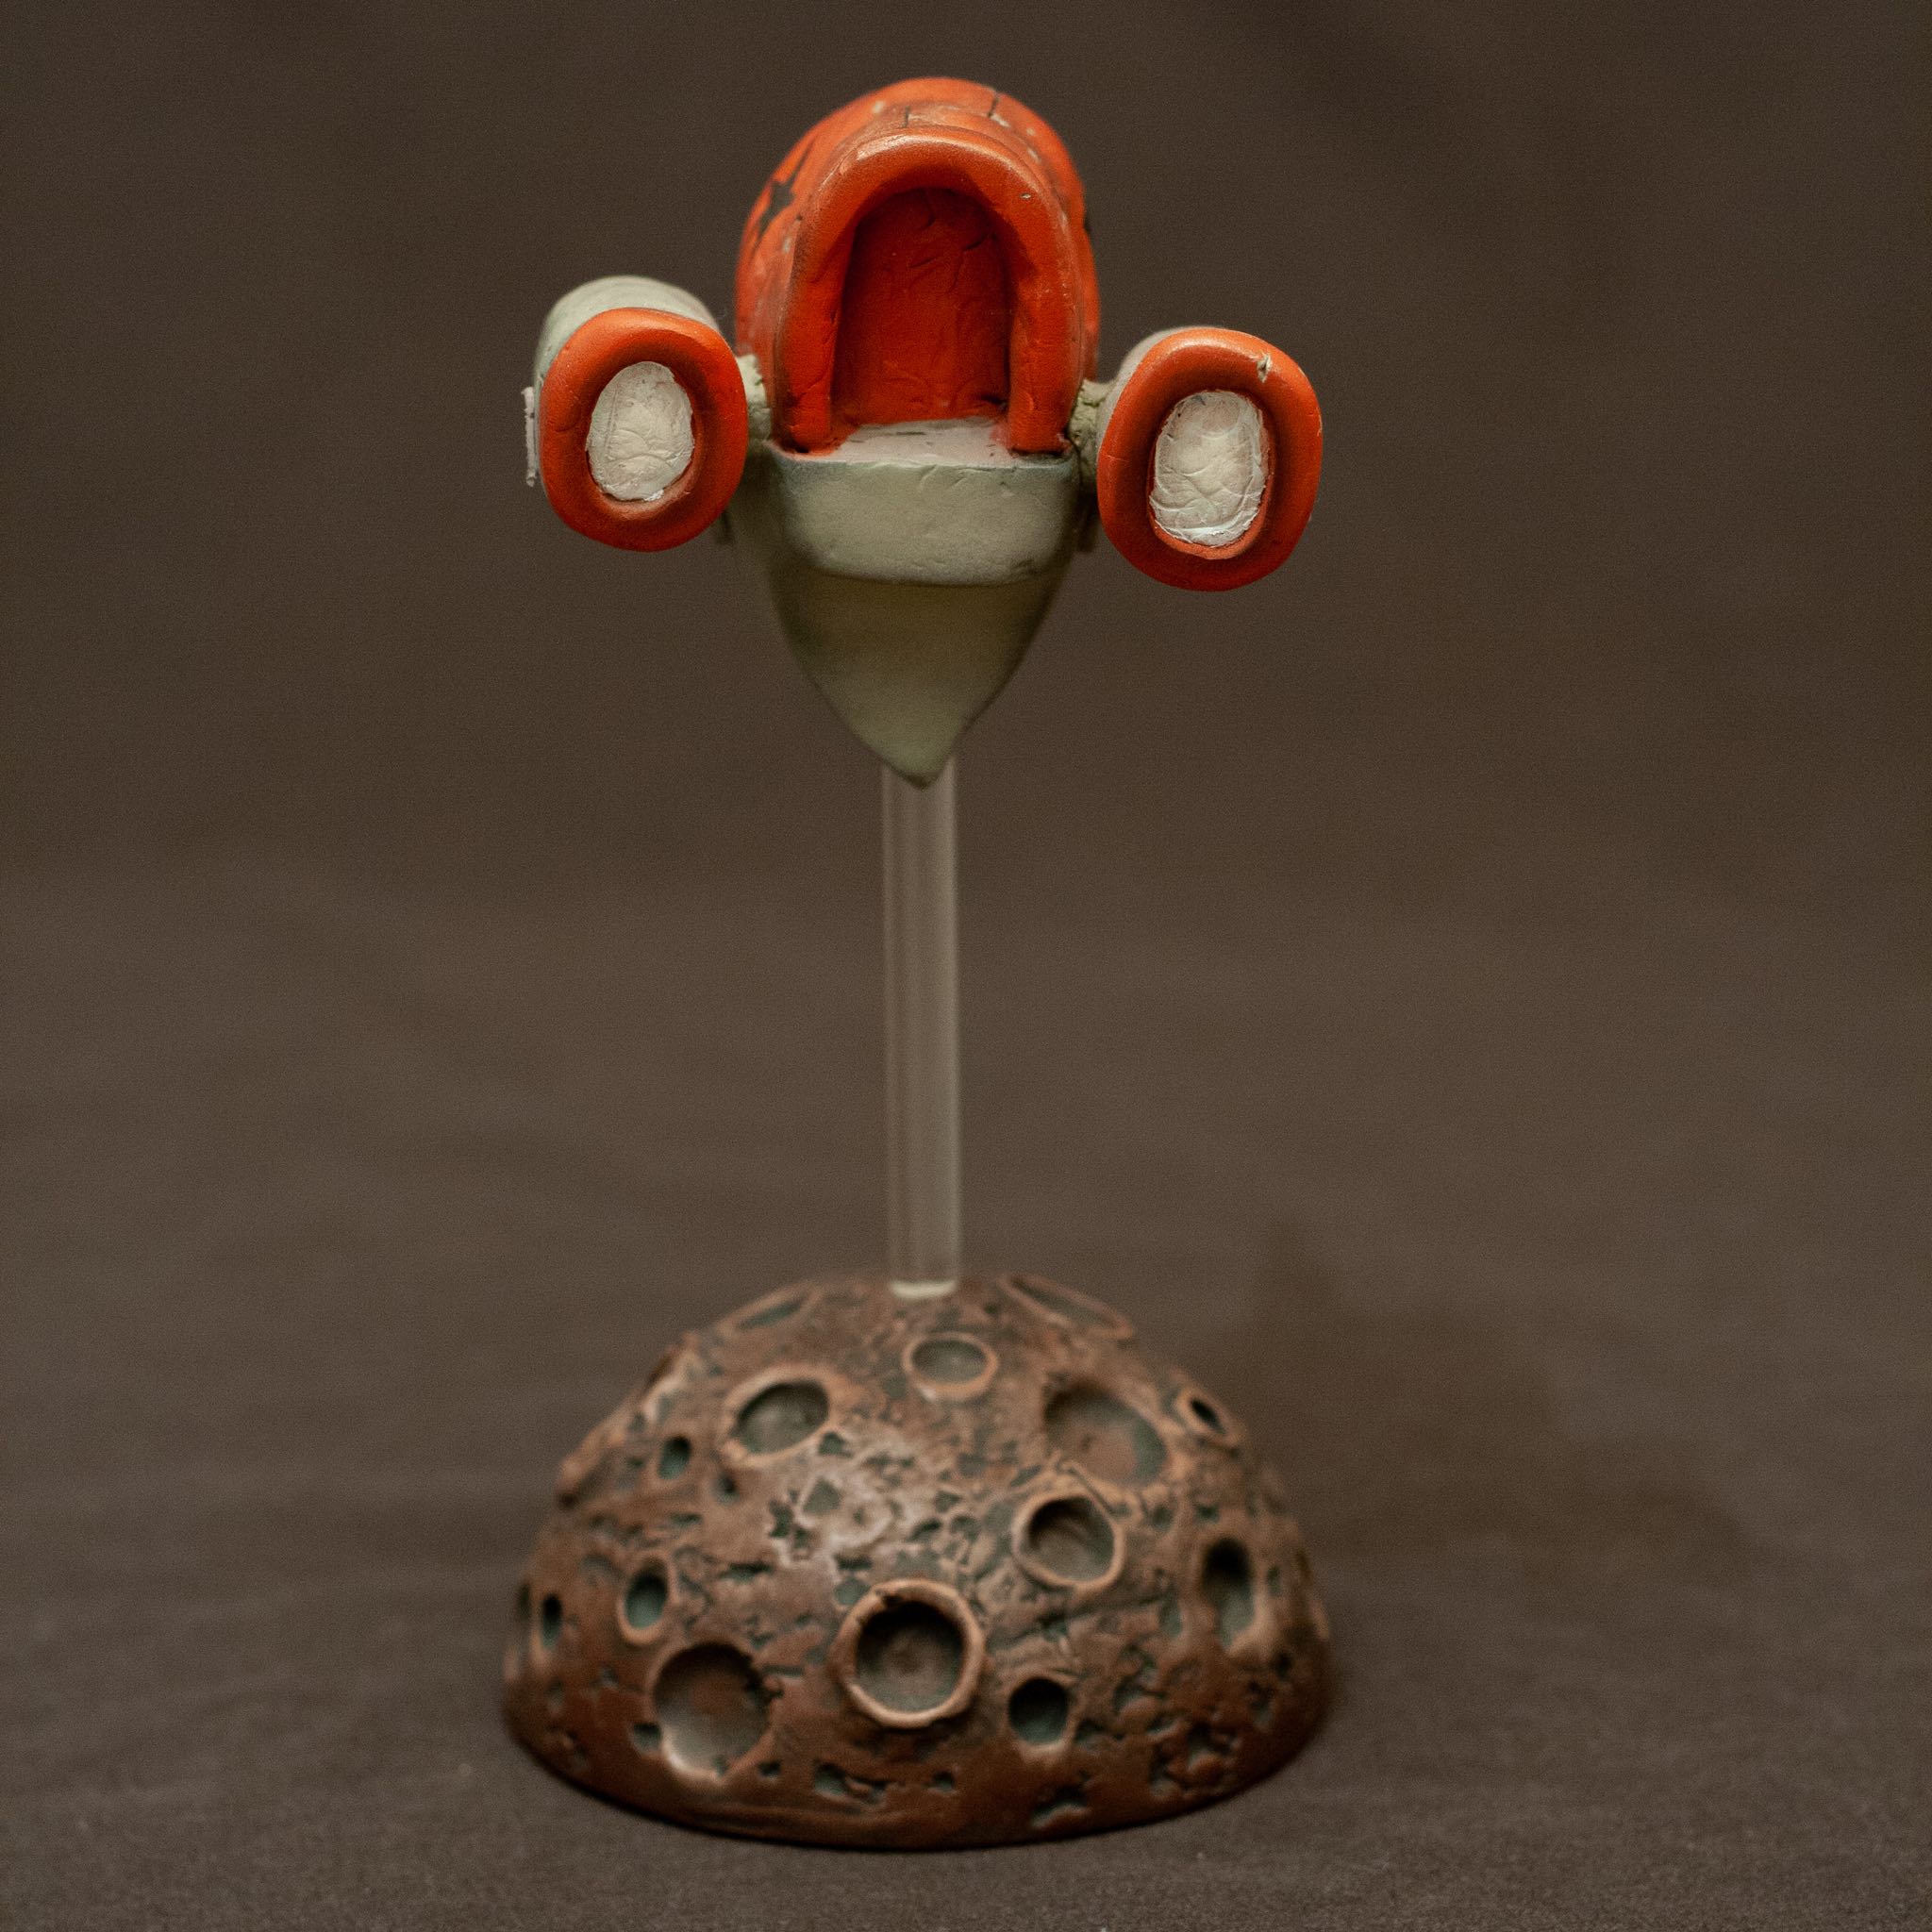
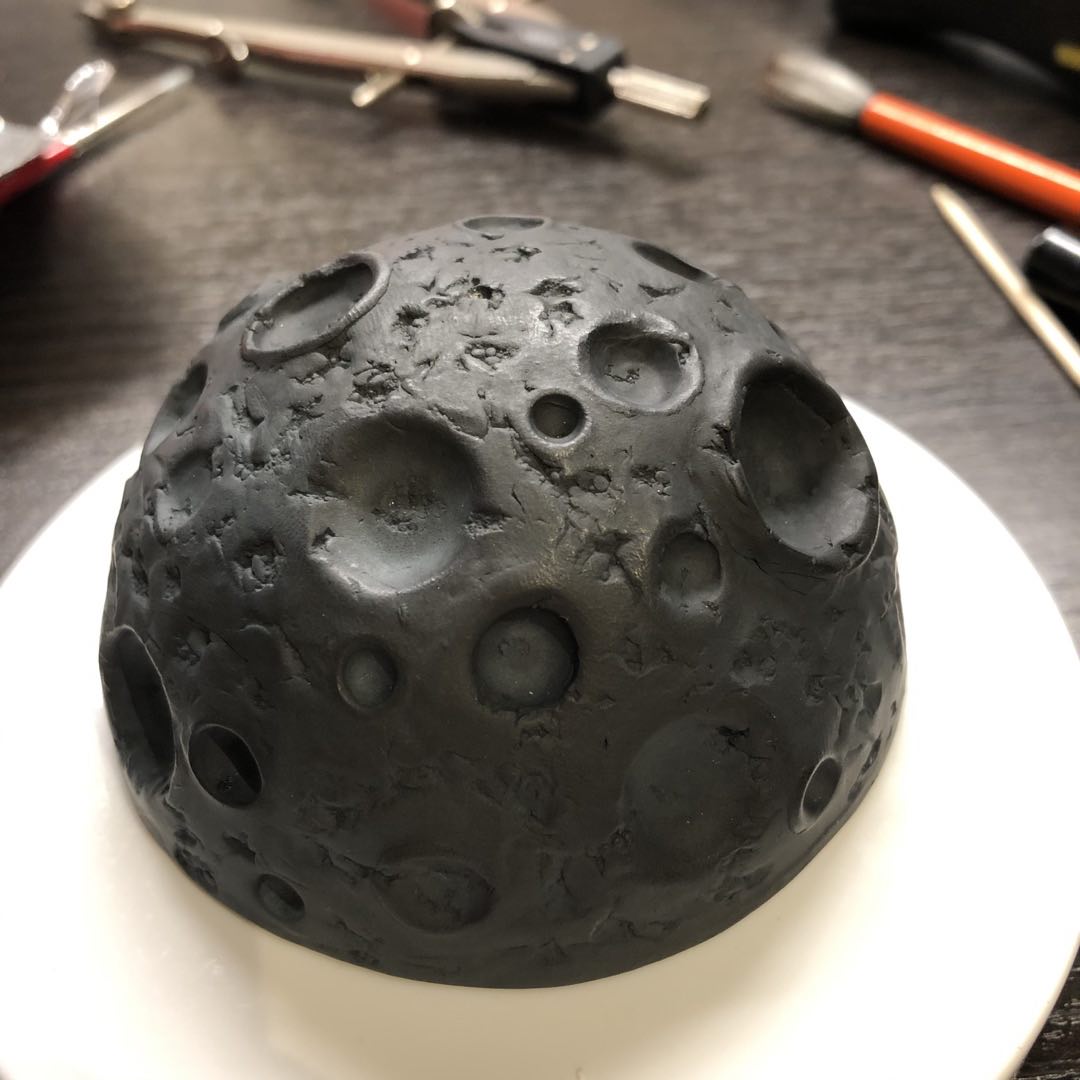
The Black Star Maquette I made has been sitting around for a few years in my workspace but there wasn’t a good way to display it. It needed a proper base.
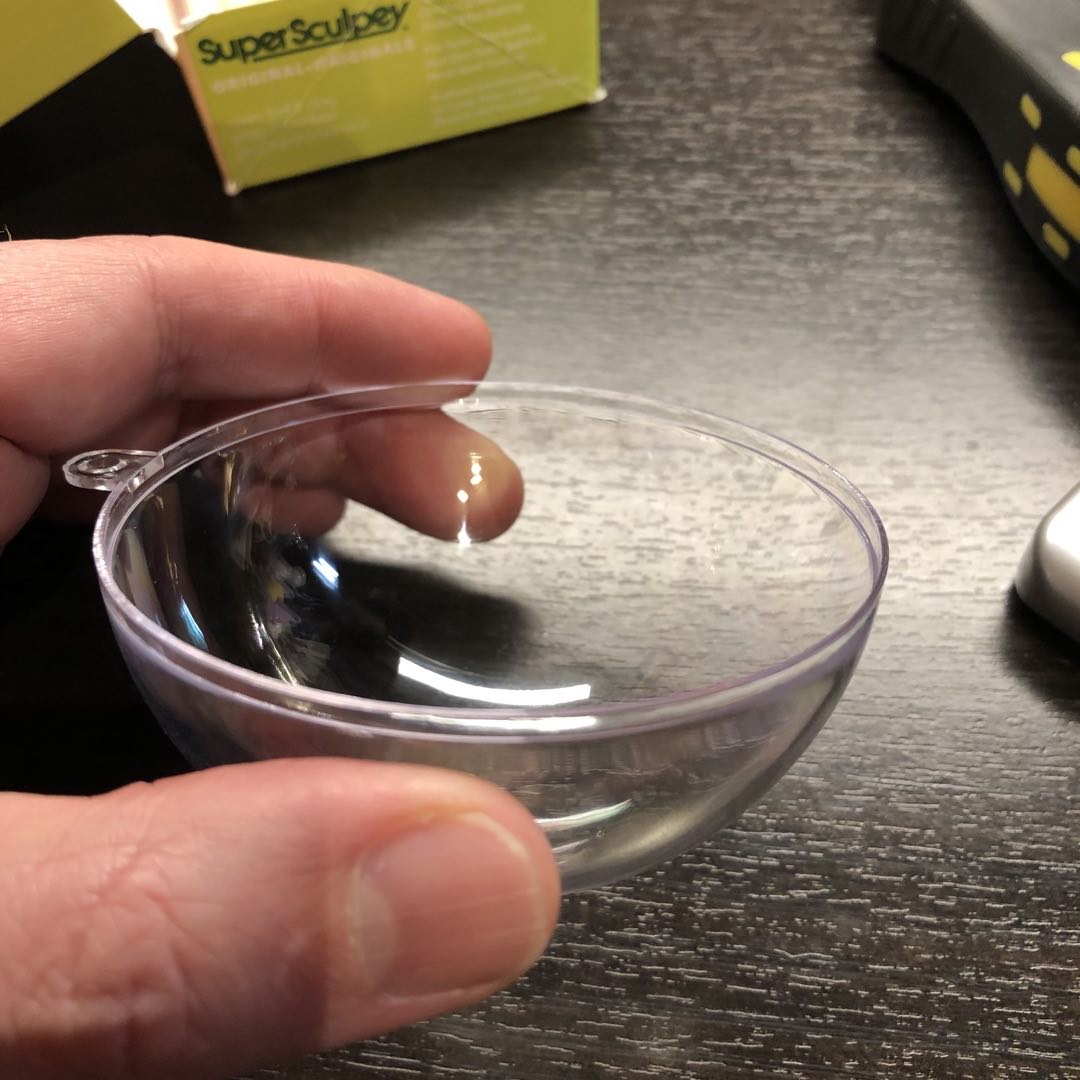
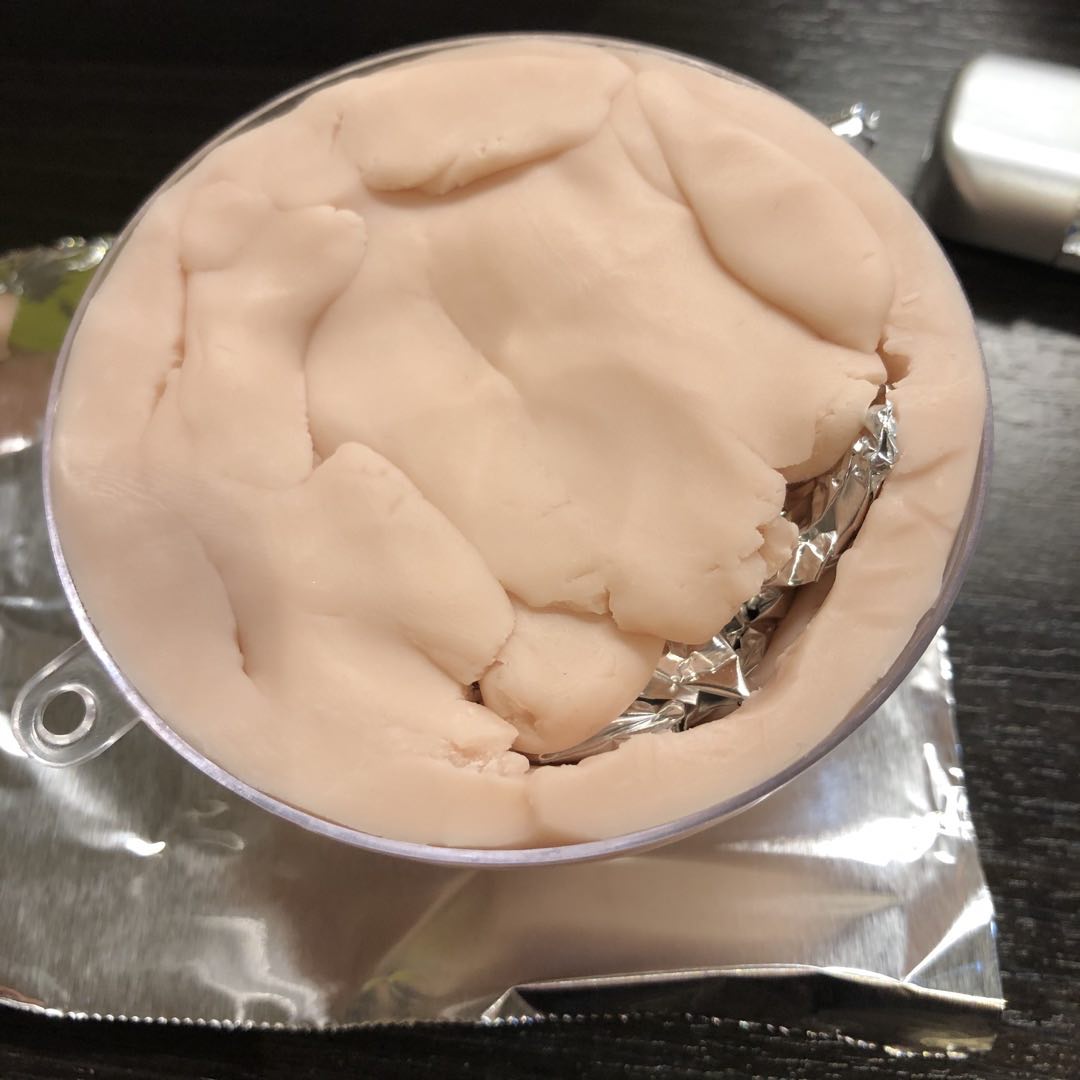
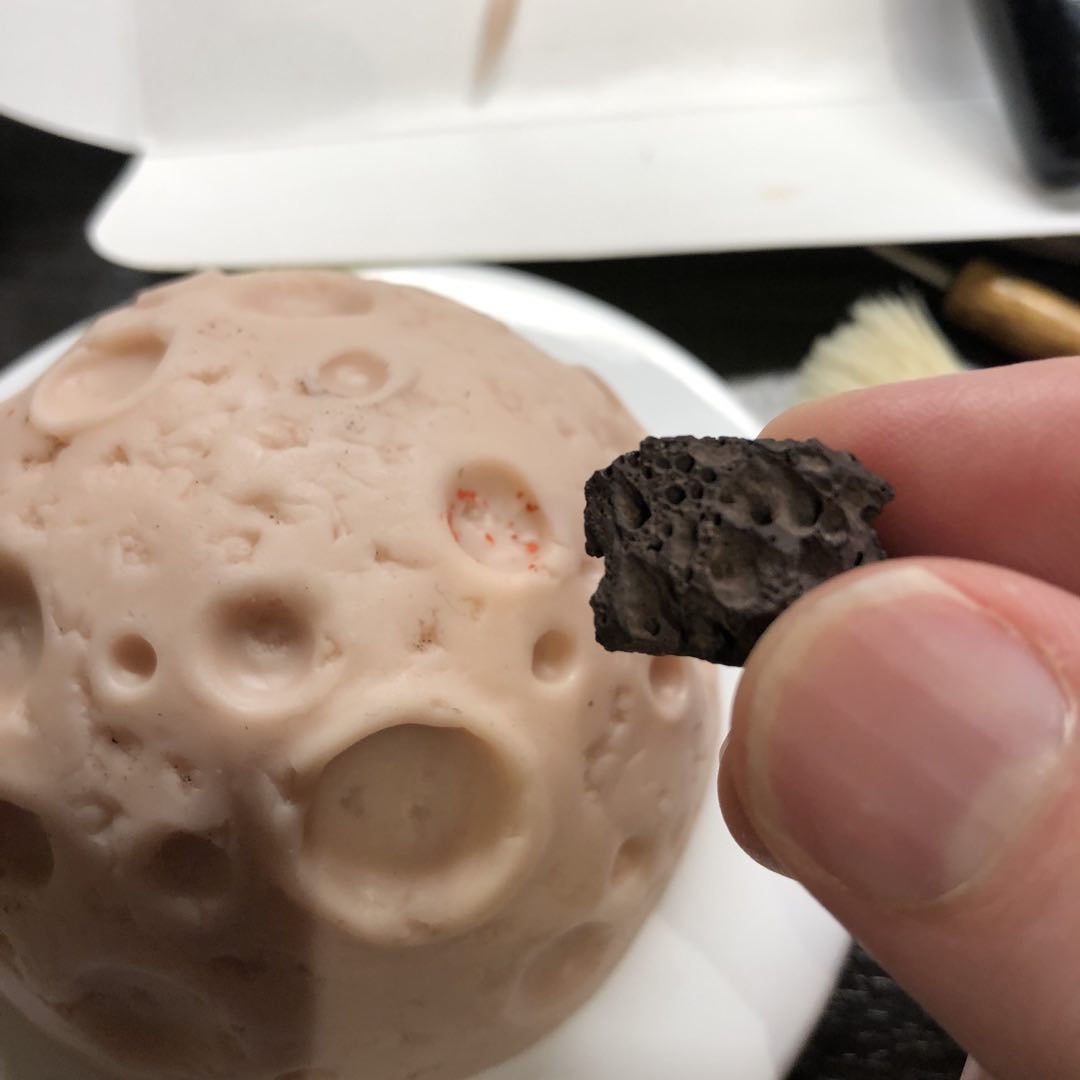
I started by using a clear acrylic Christmas ornament half-dome as a mold. Using baby oil as a mold release, I coated the inside with about a quarter-inch layer of polymer clay (Super Sculpey). Then I packed it with aluminum foil and added a top layer of clay. I took it out of the mold and sculpted the craters and added texture. I used a little lava rock to put gouges into the surface.
After baking the clay, I sprayed it with black primer and then dry-brushed several shades of redish-brown acrylic paint, going from dark to light.
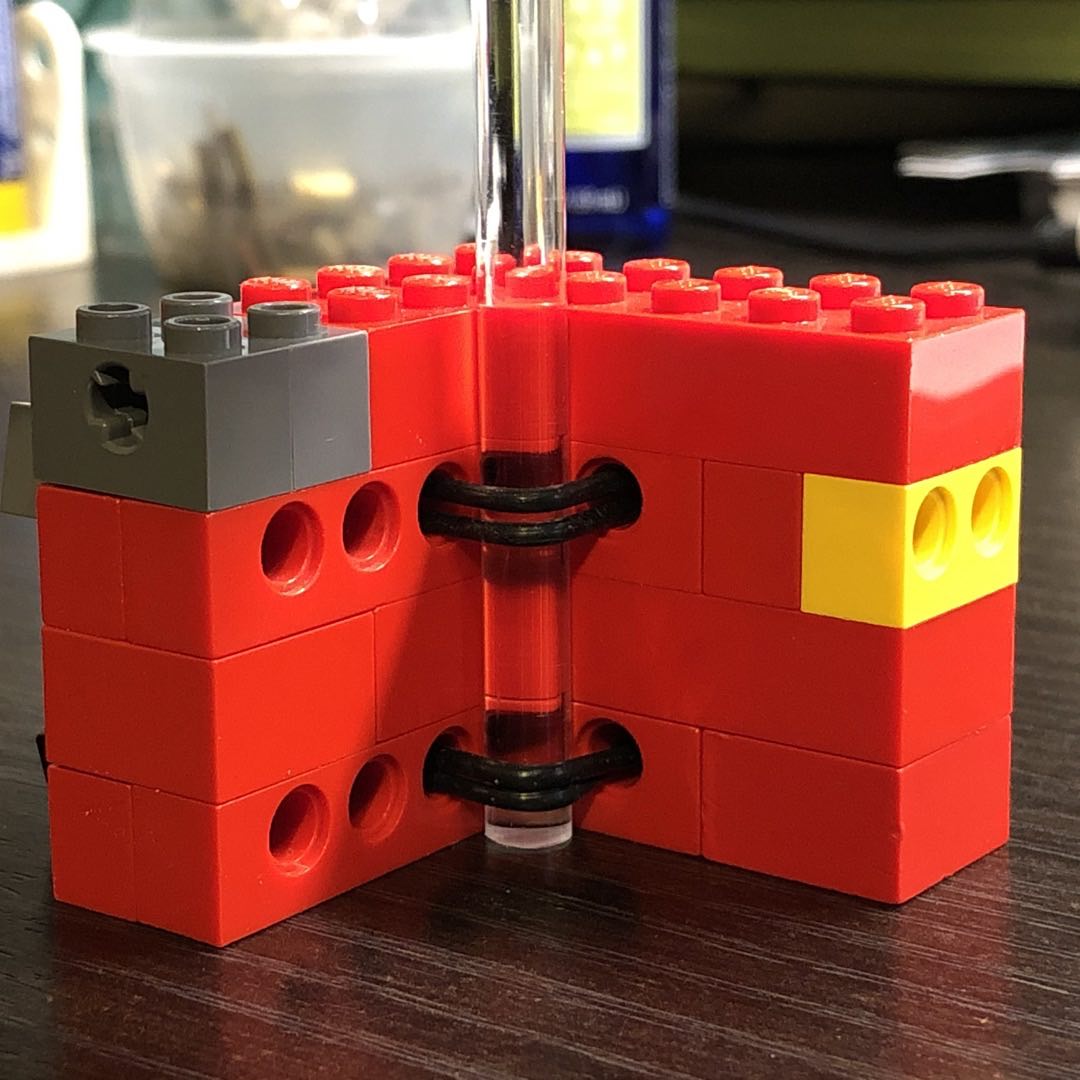
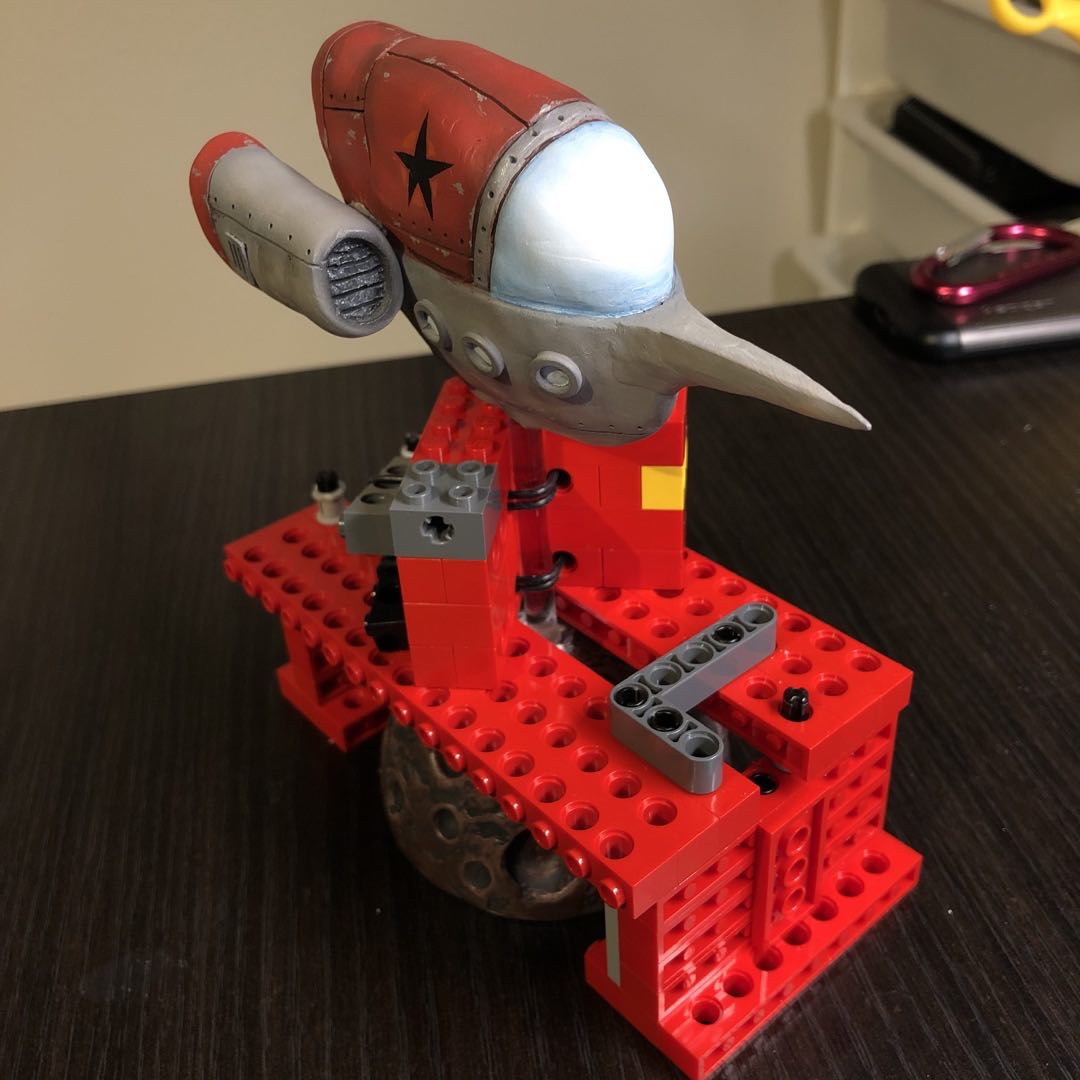
The hardest part was finding a way to straightly attach the acrylic rod that holds the ship. I don’t have a drill press and my hand-drilled hole was a bit crooked. So I made the hole bigger, giving it some wiggle room, and built a jig out of Lego to hold it in place while I epoxied it.
I really like how it turned out.


I’m not sure if a single work of art has had more influence on me than Descent, by Michael Whelan.
I started delving into Science Fiction when I was in high school. One time I was at the public library browsing the sci-fi section when I found a paperback copy of Ray Bradbury’s The Martian Chronicles, with Whelan’s illustration on the cover. I was immediately transfixed by his artwork.
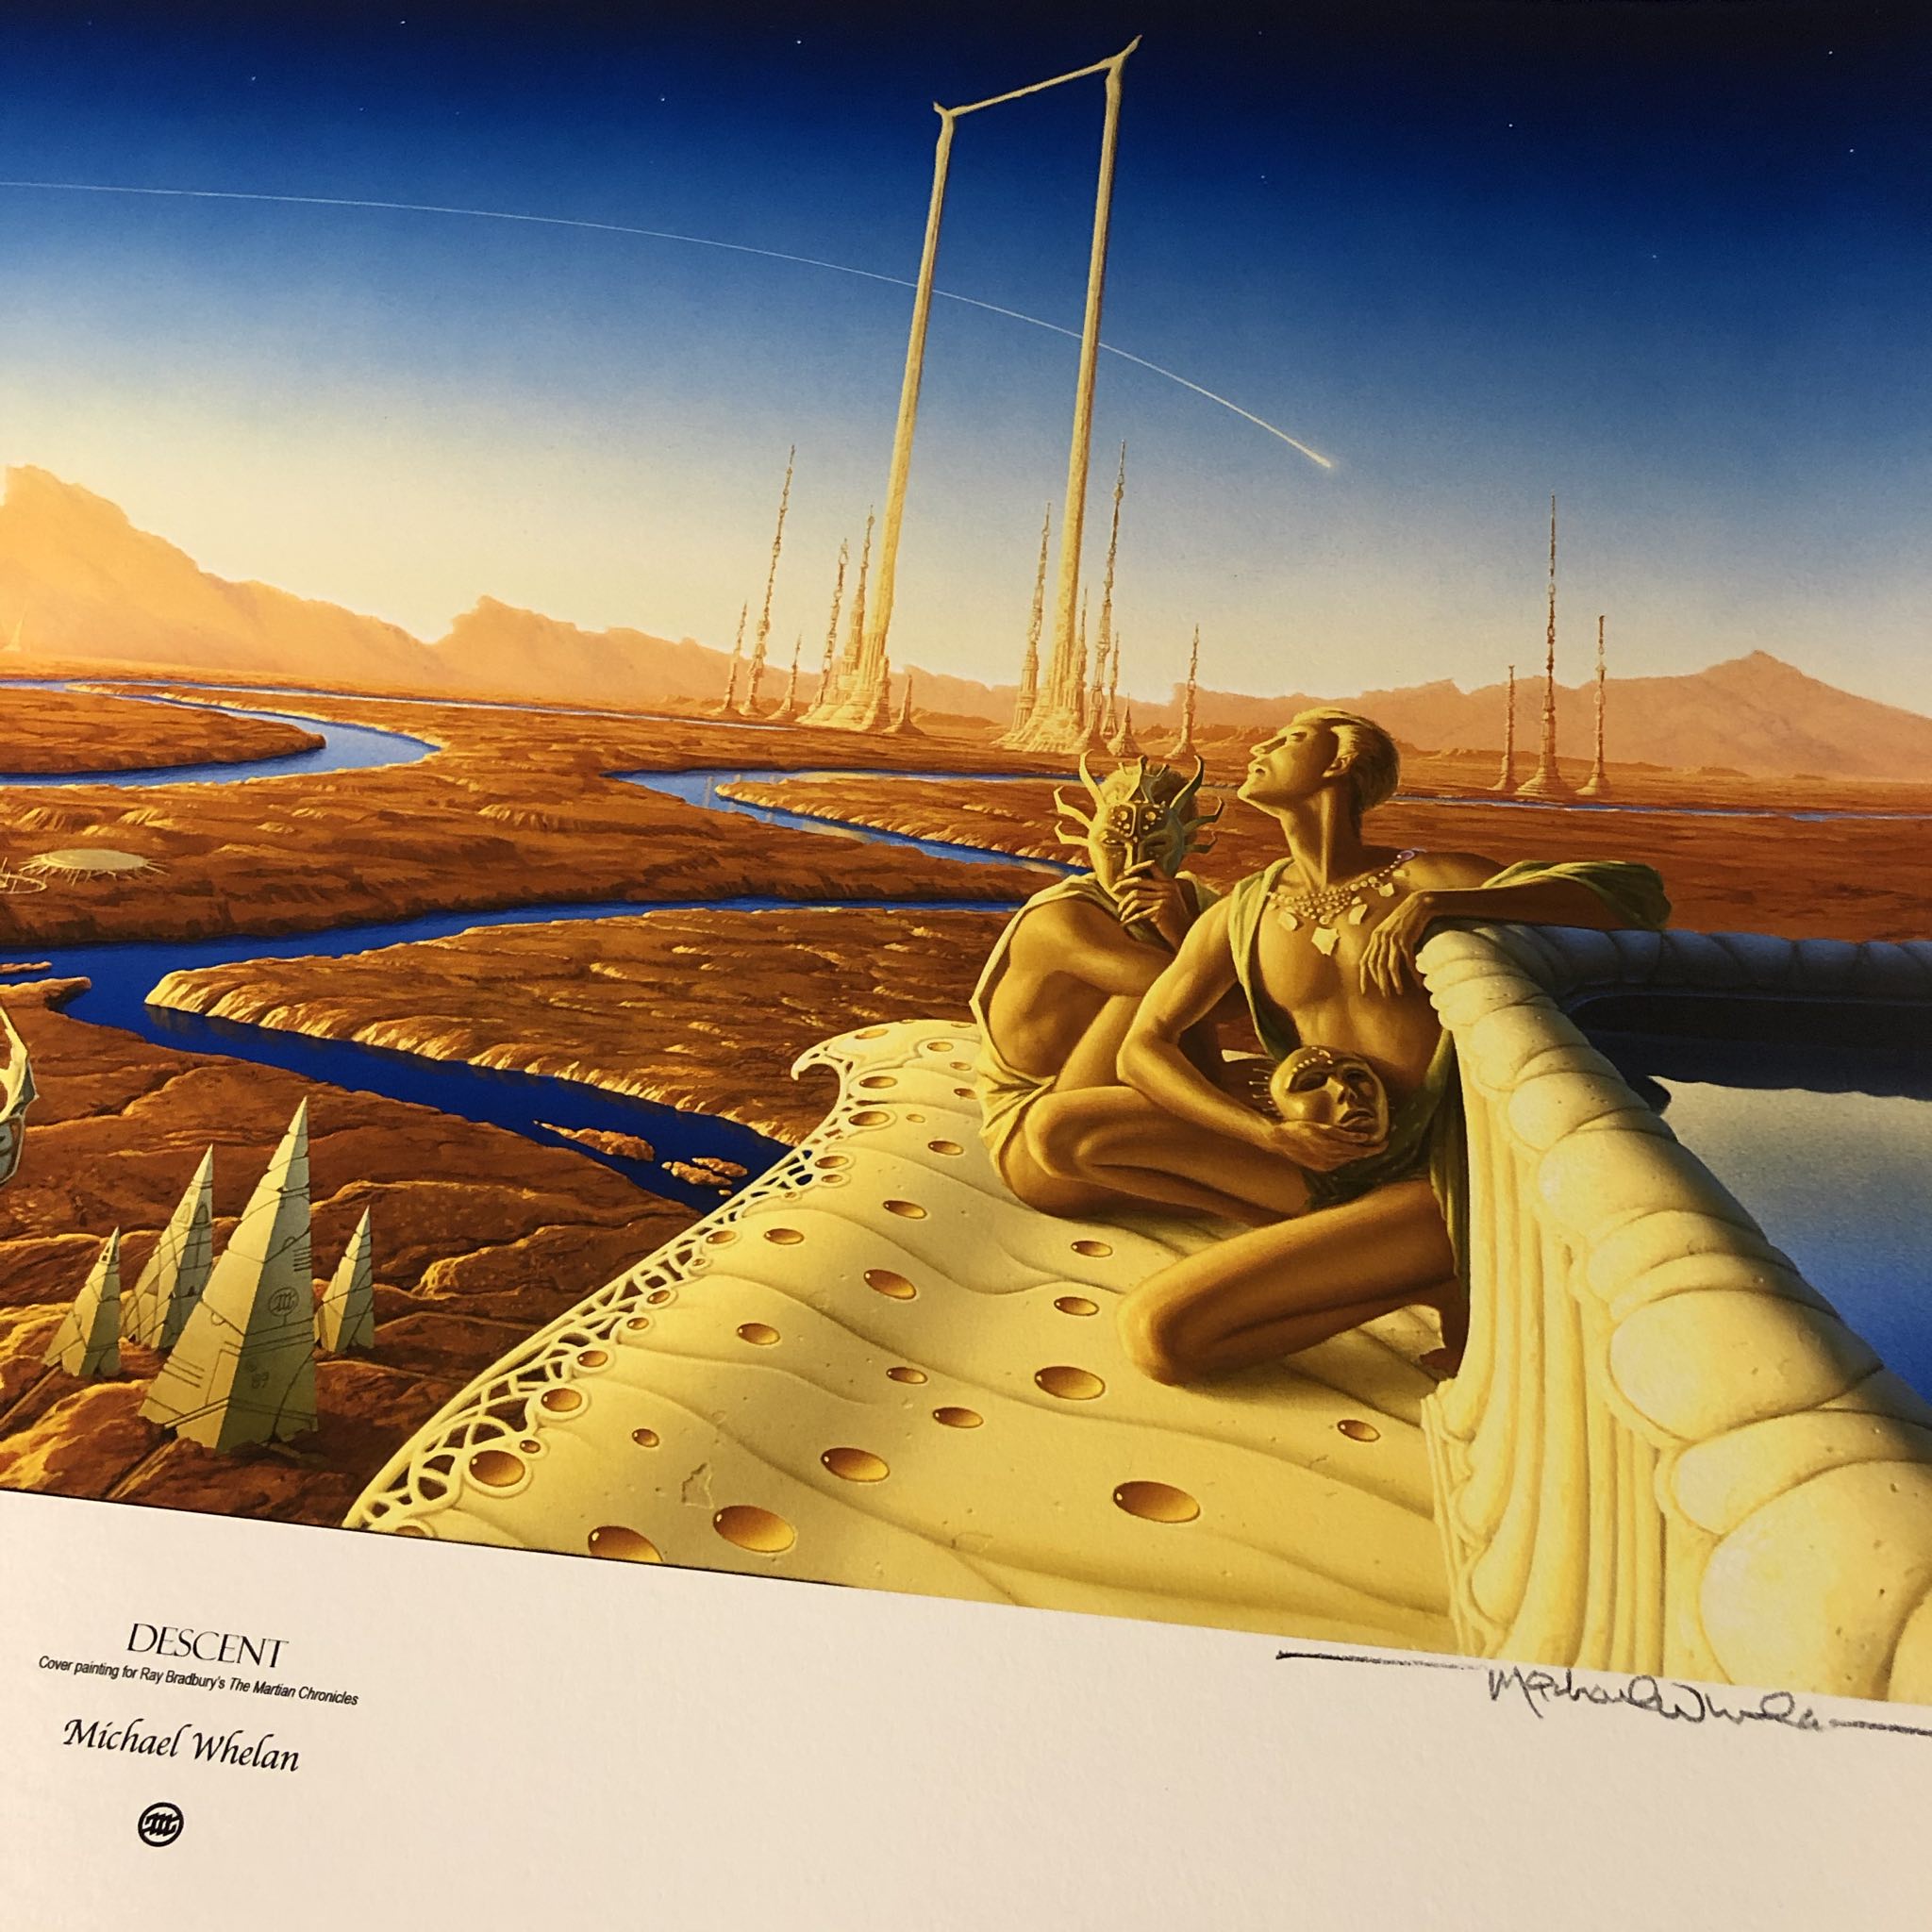
Not long after, I found a large art book, The Art of Michael Whelan, at a Waldenbooks inside my hometown mall. This was pre-internet, so I ended up returning many times to study this book.
I started painting my own Martian and Dune-inspired landscapes in watercolor, but mostly I was trying to copy Michael Whelan’s style.
I was lucky enough to meet Michael at a convention in 2003. I got to tell him how much I liked his work, especially his cover illustration for The Martian Chronicles.
So I was overjoyed to find out that he was releasing a print of this work. I’ve been waiting almost 30 years for this.
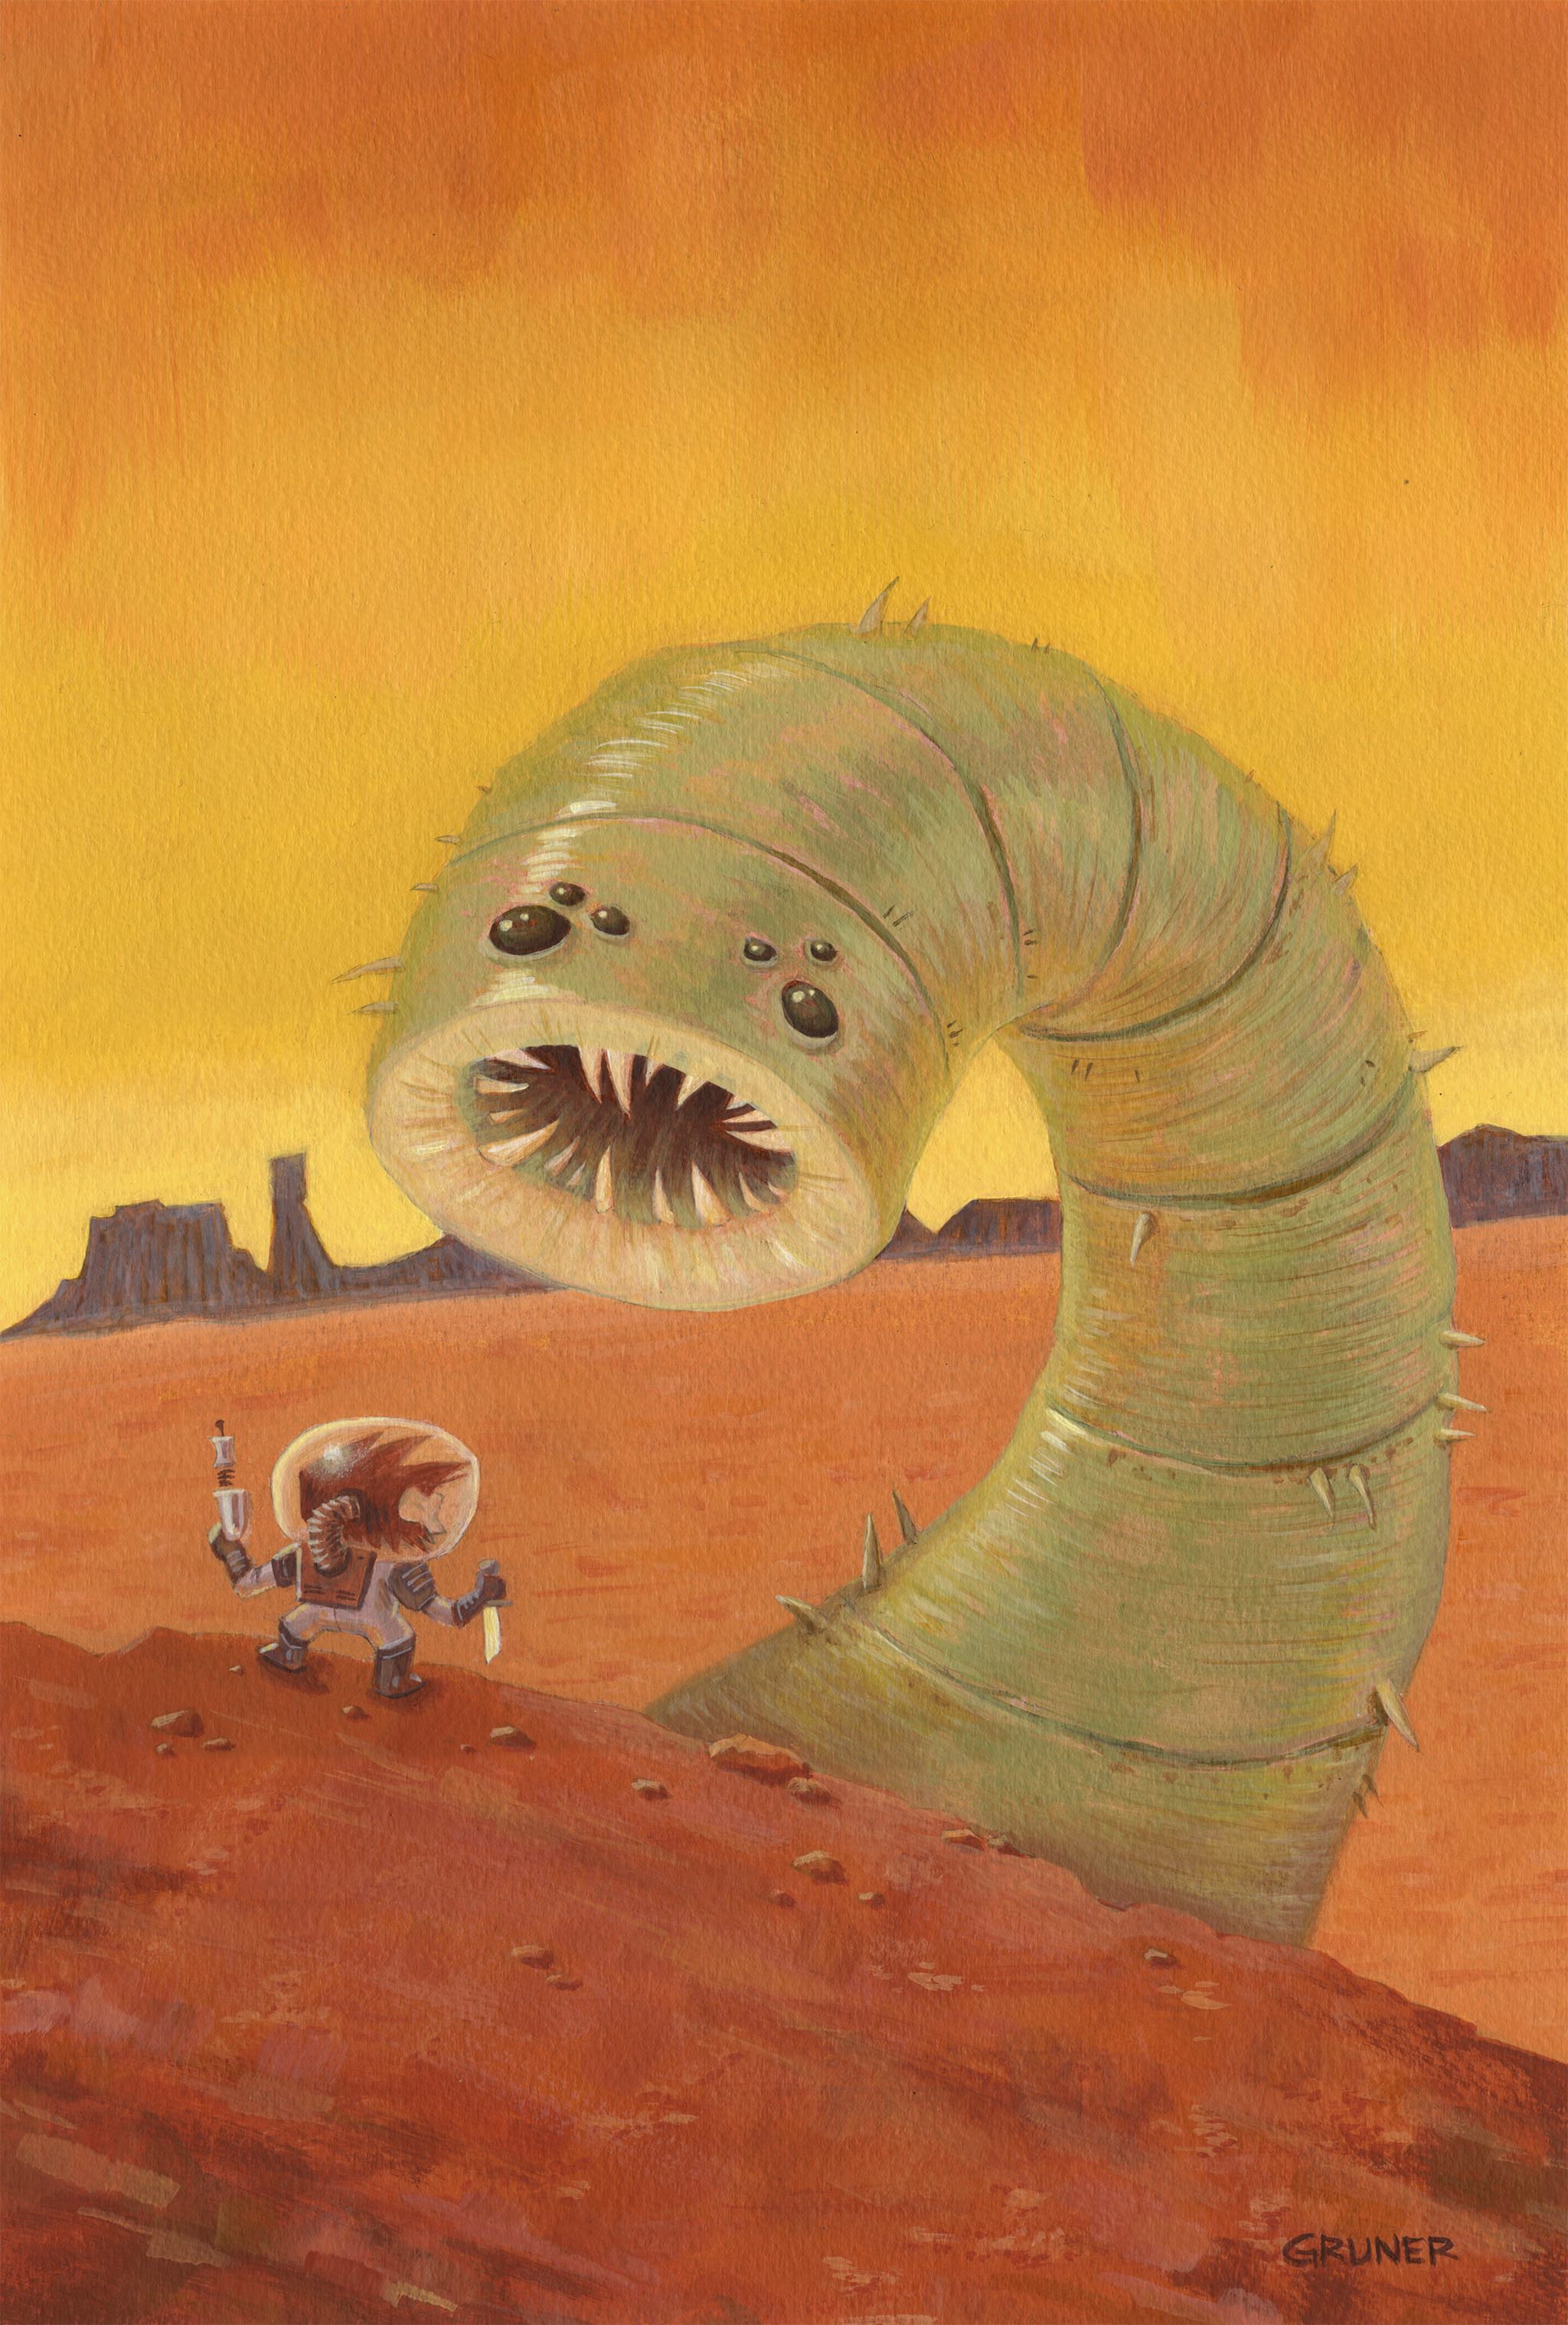
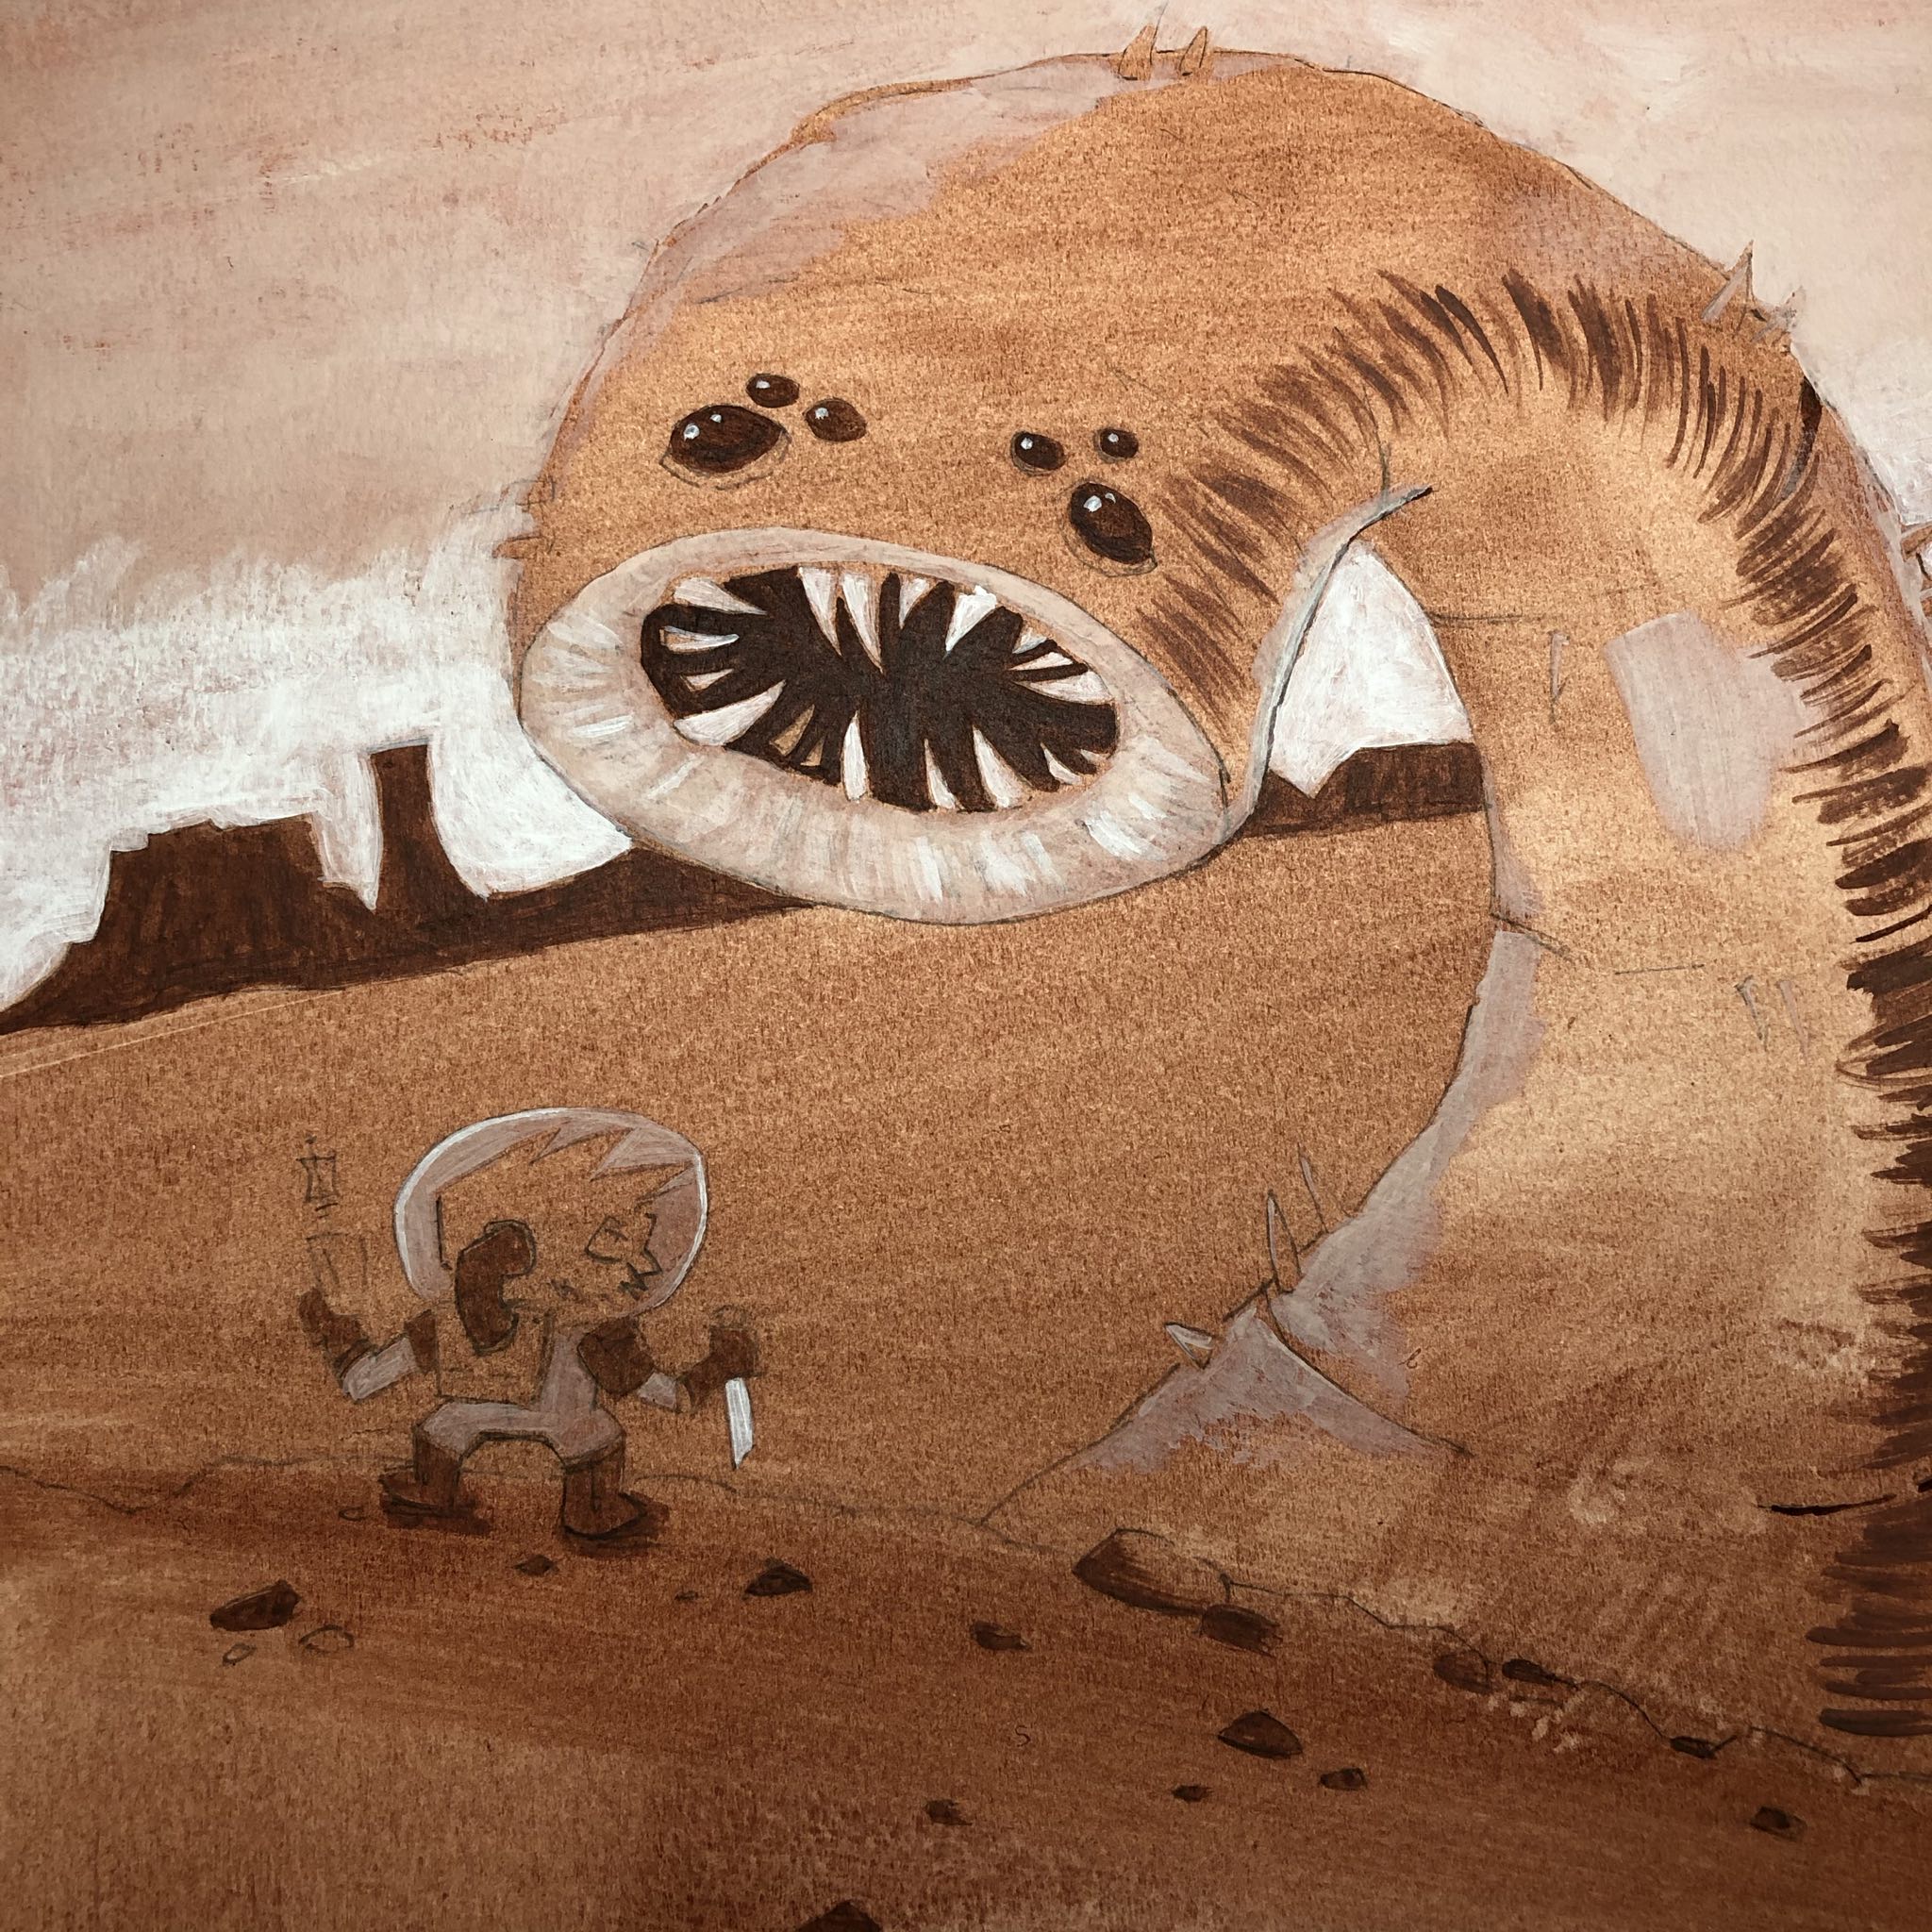
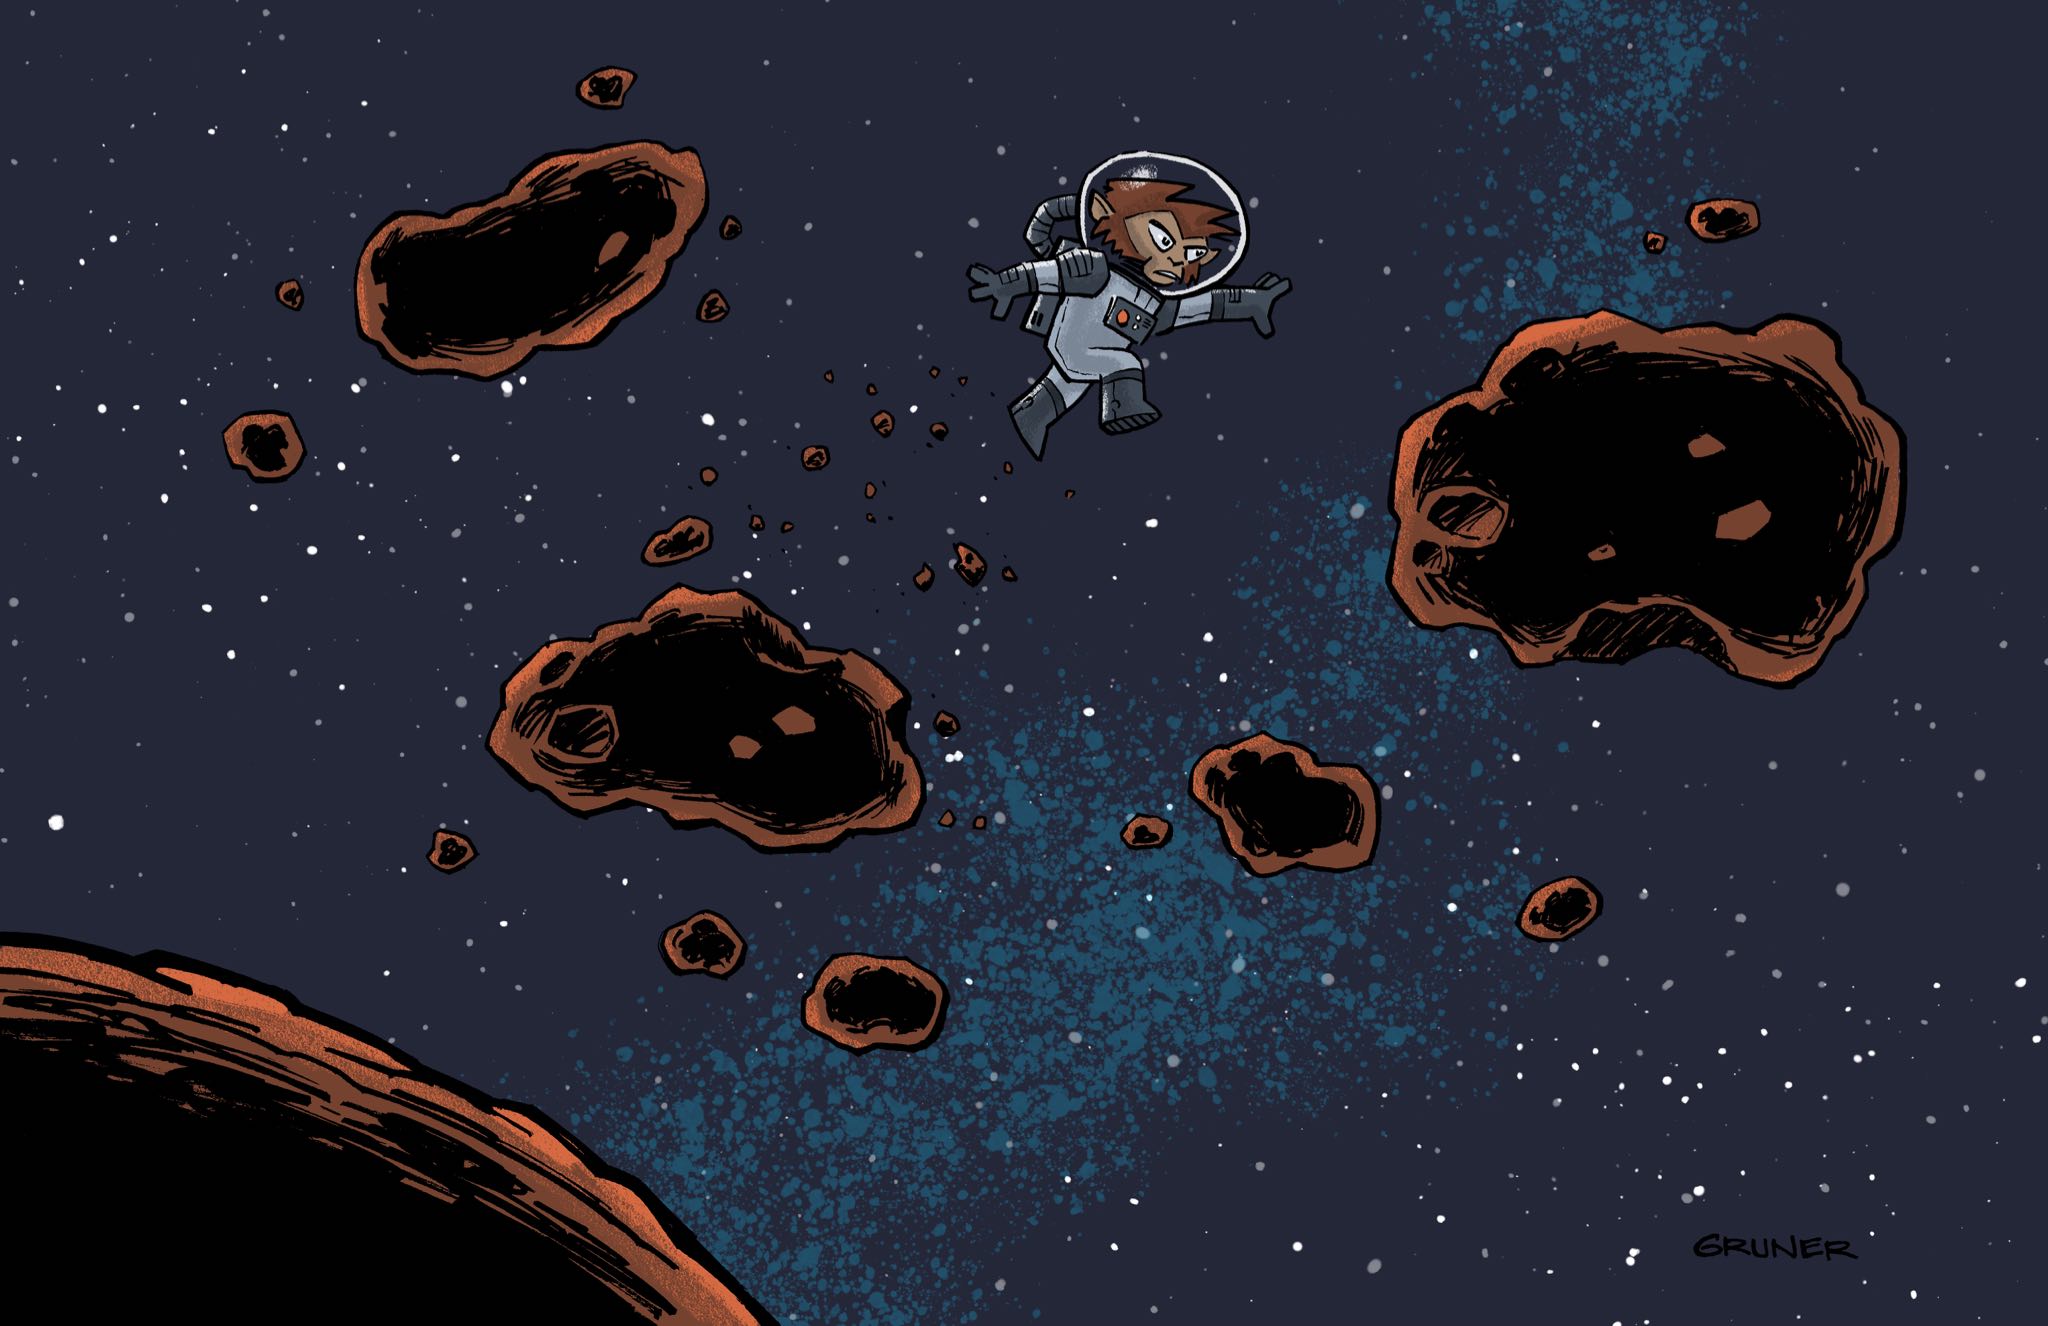
A while back, while I was working on a Space Monkey drawing, I had the realization that I was drawing manifestations of my anxieties, and that I sometimes end up visiting this character during stressful times.
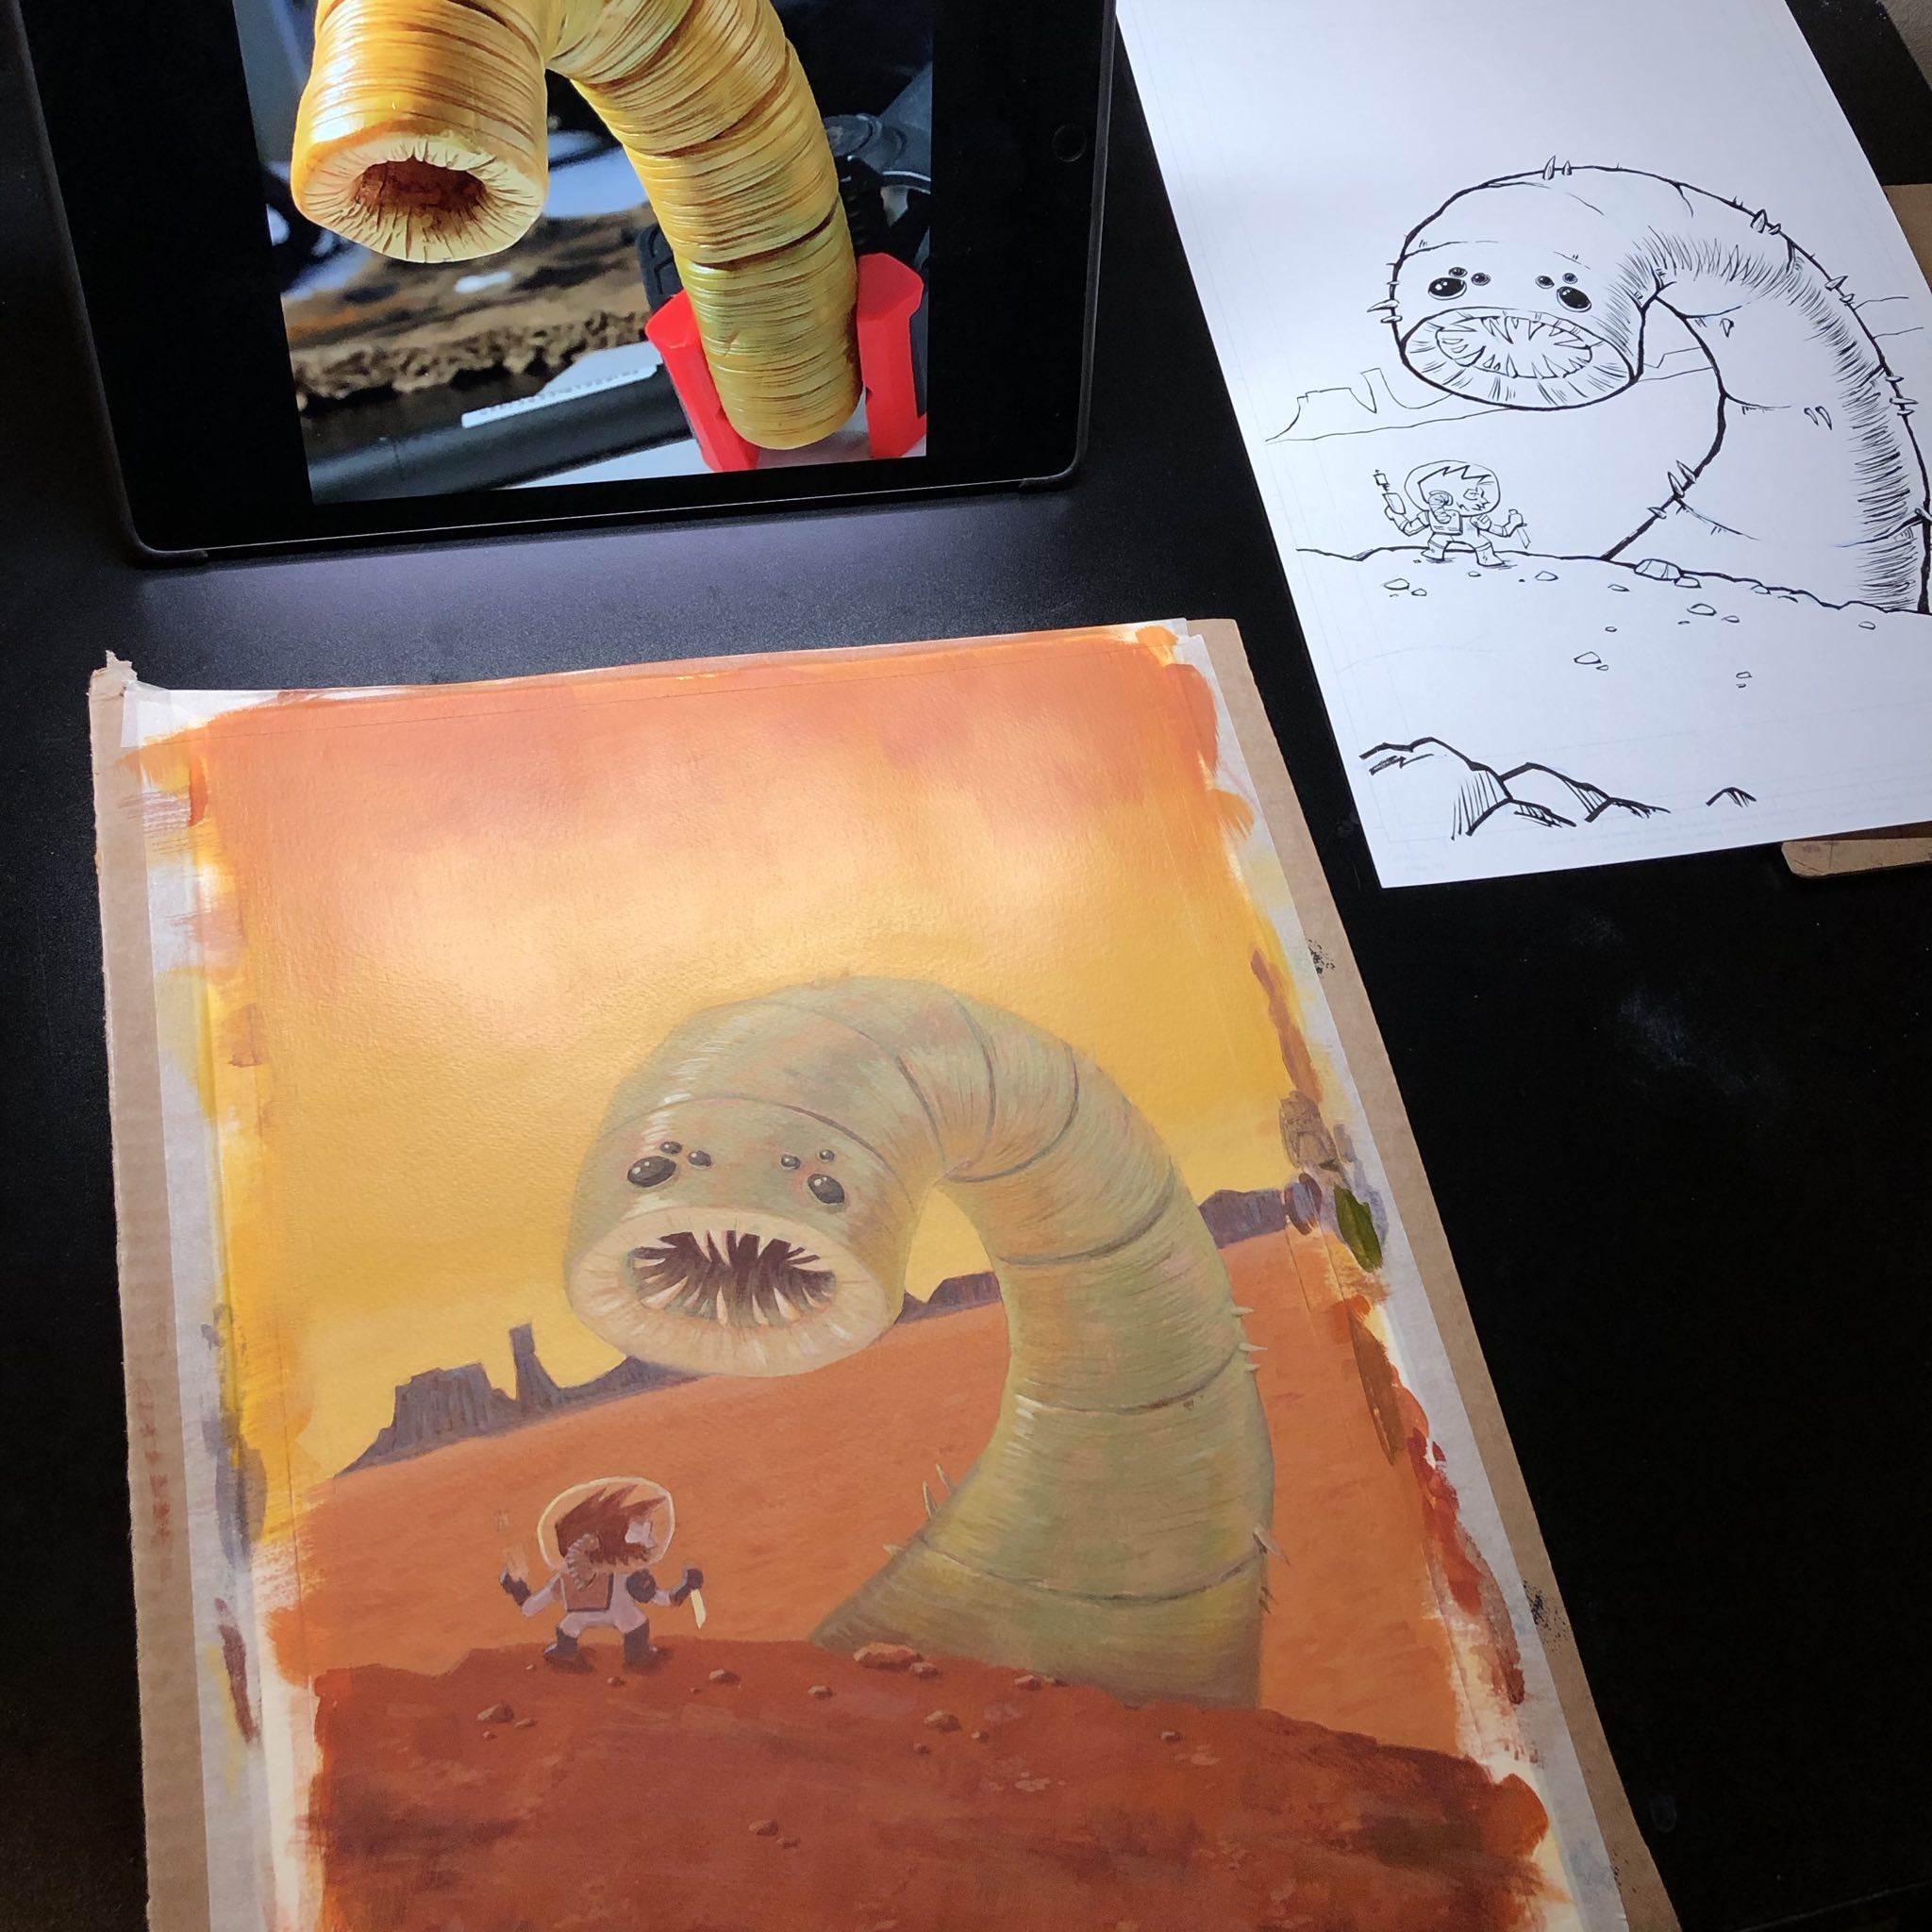
The painting itself I tried to render in a style reminiscent of vintage sci-fi book covers (and obviously Dune inspired). In any case, it’s reassuring to see someone who won’t back down in the face of insurmountable obstacles.
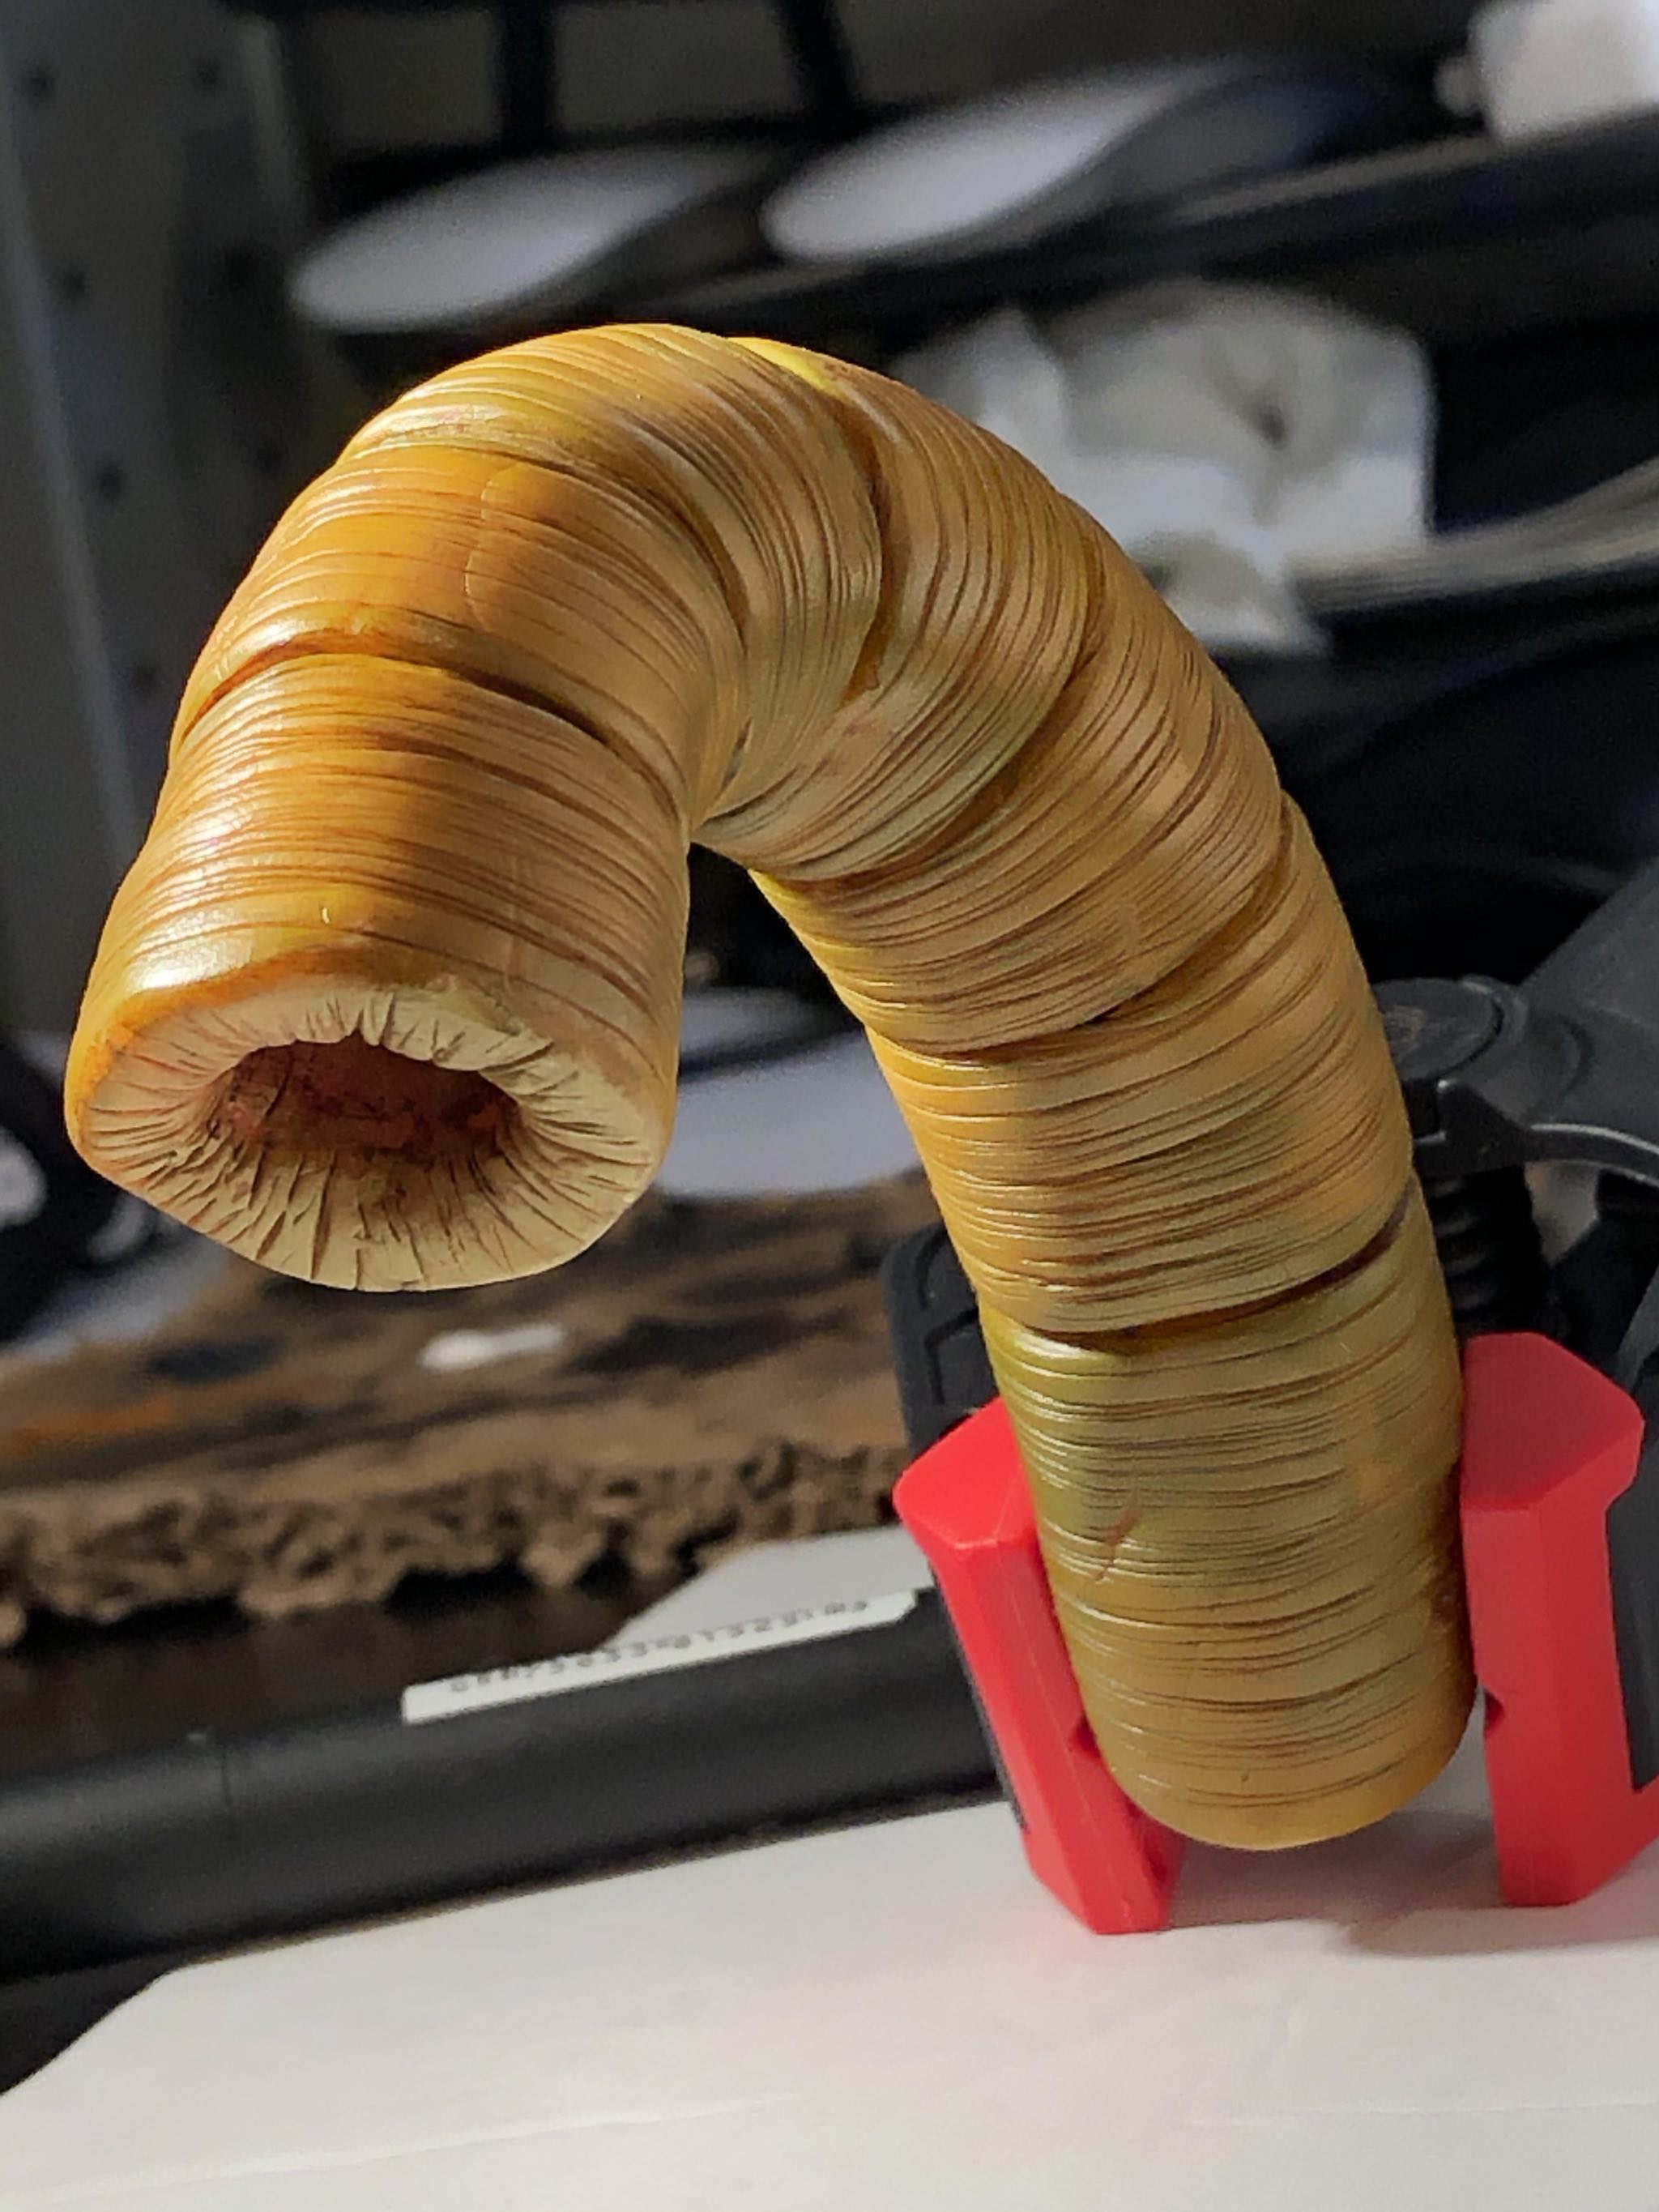
I sculpted a little maquette of the sand worm so that I could get the lighting right.


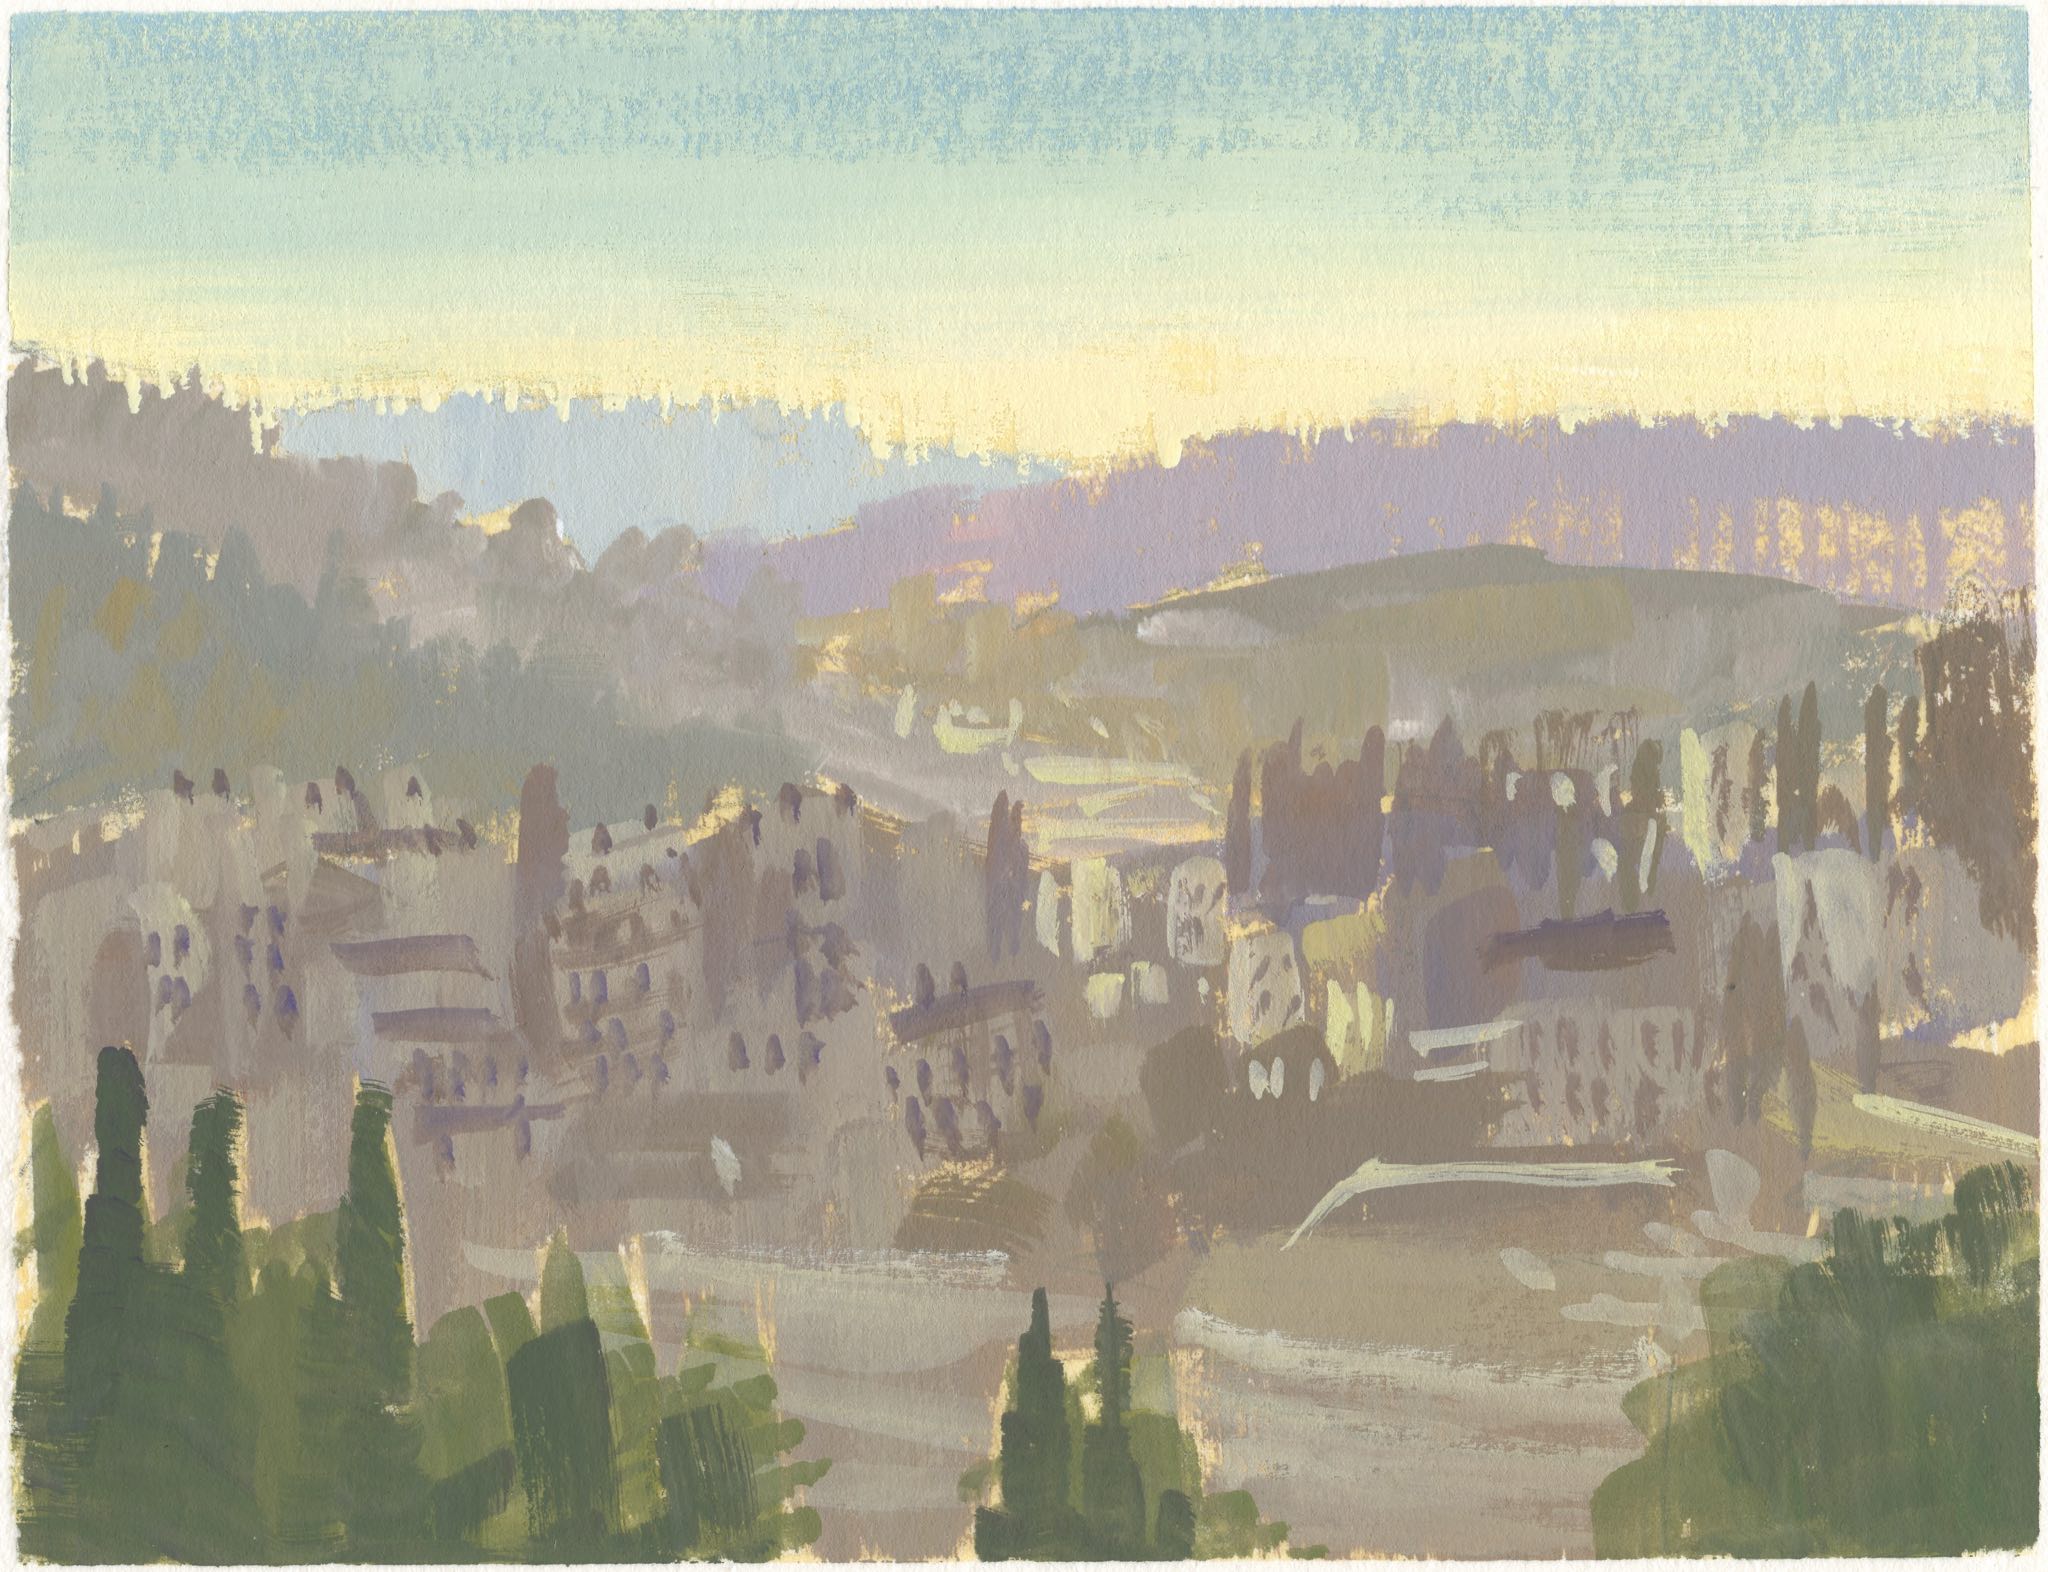
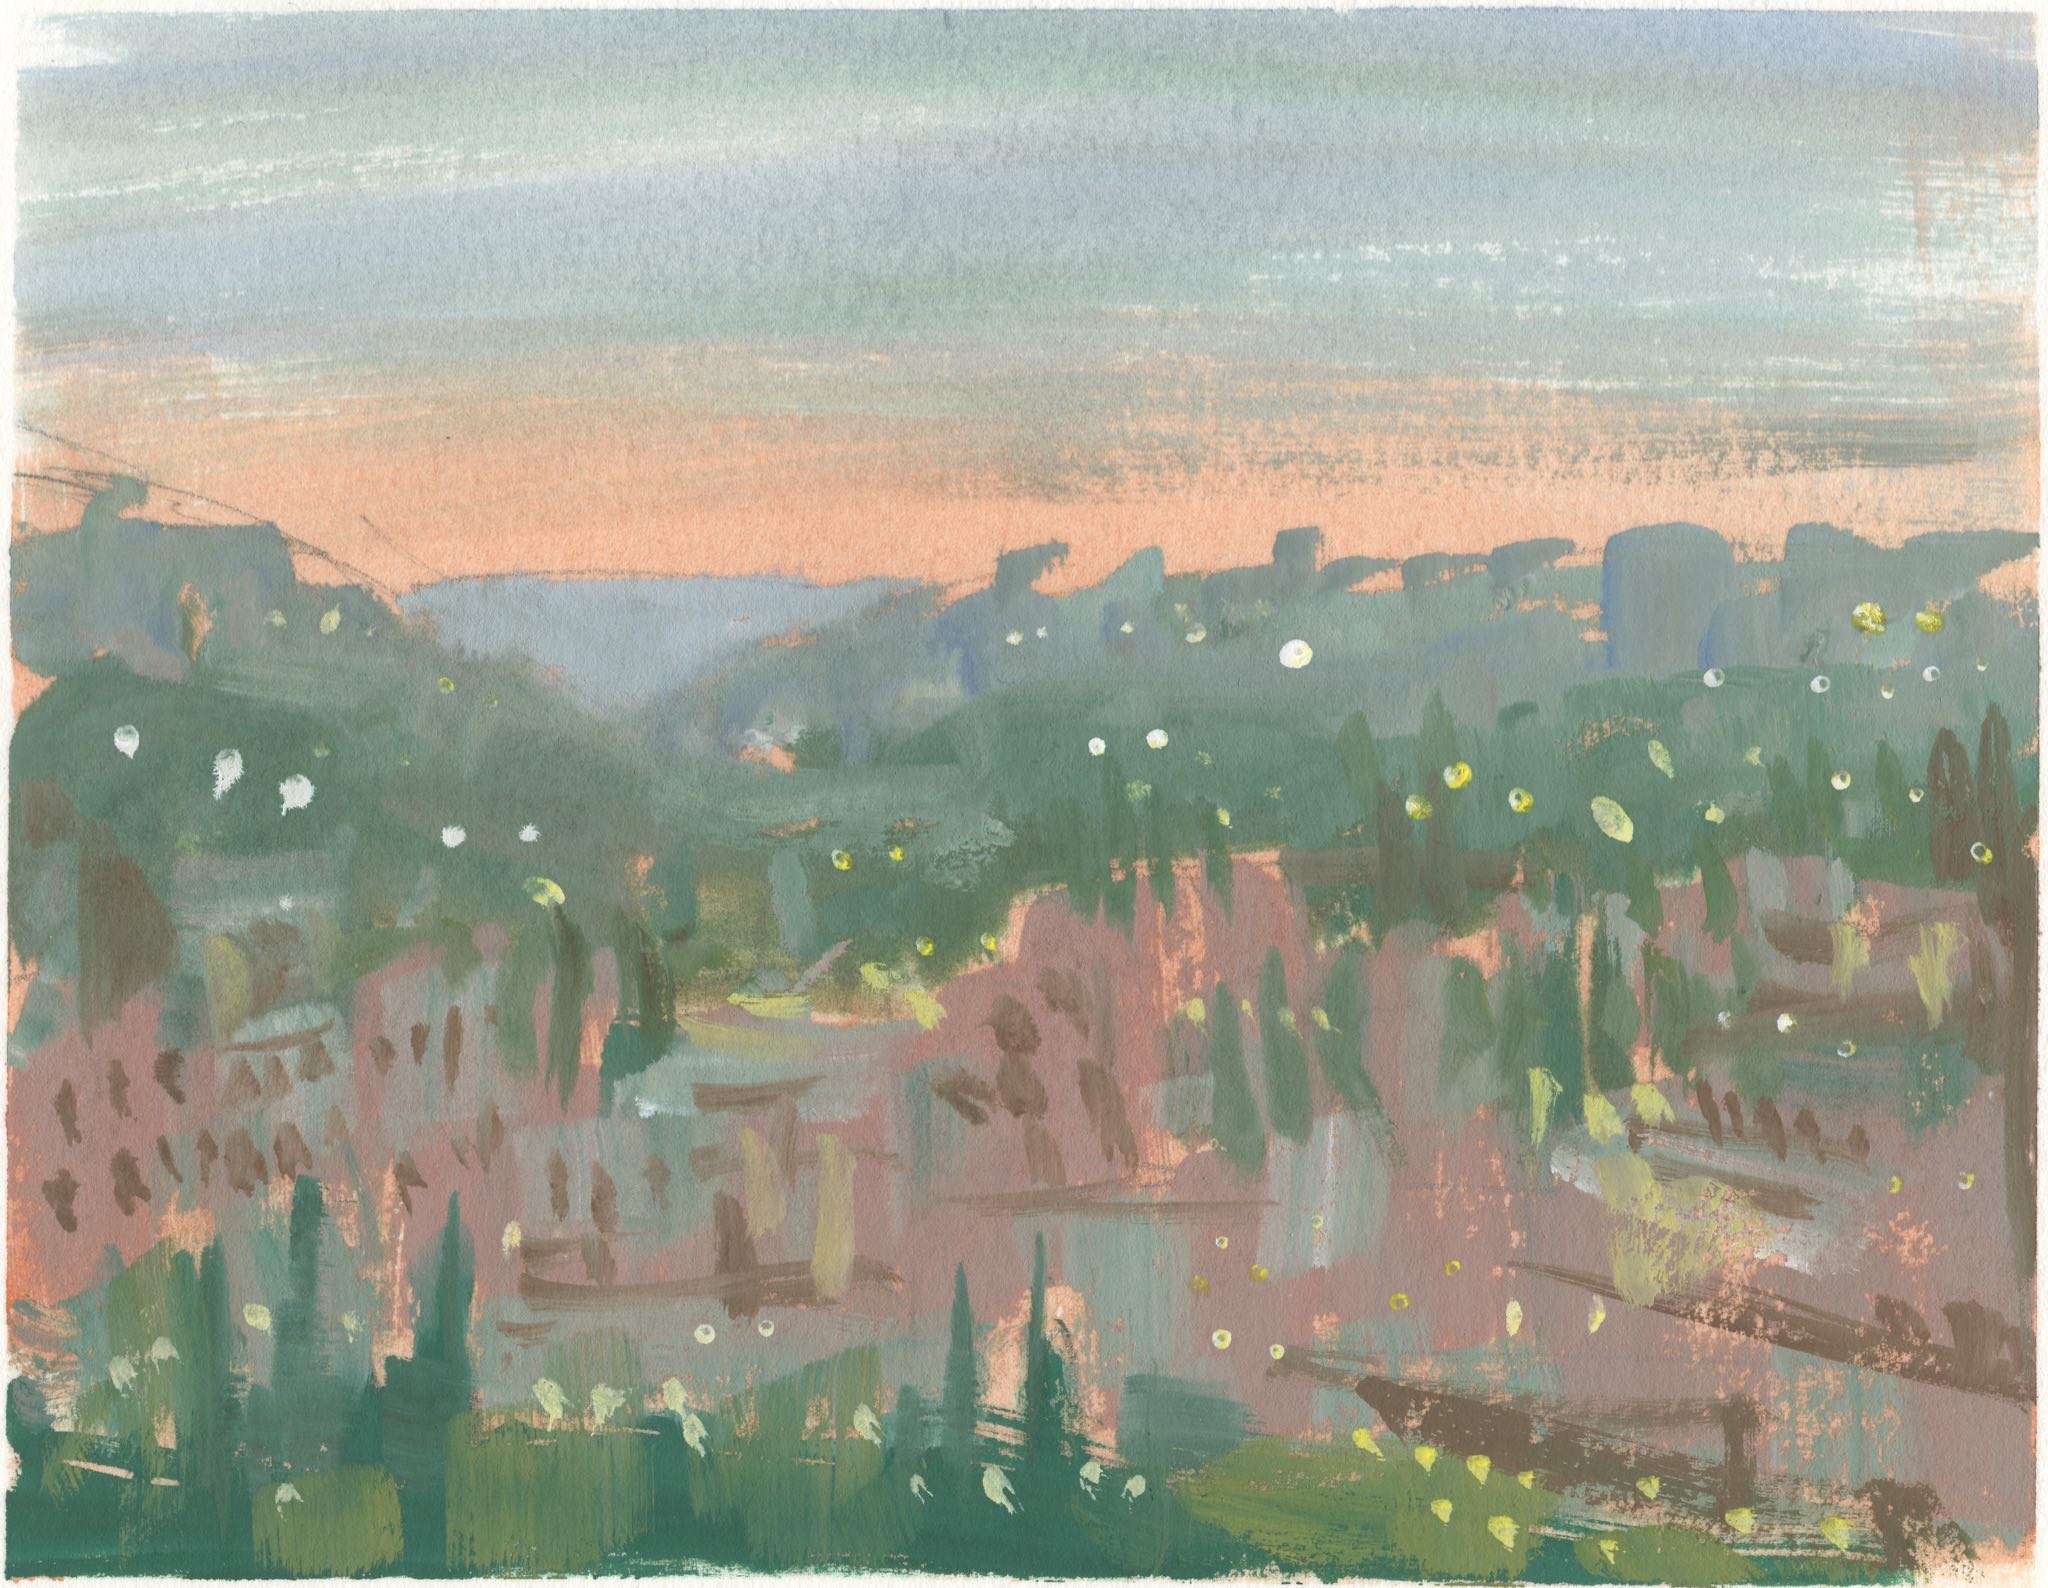
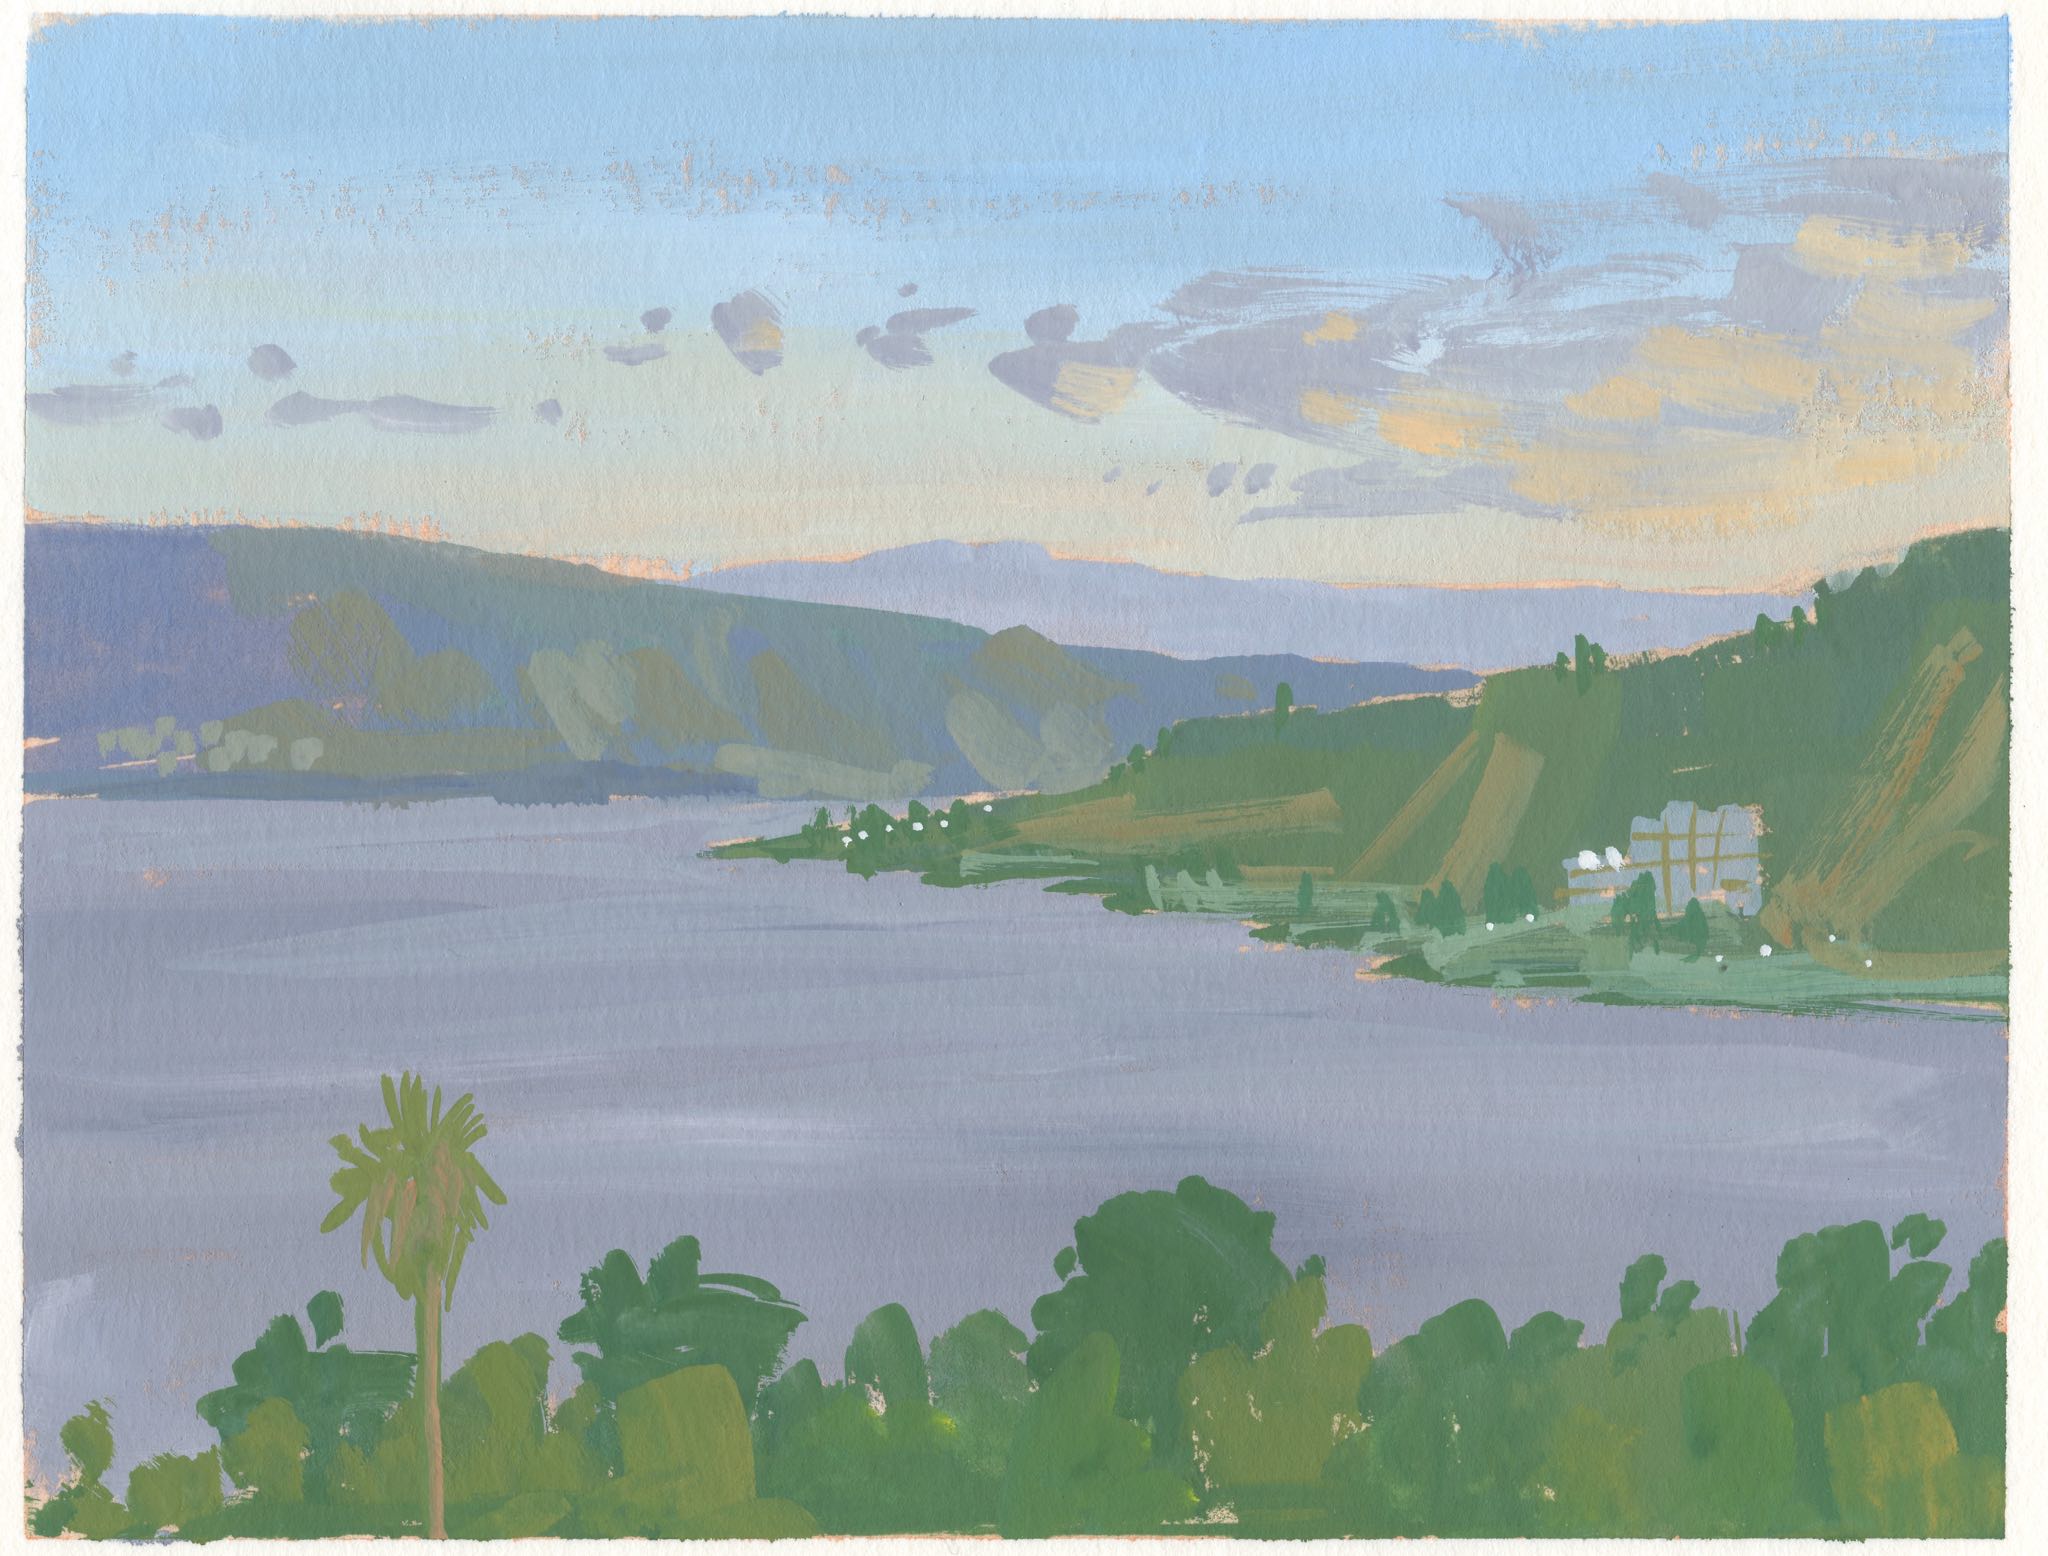
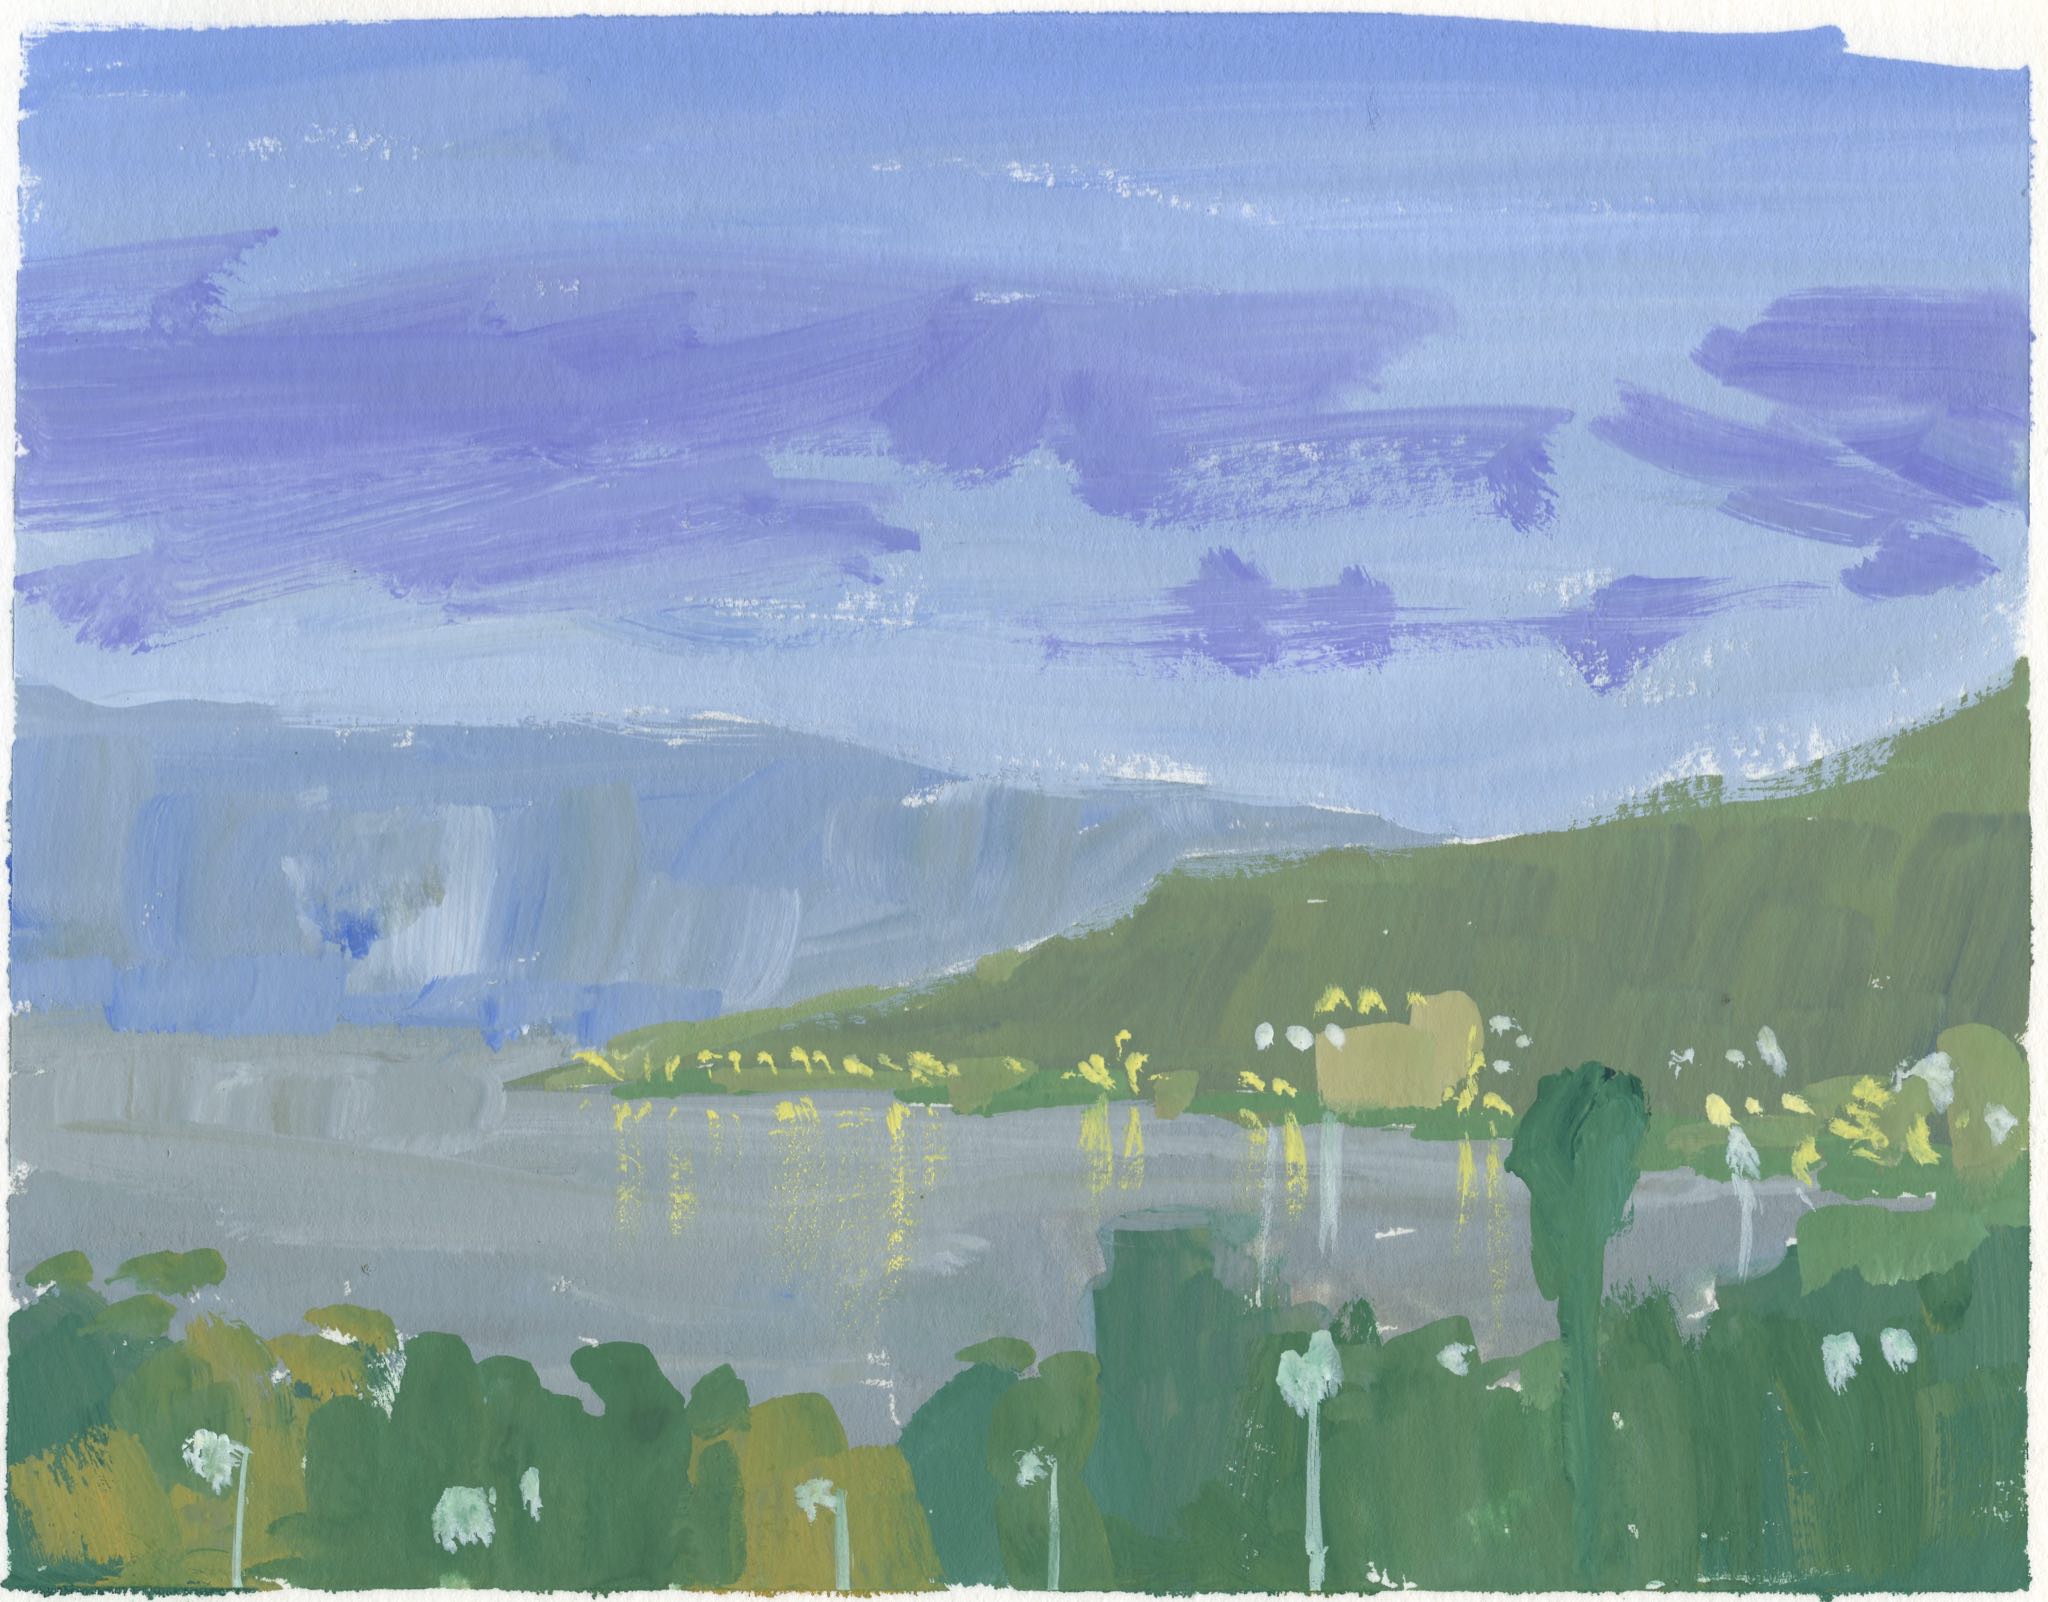
I was fortunate to travel to Israel for a 10-day tour of the country. On the trip I did some skething and a few painting studies.

New logo for the continuing adventures of Otto the Space Monkey. The font is BackBeat from Comicraft.
One of my goals this year was to complete 100 small paintings, which I finished this week. 💯